The Short Version: To install a ceiling fan box, you must replace any existing standard junction box with a UL-listed, fan-rated box. If you have attic access, secure the box directly to a joist or a piece of wood blocking. If you do not have attic access, use an expandable, fan-rated retrofit brace that locks between the joists from below. Always ensure the box is flush with the ceiling, properly tightened to prevent wobble, and that all wiring is protected by a cable clamp.
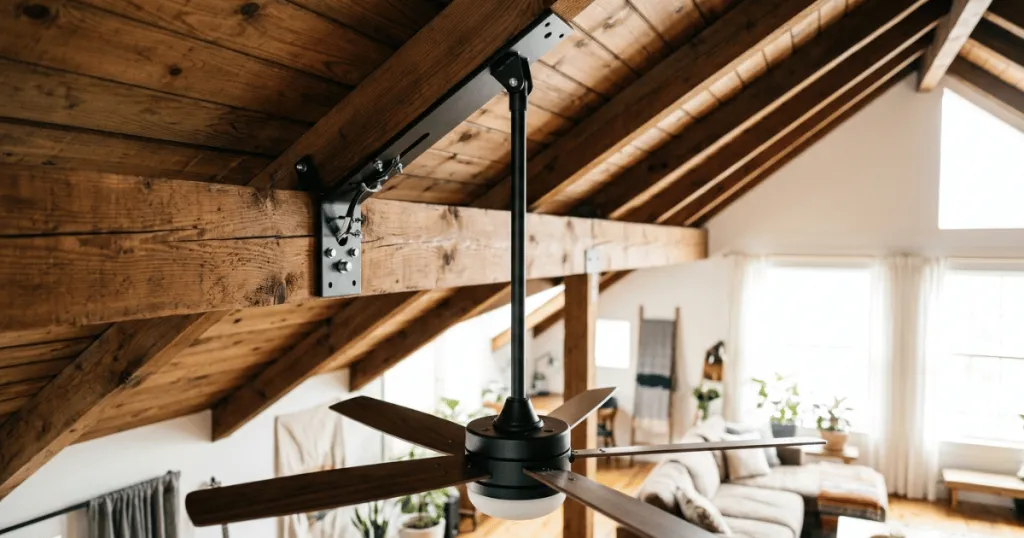
The safest starting point for any ceiling fan project is to verify the structural integrity of the ceiling before you even consider the electrical connections. Installing a ceiling fan requires more than just connecting wires; it demands a structural foundation capable of supporting the weight and constant vibration of a motor. Learning how to install a ceiling fan box is the most critical step in this process. A standard lighting junction box is not designed to handle the dynamic load of a fan, which can lead to loosening, wobbling, or even a hazardous detachment over time.
By choosing the correct rated hardware and following proper installation techniques, you ensure that your fan remains stable and quiet for years to come. This guide focuses on the practical steps required to replace a standard box with a fan-rated support system, ensuring your ceiling is ready for the task. You will accomplish a secure, code-compliant mount that prevents future maintenance headaches and keeps your home environment safe.
Before You Start: Assessing Your Ceiling Structure
The most common mistake homeowners make is assuming an existing electrical box is sufficient. Standard junction boxes are intended for lightweight fixtures like chandeliers or simple flush-mount lights. They lack the structural integrity to manage the torque and weight of a ceiling fan. Before you begin, you must determine if you have access to the ceiling joists from above or if you need a retrofit solution that installs entirely from below.
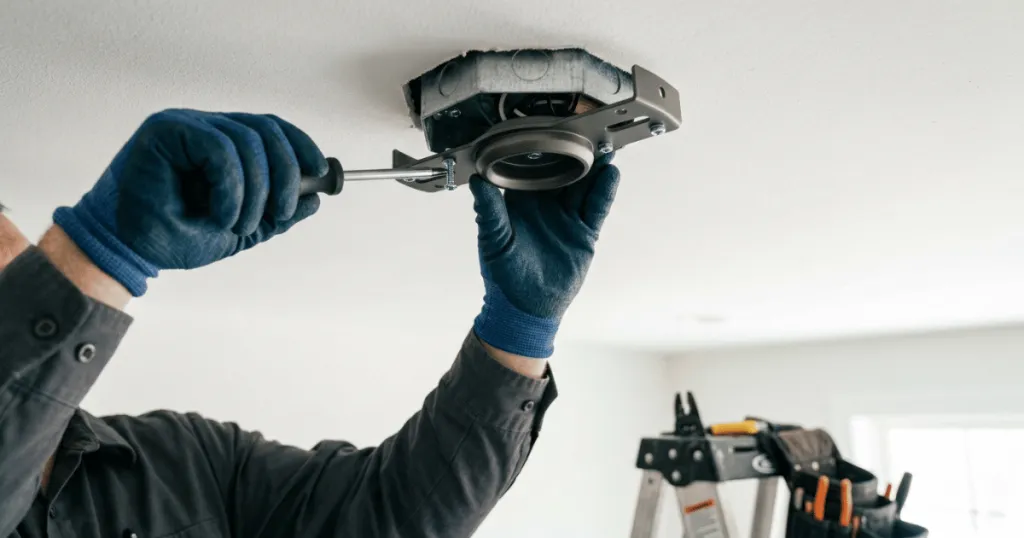
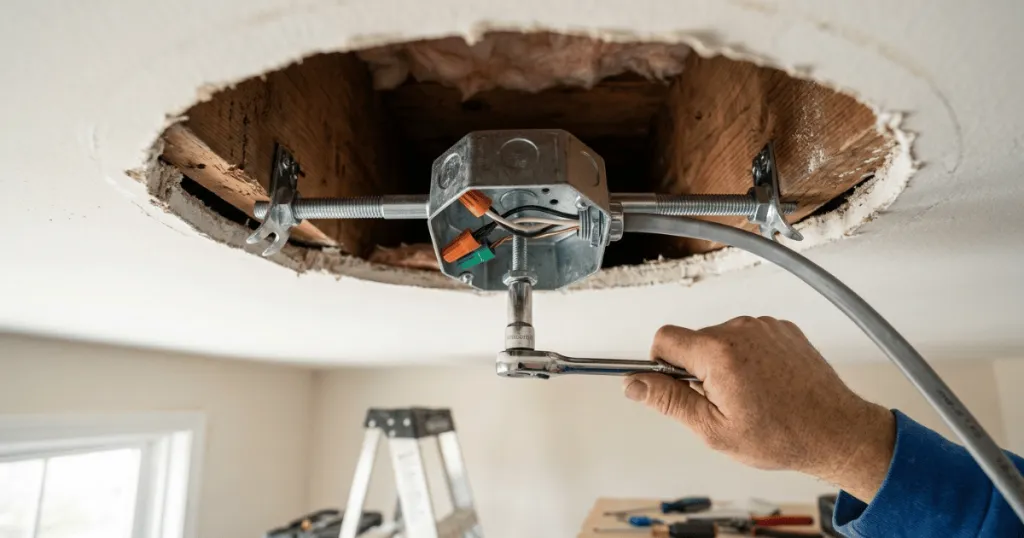
If you have attic access, you can often install a heavy-duty metal brace or a piece of 2-by-4 lumber between the joists to create a solid mounting point. This is the gold standard for stability. If you do not have attic access, you will need a fan-rated retrofit brace. These kits feature an expandable metal bar that telescopes between joists through the hole in your drywall, locking into place with a threaded mechanism.
Always verify the rating of the box. A fan-rated box will be clearly marked as such, usually specifying the maximum weight it can support. Never attempt to reinforce an existing plastic box with screws or extra supports; these materials are prone to cracking under the stress of a fan. If the current box is plastic or lacks a clear fan-rating stamp, remove it entirely and replace it with a UL-listed fan-rated box.
Consider the ceiling material as well. If you have plaster ceilings rather than modern drywall, the process requires extra caution. Plaster is brittle and can crack if you apply too much pressure during the installation of a retrofit brace. In these cases, you might prefer to cut a slightly larger hole to ensure you can position the brace without putting undue stress on the surrounding plaster. Always check for hidden obstacles like plumbing pipes or HVAC ducts in the ceiling cavity before you start cutting or drilling.
Prerequisites and Essential Tools
Preparation is the difference between a quick afternoon project and a frustrating weekend of troubleshooting. You will need a non-contact voltage tester to verify that power is off at the circuit breaker. Never rely on the wall switch alone, as switches can be miswired or bypassed. A sturdy ladder is also non-negotiable; ensure it is positioned on level ground to allow you to work comfortably without overreaching.
Gather the following tools before opening the ceiling: a keyhole saw or drywall saw for enlarging the opening, a drill with appropriate bits, a pair of wire strippers, and a screwdriver set. If you are using an expandable brace, the kit will typically include the necessary mounting bolts and hardware. Having a headlamp or a bright work light is also helpful, as you will be working in a shadowed area once the existing fixture is removed. Keep a vacuum cleaner nearby to manage the dust created by cutting into the ceiling, as this will save you significant cleanup time later.
It is also wise to have a set of needle-nose pliers for manipulating wires and a torpedo level to ensure the final box installation is perfectly flat. If you are working in an older home, keep a flashlight handy to inspect the joist condition. If the wood appears rotted or damaged, do not proceed with the installation until the structural issue is addressed by a professional.
Step-by-Step Instructions: How to Install a Ceiling Fan Box
1. Turn off the power: Locate the circuit breaker controlling the room and flip it to the off position. Use your voltage tester on the existing fixture wires to confirm there is no current flowing.
2. Remove the existing fixture: Carefully take down the current light fixture. Once the wires are disconnected and the fixture is removed, unscrew the old junction box from the joist. If it is nailed in, you may need to use a pry bar to gently pull it free without damaging the surrounding drywall.
3. Prepare the hole: If the existing hole is too small for your new fan-rated box, use your drywall saw to enlarge it. Most retrofit kits require a specific diameter, so check the manufacturer’s template. Be mindful of hidden wires or plumbing lines in the ceiling cavity.
4. Insert the brace: If using a retrofit kit, insert the expandable bar through the hole. Rotate the bar until it is perpendicular to the joists. Use the provided mechanism to expand the bar until the metal feet bite firmly into the wood joists on both sides.
5. Secure the box: Attach the fan-rated junction box to the center of the brace using the provided machine screws. Ensure the box is flush with the ceiling surface. If the box is recessed too far, the fan canopy will not sit correctly, leaving an unsightly gap.
6. Connect the wiring: Feed your house supply wires through the cable clamp on the new box. Tighten the clamp to prevent the wires from pulling out. You are now ready to proceed with the fan installation according to the manufacturer’s specific instructions.
7. Final inspection: Before mounting the fan, give the box a firm pull to ensure it is rock solid. If there is any movement, re-tighten the brace mechanism. A secure box is the foundation of a silent, wobble-free fan.
Understanding Load-Bearing Requirements and Safety
Ceiling fans create dynamic loads, which means they exert force not just through their weight, but through the rotational torque of the motor. This is why the National Electrical Code requires specific support for these fixtures. A standard junction box is designed for static loads, such as a pendant light that hangs straight down. When you add a fan, the constant vibration can fatigue the mounting screws of a standard box, eventually leading to failure.
When you select a fan-rated junction box, you are choosing a component engineered to handle these specific forces. These boxes are often made of heavier-gauge steel and feature reinforced mounting points. Always look for the UL or ETL listing on the packaging. These certifications indicate that the product has been tested against industry standards for safety and load-bearing capacity. Never substitute these with generic hardware store boxes that lack these specific ratings.
If you are installing a very heavy fan, such as a large-diameter model with solid wood blades, check the weight rating on your box. Most fan-rated boxes are rated for up to 70 pounds, but some specialized models can handle more. Ensure your choice matches the requirements of the fan you intend to hang. If you are unsure, err on the side of caution and choose a higher-rated box.
Common Mistakes to Avoid
One of the most frequent errors is failing to tighten the brace sufficiently. If the bar is not locked firmly against the joists, the fan will wobble during operation, which creates noise and puts unnecessary stress on the ceiling drywall. Always double-check the tightness of the expansion mechanism before attaching the fan.
Another common oversight is ignoring the cable clamp. The clamp prevents the electrical wires from chafing against the sharp metal edges of the junction box. If the insulation on your wires is compromised, it can cause a short circuit or create a fire hazard. Always ensure the wires pass through a protected clamp or grommet.
Finally, avoid using drywall screws to hold the box. Drywall screws are brittle and can snap under the weight of a heavy fan. Always use the specific machine screws provided with the fan-rated box, which are designed for high-load applications and vibration resistance. Additionally, do not over-tighten the screws into the box, as this can strip the threads and compromise the integrity of the mount.
Troubleshooting Installation Issues
If you find that the box is loose after installation, the most likely cause is that the joists are spaced too far apart or the drywall is too thick for the brace to grip properly. If the joists are over 24 inches apart, standard retrofit braces may not work, and you will need to install a custom wood blocking system between the joists.
If the box is not level, your fan will likely wobble regardless of how well you balance the blades. Use a small torpedo level to check the box orientation before tightening the final mounting screws. If the box is tilted, adjust the brace tension slightly until the box sits perfectly horizontal.
If you encounter difficulty with the wiring, it is often because the new box is smaller than the previous one, leaving less room for wire nuts. Take your time to tuck the wires neatly into the corners of the box. If the box feels overcrowded, consider using smaller, high-quality push-in wire connectors to save space while maintaining a secure electrical connection.
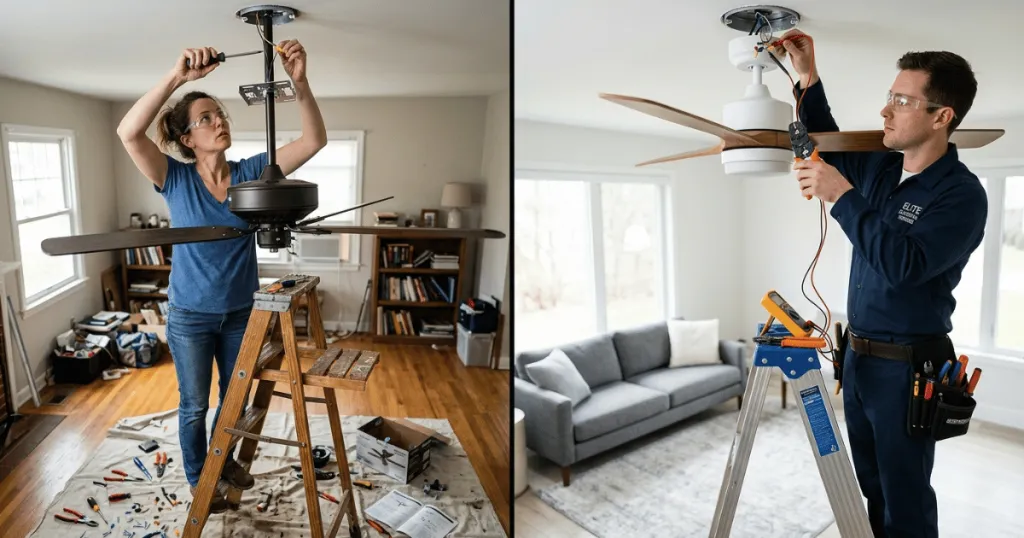
If you feel overwhelmed by the structural requirements or if you are working with older knob-and-tube wiring, stop and consult a licensed electrician. Safety is the priority, and there is no shame in bringing in a professional to ensure the structural and electrical integrity of your ceiling fan mount. Dealing with older wiring systems can be complex, and a professional can ensure that your home remains compliant with current electrical codes.
Maintaining Your Ceiling Fan Mount Over Time
Once the box is installed, it is generally a maintenance-free component, but you should perform a quick check during your seasonal fan cleaning. If you notice the fan starting to wobble more than usual, it may be a sign that the mounting hardware has loosened slightly. Turn off the power and check the screws connecting the fan bracket to the junction box. These should be snug, but do not over-tighten them to the point of damaging the box threads.
If you ever decide to replace your ceiling fan with a newer model, you can usually reuse the existing fan-rated box. However, always inspect the box for signs of rust or damage before installing the new unit. If the box shows any signs of wear, it is inexpensive insurance to replace it while you already have the fan down. This proactive approach ensures that your ceiling fan remains a reliable and quiet part of your home comfort system for many years.
FAQ
Can I use an existing ceiling light box for a fan?
No. Standard light boxes are not rated for the weight or the constant vibration of a ceiling fan. You must replace it with a fan-rated junction box to prevent the fixture from falling.
How do I know if my box is fan-rated?
A fan-rated box will have a clear stamp or label inside the box indicating it is suitable for ceiling fans, often listing the maximum weight capacity. If you do not see this label, assume it is not rated for a fan.
What if my ceiling joists are not accessible?
You can use an expandable, fan-rated retrofit brace. These are designed to be inserted through the hole in your ceiling and tightened against the joists from below, providing a secure mount without needing attic access.