At a Glance: Installing a ceiling fan involves ensuring your ceiling box is fan-rated, mounting the bracket securely to the joists, wiring the motor according to the manufacturer’s diagram, and balancing the blades to prevent wobble. Always turn off the power at the circuit breaker before beginning.
Installing a ceiling fan is a rewarding project that can significantly improve the comfort and airflow of your living space. When done correctly, you should expect a silent, wobble-free performance that provides consistent air circulation for years to come. Achieving this result requires careful attention to the mounting hardware and electrical connections, ensuring that every component is tightened to the manufacturer’s specifications.
By following a methodical approach, you can transform a standard room into a more climate-controlled environment without needing professional assistance for every step. This guide focuses on the practical realities of How to Install a Ceiling Fan, helping you navigate the process from the initial safety checks to the final blade balancing.
Before You Start: Preparation and Safety
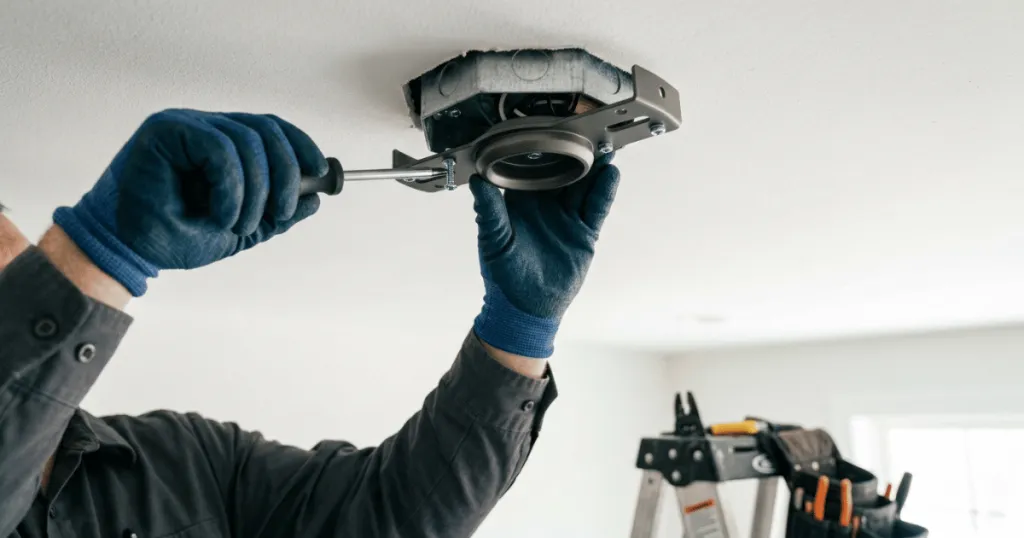
Before you even open the box, you must evaluate the existing electrical infrastructure of your ceiling. A standard light fixture box is rarely sufficient to support the weight and torque of a ceiling fan. You need a fan-rated junction box, which is specifically engineered to handle the dynamic load of a spinning motor. If your current box is not rated for fans, you must replace it with a brace-supported fan box that attaches to the ceiling joists.
Take a moment to inspect your ceiling height. If your ceiling is lower than eight feet, you should plan for a flush-mount installation to maintain adequate clearance. For ceilings higher than nine feet, you will need an extension downrod to bring the blades into the optimal airflow zone, which is typically seven to nine feet above the floor. Ignoring these height requirements can lead to poor air circulation or, in the case of low ceilings, a significant safety hazard.
Gather your tools before beginning the work. You will need a sturdy stepladder, a voltage tester, wire strippers, a set of screwdrivers, and a socket wrench. Never rely on the wall switch alone to cut power; always turn off the circuit breaker at the main electrical panel. Verify the power is off by testing the wires in the ceiling box with a non-contact voltage tester before touching any components.
Prerequisites for a Successful Installation
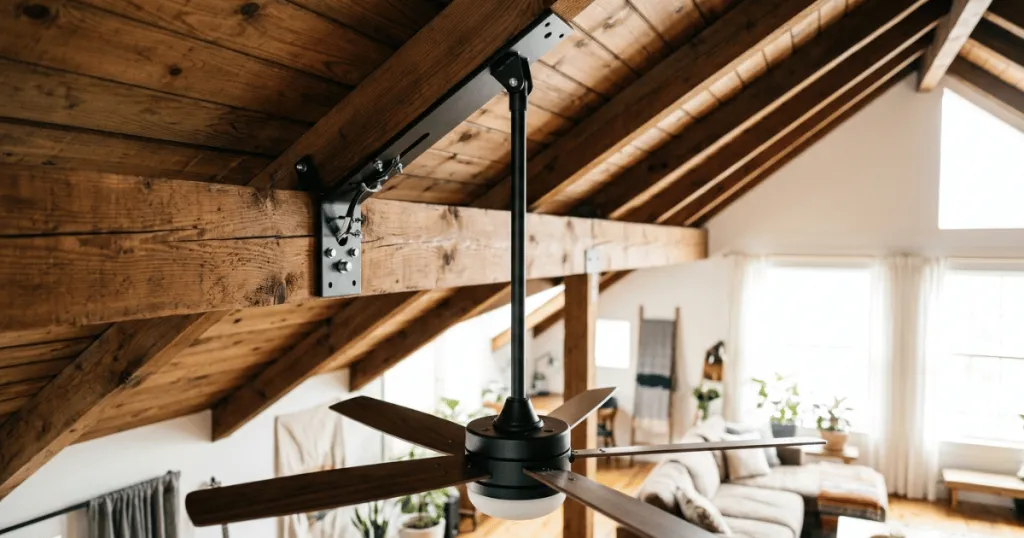
The success of your installation depends heavily on the structural integrity of the ceiling connection. Ensure you have the correct mounting bracket, which is usually included with the fan kit. If you are installing on a sloped ceiling, confirm that your fan model includes a canopy that can accommodate the specific angle of your roofline.
Check the wiring in your ceiling box. Most modern fans require a hot, neutral, and ground wire. If you have an older home with only two wires, you may need to consult an electrician to ensure your grounding is sufficient for a modern fan installation. Additionally, verify that you have enough space in the canopy to tuck away the receiver if you are installing a fan with a remote control system.
How to Install a Ceiling Fan | Step-by-Step Process
1. Secure the Mounting Bracket: Attach the mounting bracket to the fan-rated junction box using the provided machine screws. Ensure the bracket is perfectly level, as any tilt here will translate into a wobble later. Tighten the screws firmly, but do not overtighten, as this can strip the threads in the junction box.
2. Assemble the Motor and Downrod: If your fan uses a downrod, feed the wires through the rod and attach it to the motor housing. Secure the set screws on the motor collar tightly. This is a critical step; a loose set screw is the most common cause of fan noise and vibration.
3. Hang the Motor: Lift the motor assembly and hook the downrod ball into the slot on the mounting bracket. The ball should seat firmly, preventing the motor from rotating. This allows you to work hands-free while connecting the electrical wires.
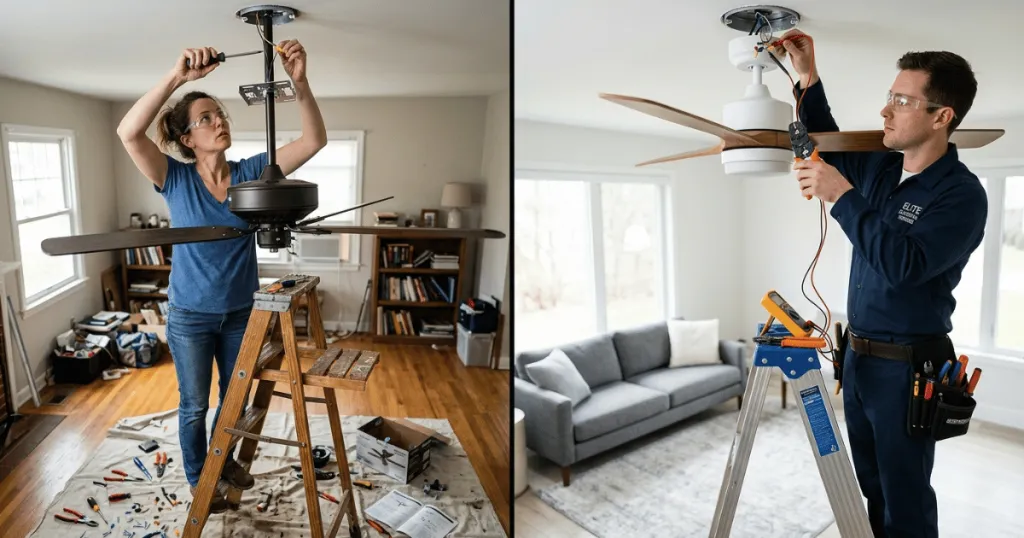
4. Wire the Connections: Connect the wires according to the manufacturer’s color-coded diagram. Typically, this involves connecting the green ground wire to the house ground, white to white (neutral), and black/blue to the black (hot) wire. Use secure wire nuts and wrap them with electrical tape for added safety.
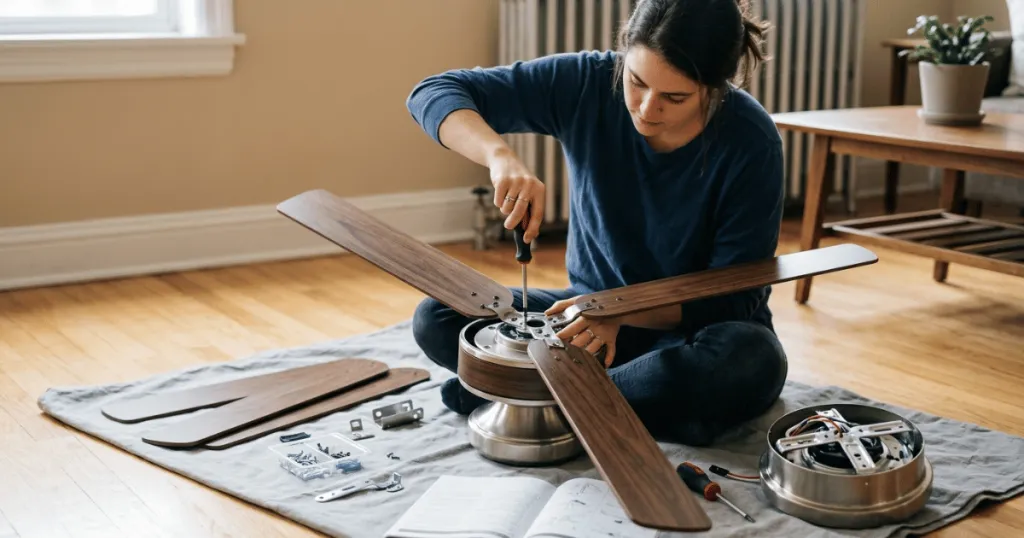
5. Attach the Blades: Install the blade brackets to the motor, then attach the blades themselves. Do not fully tighten the screws until all blades are attached to ensure proper alignment. Once all are in place, go back and tighten every screw firmly.
Advanced Considerations for Long-Term Stability
Beyond the basic steps, long-term performance relies on managing the mechanical stress placed on the ceiling structure. When installing a fan, consider the weight of the motor housing. Heavier motors require more robust support. If you are retrofitting a fan into an existing ceiling, always use a stud finder to locate the joists. If the junction box is not centered between joists, you may need a specialized adjustable fan brace bar that expands to grip the joists from inside the attic or through the ceiling hole.
Another often overlooked factor is the electrical load. If you are adding a fan with a light kit to a circuit that already powers multiple other rooms, you might experience flickering or tripped breakers. Ensure your circuit capacity can handle the additional wattage, especially if you are using incandescent bulbs instead of energy-efficient LEDs. Modern fans often include remote receivers that fit inside the canopy; ensure these are seated correctly so they do not rattle against the metal housing during high-speed operation.
Common Installation Mistakes
The most frequent error is failing to tighten the blade screws uniformly. If one blade is slightly looser than the others, the fan will be out of balance, leading to a rhythmic ticking or shaking. Always use a screwdriver rather than a power drill for the final tightening to avoid stripping the soft metal screws often found in blade assemblies.
Another common mistake is neglecting to use the provided lock washers. These small components are essential for preventing screws from backing out over time due to the natural vibration of the motor. If you lose a washer, replace it before finishing the assembly; do not skip this step. Furthermore, failing to properly seat the downrod ball into the mounting bracket slot can lead to the fan spinning off-center, which creates excessive wear on the motor bearings.
Troubleshooting Performance Issues
If your fan wobbles, start by checking the blade alignment. Use a yardstick to measure the distance from the tip of each blade to the ceiling. If one blade is lower, gently bend the blade bracket until the distance matches the others. If the wobble persists, use a blade balancing kit, which uses small adhesive weights to offset minor manufacturing variances in blade weight.
If you hear a clicking sound, check for debris in the motor housing or loose screws in the light kit. Often, a wire inside the canopy may be rubbing against the motor housing, creating a faint tapping noise. Simply repositioning the wires and ensuring they are tucked neatly into the canopy usually resolves this issue immediately. For persistent hums, check that the fan is not on a dimmer switch that is incompatible with the motor, as this can cause an electrical buzz.
Maintenance Tips for Continued Comfort
Once installed, your ceiling fan requires minimal maintenance, but periodic checks are vital. Every six months, especially before the change of seasons, inspect the blade screws for tightness. Dust buildup on the blades can also cause an imbalance, so clean them regularly with a damp cloth. If you notice the fan speed decreasing or the motor becoming sluggish, it may indicate that the internal capacitors are reaching the end of their life cycle, which is a common occurrence in older units.
Finally, always ensure the direction switch is set correctly for the season. Counter-clockwise rotation pushes air downward for a cooling effect in summer, while clockwise rotation at low speed pulls cool air up and pushes warm air off the ceiling in winter. Making these small adjustments ensures you get the most value out of your installation throughout the year.