At a Glance: To replace a ceiling fan pull switch, first turn off the power at the main breaker and verify the circuit is dead with a voltage tester. Access the switch housing, document the existing wire connections with a photo, remove the old switch, and install the new one by matching the wiring configuration. Test the fan before securing the housing cover.
When your ceiling fan stops responding to the pull chain, it is often a sign that the internal switch mechanism has worn out. Learning how to install a ceiling fan pull switch is a manageable DIY project that can restore your fan to full functionality without requiring a complete replacement. By replacing just the faulty switch, you extend the life of your appliance and regain control over your airflow settings.
This process involves accessing the switch housing, disconnecting the existing wiring, and securing a new, compatible component. While it may seem intimidating to work with electrical parts, the task is straightforward if you follow safety protocols and document your steps. This guide will walk you through the process, ensuring you have the knowledge to perform the repair with confidence and precision.
Before diving into the mechanical steps, it is helpful to understand why these switches fail. Ceiling fan pull switches are mechanical devices that endure significant physical stress over time. Every time you pull the chain, you are physically moving internal contacts. Over years of use, these contacts can become pitted, loose, or oxidized, leading to intermittent operation or total failure. Recognizing that this is a wear item rather than a sign of a failing motor can save you from unnecessary concern.
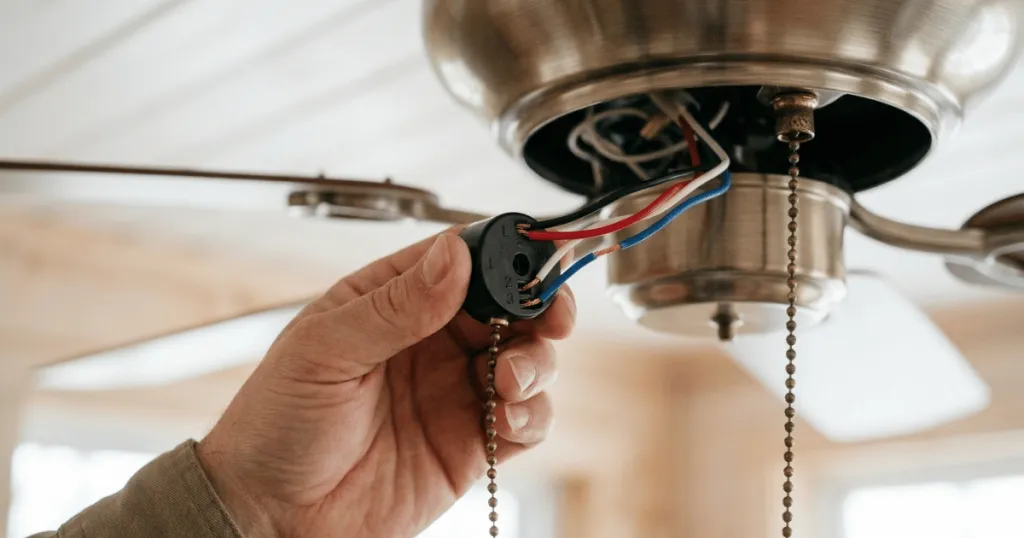
Before You Start: Preparation and Safety
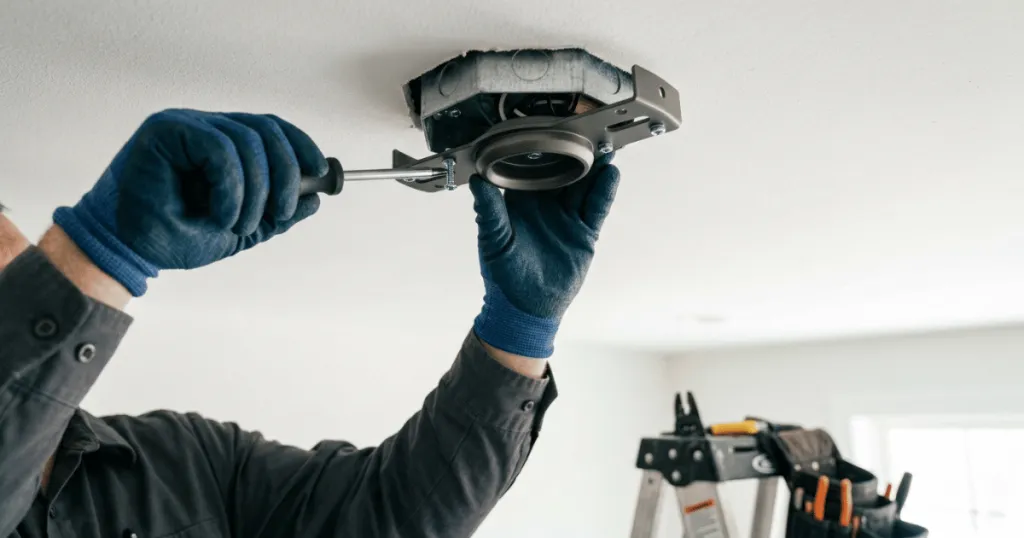
Before you touch any wiring, you must turn off the power to the ceiling fan at your home’s main electrical panel. Simply turning off the wall switch is not enough, as some circuits may remain live. Use a non-contact voltage tester to verify that no electricity is flowing to the fan housing before you begin opening the unit. This step is non-negotiable for your safety.
You should also take the time to identify the correct replacement part. Not all pull switches are universal. Some fans use a two-wire switch for simple on/off functions, while others use a three-wire or four-wire switch for multi-speed control. Check the model number of your fan, which is usually found on a label on the top of the motor housing or the canopy, and search for the specific switch part number. Using the wrong switch can damage your fan motor or create a fire hazard.
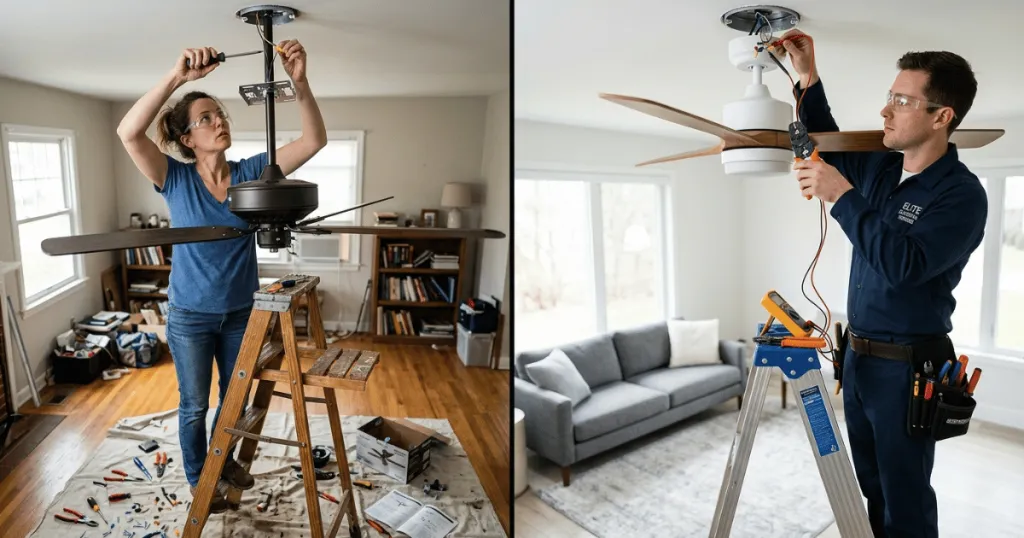
Clear a workspace beneath the fan. If the fan is mounted high, ensure you have a stable ladder that allows you to reach the switch housing comfortably without overextending. Having a helper hold the ladder or hand you tools can make the process much smoother. If you feel uncomfortable working on a ladder or handling electrical components, do not hesitate to contact a licensed electrician.
Consider the environment of the room as well. If the fan is located in a high humidity area like a kitchen or a covered patio, the internal switch contacts may have corroded faster than in a dry bedroom. When you open the housing, look for signs of moisture or dust buildup. Cleaning the area with a dry cloth before installing the new switch can improve the longevity of the replacement component.
Tools and Prerequisites
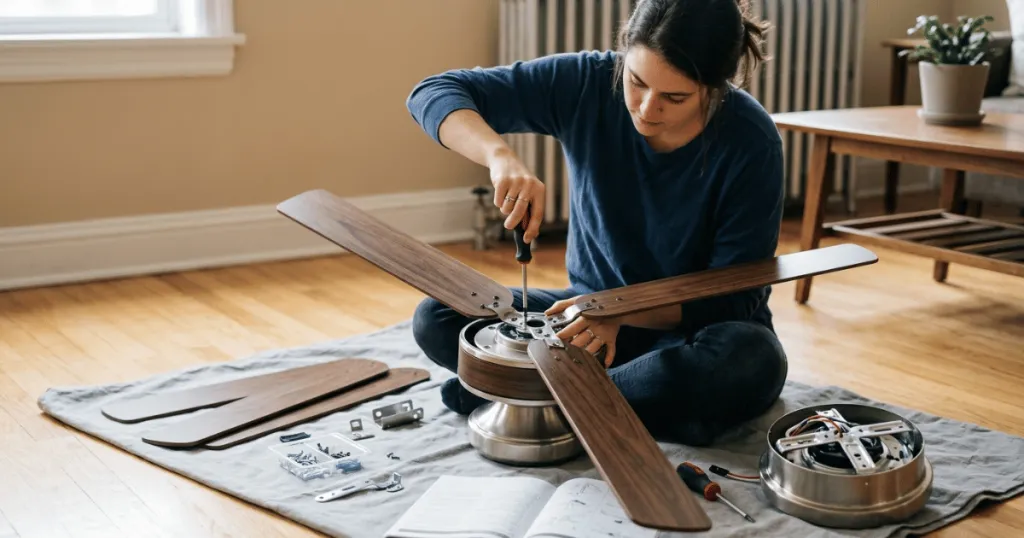
To perform this task, you will need a few basic tools. A standard Phillips-head screwdriver is essential for removing the screws on the switch housing. You will also need a pair of wire strippers if the new switch comes with bare leads, or needle-nose pliers to manipulate the small wire connectors. A non-contact voltage tester is your most important safety tool.
It is helpful to have a small container or magnetic tray to hold the screws you remove, as these are easy to lose on carpet or floorboards. If you need to replace wire nuts, keep a few spares on hand. Some fans use quick-connect plugs, which make the job easier, while others use traditional wire nuts. If you encounter a quick-connect plug, ensure you have a small flathead screwdriver to depress the release tab if necessary.
Having a flashlight or a headlamp is also highly recommended. Even in a well-lit room, the interior of the switch housing is often cast in shadow by the motor assembly. Proper visibility is essential for identifying wire colors and ensuring that your connections are secure. If you are working alone, a headlamp is superior because it keeps your hands free to manipulate the wires and the switch housing.
Step-by-Step Instructions: How to Install a Ceiling Fan Pull Switch
Follow these steps in order to ensure a clean and safe installation. If you find that your fan’s internal wiring does not match the steps below, stop and consult your fan’s specific manual or a professional.
- Access the switch housing: Remove the screws holding the bottom cap or the switch housing cover. Carefully lower the cover, but be mindful of the wires inside. Do not pull on the wires, as they are often fragile.
- Document the existing wiring: Before disconnecting anything, take a photo of the current wiring configuration. Note which color wire connects to which terminal or wire nut. This reference is vital if you get confused during reassembly.
- Remove the faulty switch: Unscrew the nut holding the pull chain switch to the housing. Once loose, disconnect the wires. If they are connected via wire nuts, unscrew the nuts. If they are in a quick-connect block, press the release tab to pull the wires out.
- Install the new switch: Insert the new switch into the housing hole and tighten the mounting nut securely. Do not overtighten, as the plastic threads can strip easily.
- Connect the wires: Attach the wires of the new switch to the corresponding wires from the fan motor, matching the colors or positions you documented earlier. Use wire nuts to secure the connections, ensuring no bare copper is exposed.
- Test and reassemble: Before closing the housing, turn the power back on and test the fan. Pull the chain to cycle through the speeds. If the fan works correctly, turn the power off again and carefully tuck the wires back into the housing, then screw the cover back into place.
Deep Dive: Understanding Switch Compatibility and Wiring
One of the most critical aspects of this repair is understanding that not all pull switches function the same way. A three-speed fan switch often has specific internal logic that dictates how the motor receives power. If you purchase a generic switch that does not match the original wiring diagram, you might find that your fan only runs on high speed or that the speeds are out of order. Always look at the back of the switch for a wiring diagram if one is provided.
When dealing with wire colors, do not assume that standard house wiring colors apply to the fan internal wiring. Manufacturers often use proprietary color coding for the fan motor leads. This is why the documentation step is so important. If you lose track of which wire goes where, you may need to consult the manufacturer website for a PDF manual specific to your model number. Never guess the wiring configuration, as incorrect connections can lead to motor damage or blown fuses.
If you encounter a switch with a capacitor attached, be very careful. Capacitors store electrical charge even after the power is turned off. While most ceiling fan capacitors are small and discharge quickly, it is good practice to avoid touching the terminals of the capacitor directly. If the capacitor is in the way, gently move it aside without putting tension on its leads.
Common Mistakes to Avoid
One of the most frequent mistakes is failing to label or photograph the wires before disconnecting them. It is easy to assume you will remember where each wire goes, but once the old switch is out, the configuration can become confusing. Always take a clear photo of the connections.
Another common error is overtightening the retaining nut on the switch. These nuts are often made of soft metal or plastic. If you apply too much force, you risk cracking the housing or stripping the threads, which makes the switch loose and prone to failure. Tighten it until it is snug, then give it a tiny turn more.
Ignoring the wire gauge is also a risk. If you are replacing wire nuts, ensure you use the correct size for the number and thickness of the wires you are connecting. A loose wire nut can lead to arcing or intermittent power, which can damage the fan motor over time. Always give each wire a gentle tug after securing it to ensure it is firmly held in place.
Another mistake is failing to check the pull chain mechanism itself. Sometimes the switch is perfectly fine, but the chain has become jammed or the housing hole has become misaligned. Before you go through the effort of replacing the entire switch, check to see if the chain is simply caught on the housing edge. A small amount of silicone lubricant can sometimes fix a sticky chain, but if the internal switch is broken, replacement is the only reliable path.
Troubleshooting Your Installation
If the fan does not turn on after you install the new switch, the first thing to check is the power source. Ensure the circuit breaker is fully engaged and the wall switch is in the on position. If those are fine, the issue may be a loose connection inside the housing. Turn off the power and double-check that every wire nut is tight and that wires are properly seated in their connectors.
If the fan runs but only at one speed, it is possible you have miswired the switch. Some switches have specific terminals for different speeds, often marked as L, 1, 2, and 3. If you swapped the wires for these speeds, the fan will not cycle correctly. Refer back to your documentation or the manufacturer’s wiring diagram to verify the correct terminal placement.
If you hear a buzzing sound after the installation, this often indicates a loose connection or a switch that is not fully compatible with the fan’s motor. Ensure all connections are tight and that no wires are pinched between the housing and the motor. If the problem persists, the switch may be defective, or it may not be the correct model for your specific fan.
Consider the possibility of a faulty capacitor if the fan hums but does not spin. While you are in the housing replacing the switch, look for any signs of swelling or leaking on the capacitor. A bad capacitor is a common secondary failure point in ceiling fans that have been in service for many years. If you notice these signs, you may need to replace the capacitor in addition to the pull switch to fully restore functionality.
Conclusion
Learning how to install a ceiling fan pull switch is a practical skill that saves time and money. By following these steps and prioritizing safety, you can restore your fan’s performance efficiently. If you ever feel uncertain about the wiring or the compatibility of your replacement parts, reaching out to a professional is always the right choice to ensure your home remains safe and comfortable.
FAQ
Can I use any universal pull switch for my ceiling fan?
No. While some switches are universal, many fans require specific switches designed for their speed control settings. Always check your fan’s model number and the switch’s wiring configuration before purchasing a replacement.
Why does my ceiling fan still hum after replacing the switch?
A humming sound often indicates a loose wire connection or a switch that is not perfectly compatible with the motor. Double-check all wire nut connections and ensure the switch is the exact part recommended by the manufacturer.
Is it safe to replace a pull switch without turning off the main breaker?
No. You must always turn off the power at the main electrical panel. A wall switch does not guarantee that the power to the fan housing is disconnected, and working on live wires poses a severe risk of electric shock.