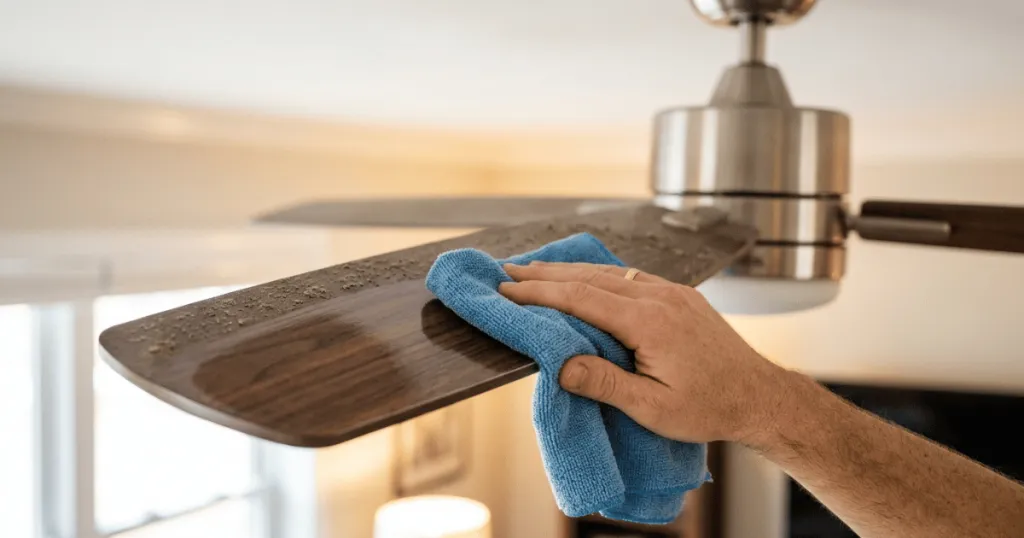
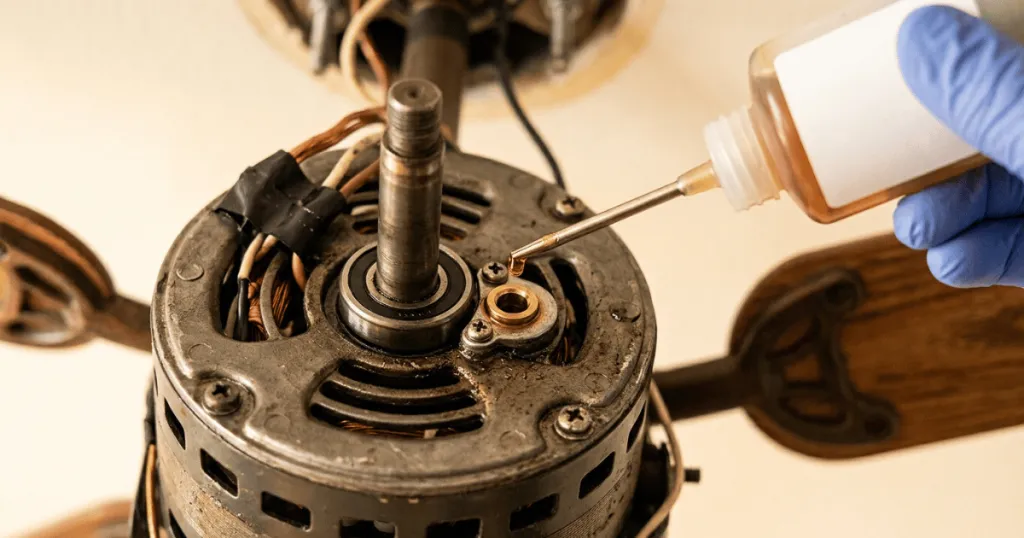
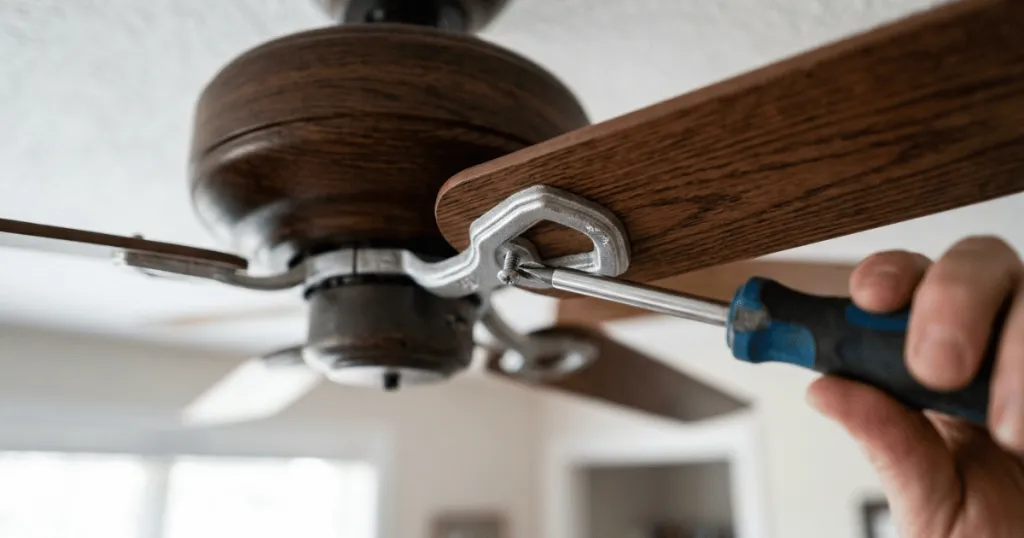
When your ceiling fan powers on, invisible rotational forces and continuous micro-vibrations begin working against its hardware. Over months of steady operation, these natural forces take a toll on the hardware holding the entire assembly together, making regular checks for Tightening Loose Screws & Fittings an essential part of basic home upkeep.
Ignoring these minor shifts in hardware stability often turns a silent, smooth-running appliance into a noisy, vibrating distraction. Taking a proactive approach to hardware maintenance protects the motor, preserves structural integrity, and keeps your rooms peaceful.
Homeowners often overlook ceiling fan upkeep because these fixtures seem entirely permanent once installed. Yet, understanding the mechanical realities of suspended rotating appliances helps clarify why routine inspections are necessary for every room in the house, from low-profile living room units to high-ceiling bedroom models. Neglecting routine fastener checks eventually leads to compounding mechanical issues that extend far beyond a simple annoying sound.
The Primary Causes of Hardware Loosening on Ceiling Fans
Understanding why hardware backs out helps you anticipate maintenance needs before they turn into major structural issues. Ceiling fans endure unique mechanical stresses that standard wall fixtures or stationary light fixtures never experience.
Continuous Motor Vibration and Rotational Torque
Electric motors generate constant vibration while spinning heavy blades at varying speeds. Every time you change speeds or reverse the spin direction, rotational torque twists the mounting bracket, downrod, and blade irons. This back-and-forth force gradually overcomes the friction holding threaded fasteners in place, causing them to back out slowly.
In practice, this means even professionally installed fixtures will eventually need attention. The process is entirely normal physics rather than a sign of a defective product. Seasonal changes in temperature also cause metal components to expand and contract, accelerating the loosening cycle.
When evaluating fastener security, it helps to recognize that different parts of the fan experience distinct vectors of stress. The upper housing deals primarily with vertical weight distribution and lateral sway, while the motor assembly below manages centrifugal force and torque transfer. Recognizing these mechanical pathways allows homeowners to focus their inspection efforts where wear happens fastest.
Aerodynamic Blade Drag and Variable Airflow Pressure
As ceiling fan blades sweep through the air, they encounter varying resistance based on room humidity, dust buildup, and air density. This dynamic aerodynamic drag places uneven pressure on the blade bracket screws. If one blade accumulates more dust than the others, the imbalance magnifies the stress on specific fittings.
Over time, this localized stress causes the blade-to-flywheel screws to loosen first. Once one screw becomes slightly loose, the remaining fasteners take on extra load, speeding up the degradation of the entire blade assembly.
Airflow pressure is particularly significant in larger rooms or areas with high ceilings where longer blades generate greater torque. If a blade warps slightly due to indoor humidity fluctuations, the resulting drag creates a rhythmic jerking motion that transmits directly into the blade iron hardware and mounting flywheel.
Real-World Context and Everyday Operational Risks
Let us look at how hardware neglect plays out in a typical residential setting. Imagine a standard living room fan running on medium speed for several hours every day during the warmer months.
At first, you might notice a very faint rhythmic hum during late evening hours when ambient home noise drops. Many homeowners assume this sound comes from the motor housing or electrical humming, so they ignore it.
As the weeks pass, that faint hum evolves into a noticeable metallic rattle every time the fan hits high speed. Soon afterward, the lower canopy starts shifting slightly against the ceiling drywall, creating a scraping sound.
If you inspect the fan at this stage, you will likely find that the canopy screws, downrod set screw, and at least two blade arm screws have drifted loose. Left unaddressed for another season, this ongoing movement can strip the threaded receiver holes inside the motor flywheel or bend the stamped steel blade arms.
A safer approach is establishing a semi-annual inspection routine during spring and autumn when you change your heating and cooling settings. Catching a loose screw when it has only turned a fraction of a rotation takes seconds and prevents permanent wear on expensive components.
Consider another common scenario involving bedroom ceiling fans. Because bedrooms require quiet environments, even minor hardware rattles become glaringly obvious during sleep hours. When a downrod set screw loses its grip, the entire downrod develops play inside the hanging ball assembly. This creates a clicking noise with every single rotation of the motor. Homeowners frequently waste time balancing blades with clip-on weights when the actual culprit is a simple loose fastener at the top of the downrod.
Why Prioritizing Hardware Maintenance Protects Your Investment
Staying ahead of loose hardware is about much more than stopping annoying ceiling fan wobbles or elimination of background noises. Proper mechanical maintenance preserves the physical safety and operational longevity of the entire appliance.
When blade irons or downrod pins become loose, the fan develops an eccentric rotational weight distribution. This imbalance forces the motor bearings to work harder on an uneven axis, causing premature bearing wear and potential motor burnout over time.
Furthermore, severe wobbling places cumulative fatigue stress on the electrical wiring inside the downrod. Constant swaying can pinch or strain wire nuts and terminal connections, creating hidden electrical hazards.
From an editorial standpoint, routine hardware checks represent the highest-return maintenance task a homeowner can perform. It requires zero specialized tools beyond a standard screwdriver and a sturdy step ladder, yet it directly addresses the root cause of most premature ceiling fan failures.
Maintaining structural stability also prevents catastrophic failures. While total separation of a ceiling fan from a ceiling box is rare, it always begins with neglected, chronically loose mounting hardware. By making fastener inspection part of your yearly home maintenance checklist, you eliminate risks and ensure your living spaces remain safe and comfortable.
Common Misconceptions About Ceiling Fan Hardware Maintenance
Several persistent myths surround how ceiling fan fasteners should be maintained, often leading homeowners to make mistakes that worsen the problem.
A common misconception is that factory-assembled fans arrive with every internal screw tightened to the absolute limit, meaning you never need to check factory connections. In reality, shipping vibrations and initial thermal break-in periods during the first few months of use frequently loosen internal housing screws that were secured during manufacturing.
Another frequent error involves over-tightening fasteners in an attempt to prevent future loosening. Applying excessive torque with power tools can easily strip aluminum threads, crack die-cast motor housings, or warp wooden and composite fan blades. Hand tools provide all the necessary leverage while offering tactile feedback that prevents you from stripping delicate threads.
Some homeowners also believe that thread-locking fluids are mandatory for every single screw on a fan. While a tiny drop of removable threadlocker is useful for downrod set screws subject to extreme vibration, it is completely unnecessary and often messy for standard blade and decorative canopy screws.
Another myth is that fans mounted on vaulted or sloped ceilings require entirely different maintenance procedures. While sloped ceiling adapters introduce an extra pivoting joint that deserves inspection, the core principle remains identical. Every threaded connection in the power train must be checked periodically for tightness.
Step-by-Step Practical Guidance for Your Inspection Routine
When you are ready to perform a maintenance check, turn off the wall switch and the circuit breaker to ensure complete electrical safety before touching any metal surfaces.
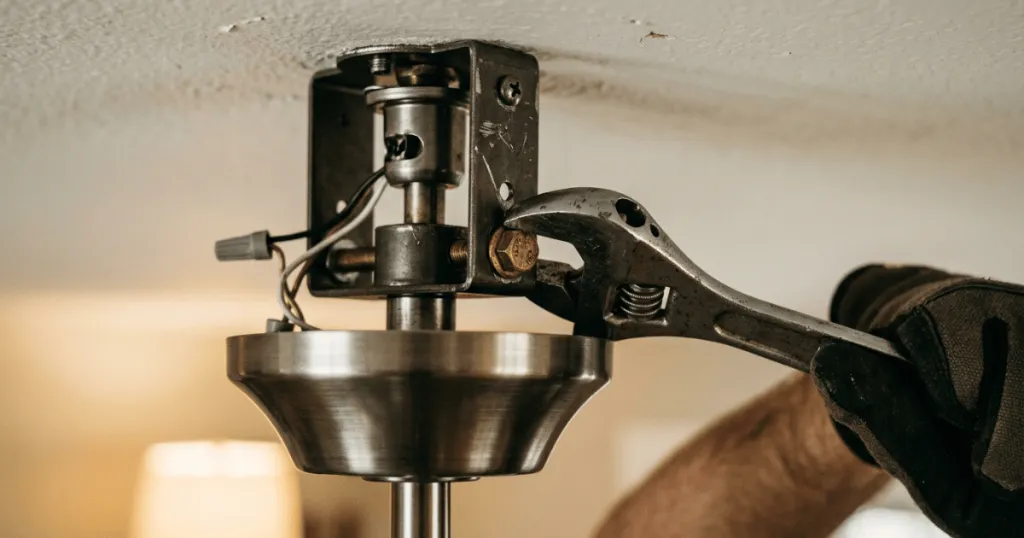
Start your inspection at the ceiling junction box and work your way down. Verify that the mounting bracket secured to the ceiling joist or brace is firmly anchored without any play.
Next, examine the downrod assembly. Pay special attention to the cross-pin and the set screw that locks the downrod into the motor yoke, as these bear the brunt of rotational torque. Tighten any loose set screws securely.
Move outward to the blade irons. Check both the screws attaching the blade brackets to the motor flywheel and the screws securing the actual blades to the brackets. Tighten them in a crisscross pattern to maintain even clamping pressure across the blade surface.
Finally, check the light kit fitter screws and glass shade thumb screws if your model includes integrated lighting. Glass shades are notoriously sensitive to vibrations, and securing their thumbscrews prevents rattling and accidental slipping.
After completing your hardware audit, perform a manual spin test before restoring power. Gently rotate the blades by hand to ensure they spin freely without rubbing against the motor housing or light kit. Listen for any scraping sounds, and confirm that the blade alignment is uniform. Once you restore power at the breaker, run the fan on low speed first, observing the movement of the canopy and blades before moving to high speed.
FAQ
How often should I check my ceiling fan for loose screws?
It is best to inspect and tighten your ceiling fan hardware twice a year, ideally during spring and autumn when you transition between heating and cooling seasons.
Can I use a power drill to tighten ceiling fan screws?
Power drills apply too much torque and can easily strip threads in aluminum motor housings or warp blades. Always use hand tools like screwdrivers for precise tactile control.
What causes a ceiling fan to rattle even after tightening the blades?
If blade screws are secure, the rattle is often caused by a loose downrod set screw, loose canopy screws hitting the ceiling, or loose glass shade thumb screws on the light kit.