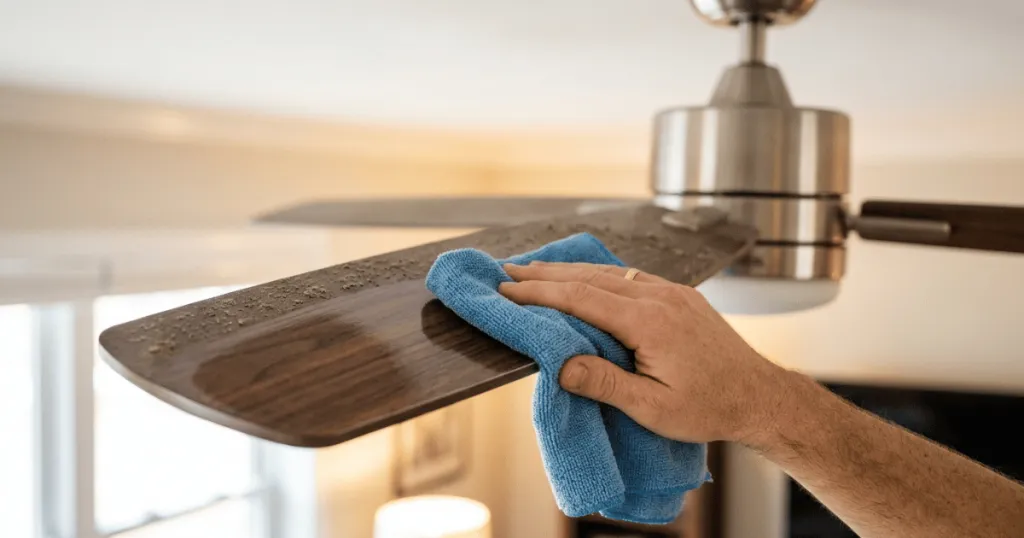
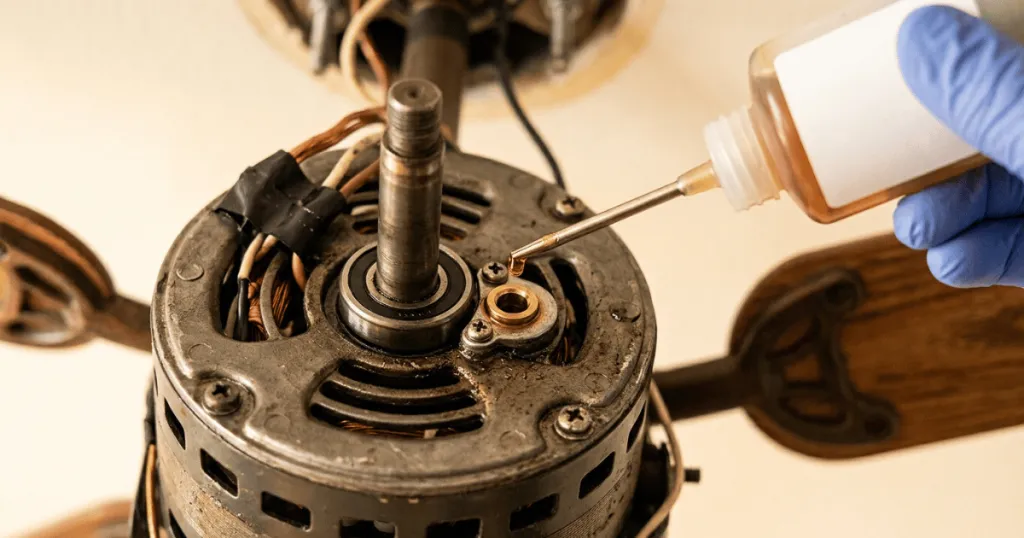
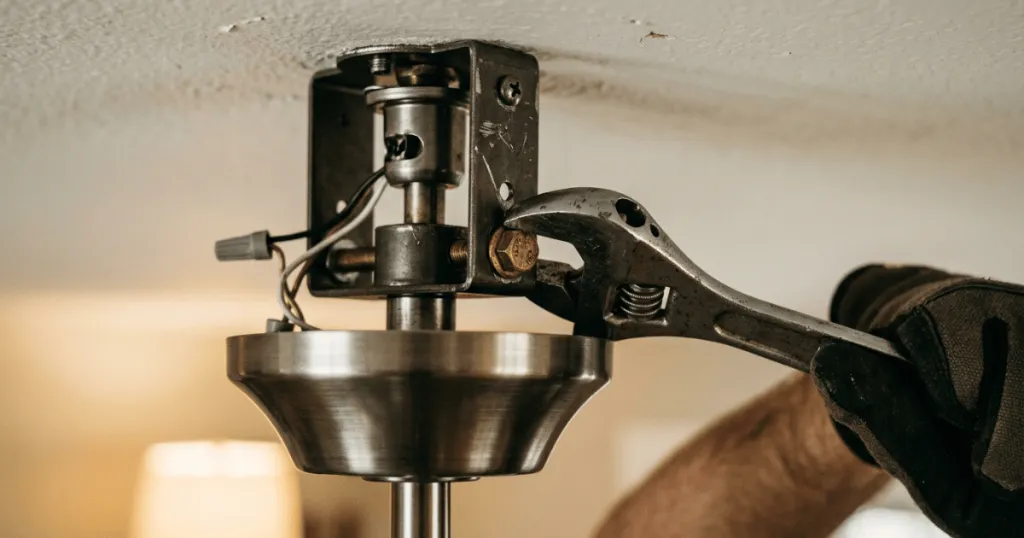
Key Takeaway: To tighten a ceiling fan, shut off power at the breaker, inspect and tighten the mounting bracket, secure the blade irons to the motor housing, tighten the blade screws, and secure any light kit hardware before testing the fan at all speed settings.
Before you commit to a full afternoon of overhead maintenance, perform a quick readiness check. If you have a sturdy step ladder, basic hand tools, and thirty minutes of uninterrupted time, you are ready to proceed with tightening your overhead fixture. Knowing how to tighten a ceiling fan properly ensures your living space remains quiet, safe, and comfortable throughout every seasonal change.
When your overhead fixture begins to wobble, sway, or emit rhythmic clicking sounds, addressing the issue promptly prevents premature motor wear and eliminates household irritation. Knowing how to tighten a ceiling fan is a straightforward maintenance task that restores both structural stability and quiet operation to your living space. Most wobbling and rattling issues stem from loose hardware rather than internal mechanical failure, making this an accessible project for any homeowner with basic tools and a bit of patience.
Before you climb a ladder, take a moment to evaluate how the fixture behaves while running at different speeds. A fan that shakes violently at high speed usually points to blade balance or loose blade iron screws, whereas a low hum or slight metallic click often indicates a loose mounting bracket or canopy. Pinpointing the exact source of movement saves time and ensures you focus your efforts on the components that actually require adjustment.
Before You Start Working on Your Ceiling Fan
Safety must guide every phase of this maintenance project. Ceiling fixtures combine electrical wiring with heavy rotating parts suspended overhead, so cutting power at the main breaker panel is non-negotiable. Turning off only the wall switch leaves live current running to the canopy, which creates a severe shock hazard when you handle internal wiring or mounting hardware. Always verify the circuit is completely dead using a non-contact voltage tester before touching any metal surfaces.
Gather your supplies before getting started so you do not have to balance on a ladder while searching for a screwdriver. You will typically need a standard Phillips-head screwdriver, a flathead screwdriver for popping off decorative covers, a sturdy step ladder that places the fixture at chest height, and a non-contact voltage tester. If you suspect an unbalanced blade set is contributing to the movement, having a blade balancing kit nearby can save you a second trip up the ladder.
Clear the room underneath the fixture and lay down a protective drop cloth or blanket. This protects your flooring and furniture from any falling dust, stray screws, or decorative caps that might roll away. Take your time positioning the ladder on a flat, stable surface. Never stretch or overreach while working overhead; reposition the ladder whenever necessary to maintain a comfortable, balanced posture.
Tools, Context, and Prerequisite Checks
Understanding the anatomy of an overhead fixture helps you diagnose whether simple tightening will solve your problem or if underlying structural issues require professional attention. A standard fixture consists of a mounting bracket bolted to the ceiling junction box, a downrod or flush canopy, a motor housing, blade irons, and the blades themselves. Each connection point experiences constant vibration, which naturally loosens screws over months of seasonal use.
Examine the electrical junction box in your ceiling before proceeding with any hardware tightening. Older homes often feature plastic or metal boxes designed for standard light fixtures rather than heavy rotating motors. If the junction box itself moves or flexes when you push on the mounting bracket, tightening the fixture screws will not stop the wobble. A secure ceiling box anchored directly to ceiling framing joists or a heavy-duty brace is an absolute prerequisite for safe operation.
Check the age and condition of your hardware during your initial inspection. Screws that are stripped, rusted, or missing lock washers will continue to work themselves loose shortly after you tighten them. Replacing damaged fasteners with matching grade steel screws provides a permanent fix and prevents recurring maintenance headaches.
Beyond standard hardware checks, consider how environmental conditions in different rooms impact your fixture. Kitchens and outdoor covered patios subject fasteners to temperature swings and humidity shifts, which accelerate metal expansion and contraction. In these spaces, checking your fasteners twice a year prevents minor looseness from turning into major mechanical fatigue or stripped threading inside the motor housing.
Step-by-Step Instructions: How to Tighten a Ceiling Fan
Follow this systematic sequence to secure every connection point from the ceiling down to the blade tips. Working in a logical order ensures you do not miss hidden fasteners that contribute to ongoing noise or vibration.
Step 1: Shut Off Power and Secure the Work Area
Locate your home electrical service panel and switch off the circuit breaker that controls the room. Return to the wall switch and toggle it to confirm the power is cut. Use your non-contact voltage tester around the switch plate, the wall switch wires if exposed, and near the fixture canopy to verify zero voltage. Set up your step ladder directly beneath the fixture and ensure all tools are within arm reach on a tool tray or pouch.
Step 2: Inspect and Tighten the Canopy and Mounting Bracket
Slide the decorative canopy down the downrod to expose the mounting bracket and electrical box. Check the screws securing the mounting bracket to the ceiling electrical box and tighten them firmly. Next, examine the hanging ball and downrod support bracket. If your model uses a set screw on the downrod collar, tighten it completely to eliminate any side-to-side play in the hanging assembly.
Step 3: Secure the Blade Irons to the Motor Housing
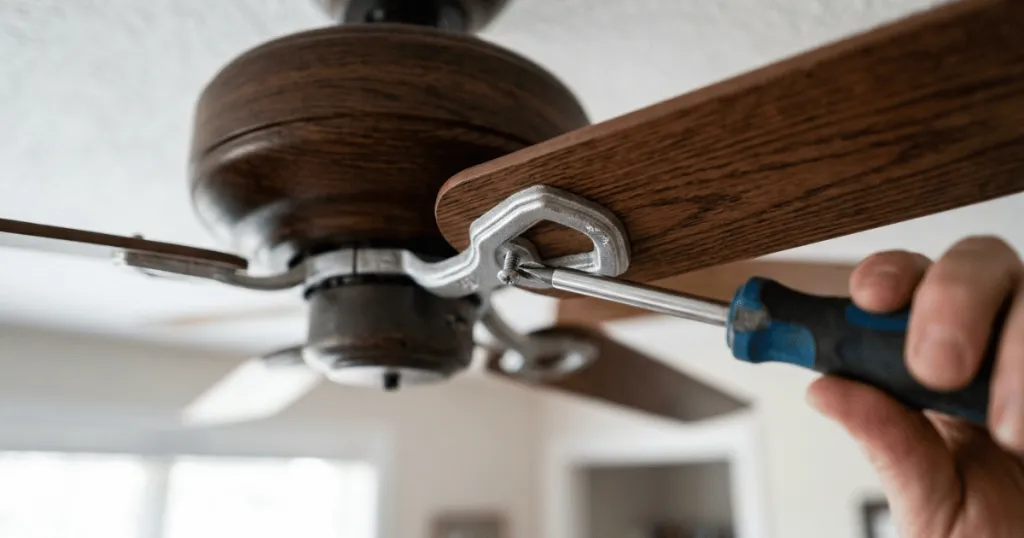
Locate the screws that attach each blade iron to the underside of the motor housing. Over time, continuous rotational torque loosens these attachment points. Tighten every screw securely, giving each one a firm turn without stripping the threading in the motor casting. If a blade iron feels loose even after tightening its screws, remove the iron entirely to inspect the lock washers and mounting holes for wear.
Step 4: Tighten the Blade Screws to the Irons
Examine the screws connecting the actual fan blades to the metal blade irons. Each blade typically relies on three to four screws with rubber grommets or flat washers. Tighten each screw evenly, moving in a diagonal pattern across each blade to maintain proper alignment. Avoid over-tightening wooden or composite blades, as excessive pressure can crack the material or compress the rubber dampening washers too far.
Step 5: Secure Light Kits and Glass Shades
If your fixture includes an integrated light kit or glass bowl, check all surrounding hardware. Tighten the screws holding the light kit fitter to the switch housing. Secure any thumb screws or retainer rings holding glass shades in place. Loose glass shades are the primary culprit behind rattling noises and buzzing sounds while the motor runs.
Step 6: Test Balance and Operation
Restore power at the main circuit breaker panel. Turn on the wall switch and test the fixture across all speed settings, starting on low and working your way up to high. Listen for any remaining clicks, hums, or rattles. If a minor wobble persists after all hardware is secure, use a blade balancing clip to test for aerodynamic imbalances between individual blades.
Common Mistakes to Avoid When Tightening a Fan
Rushing through maintenance tasks often leads to recurring problems or unnecessary damage. One frequent error is failing to shut off power at the main breaker, which introduces dangerous shock risks while reaching into the canopy area. Another common mistake is over-tightening screws into soft aluminum motor housings, which strips the threads and ruins the component permanently.
Many DIYers also focus exclusively on the blade tips while ignoring the mounting bracket and downrod assembly. A loose ceiling connection will cause the entire fixture to shake regardless of how tight the blade screws are. Always work from the ceiling downward to address the entire structural load chain.
Skipping lock washers or split rings during reassembly is another shortcut that backfires. Vibrations from daily operation will quickly back out standard screws that lack locking hardware. Taking an extra moment to install proper washers ensures your repair holds firm for years.
Another frequent misstep is ignoring manufacturer torque specifications when available, leading homeowners to crank down on hardware until something breaks. Use firm hand pressure with standard screwdrivers rather than heavy power drills, which make it far too easy to strip delicate screw heads or crack plastic and composite components.
Troubleshooting Persistent Wobbles and Noises
If you have tightened every screw and the fixture still shakes or makes noise, deeper investigation is required. Check for warped or bent blade irons by measuring the distance from the tip of each blade to the ceiling using a yardstick. A single bent iron throws off the entire rotational plane and requires manual bending or replacement.
Evaluate whether the electrical box in your ceiling is rated for a paddle fixture. Standard light fixture boxes flex under the dynamic load of a spinning motor, creating movement that no amount of screw tightening can resolve. Upgrading to a fan-rated brace box secured to overhead joists solves this structural limitation.
Inspect the motor bearings for internal wear if you hear a grinding noise that persists after securing all external parts. Sealed bearings occasionally wear out over years of heavy use. If the motor shaft exhibits vertical or horizontal play independent of the mounting hardware, replacement of the motor unit or the entire assembly is usually necessary.
In addition to mechanical wear, pay attention to room acoustics. Sometimes a metallic rattle is actually a loose air vent cover, picture frame, or light fixture vibrating in sympathy with the motor frequencies rather than a defect within the fixture itself. Isolating these environmental variables helps you avoid chasing ghosts when your hardware is already fully secure.
FAQ
Why does my ceiling fan still wobble after tightening all the screws?
If all hardware is secure, the issue is usually an aerodynamic imbalance between the blades or a warped blade iron. Use a balancing kit with a plastic clip and self-adhesive weights to correct the tracking, or check if the ceiling junction box is rigid enough to support a moving motor.
Can I tighten a ceiling fan without turning off the power?
No. You must always shut off power at the main circuit breaker panel and verify the circuit is dead with a voltage tester. Touching internal wiring or metal components while live current is present creates a severe electrical shock hazard.
How often should I check and tighten ceiling fan hardware?
Inspecting and tightening your fixture hardware once a year is recommended. Seasonal changes in temperature and humidity, combined with continuous motor vibration, naturally cause screws to loosen over time.