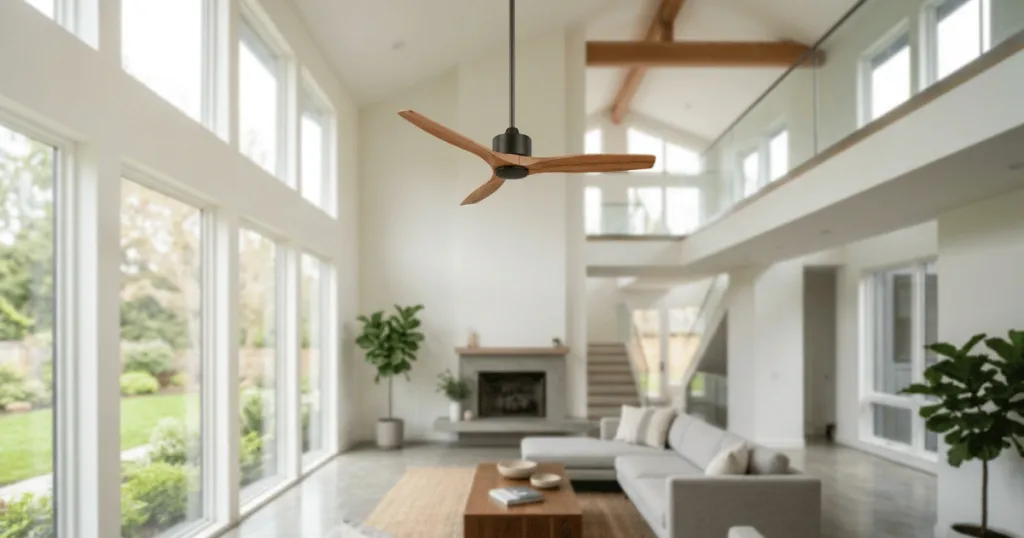
Installing a ceiling fan on a sloped ceiling is a common requirement in architectural designs featuring cathedral or vaulted ceilings. Unlike flat surfaces, a sloped ceiling introduces a gravitational challenge: the fan motor housing must remain perfectly vertical to prevent wobbling, noise, and mechanical stress. If you attempt to mount a standard fan directly to an angled surface, the downrod will hit the edge of the canopy, or the fan will hang at an angle, leading to an unbalanced rotation that can damage the motor over time.
The primary solution is a specialized component known as a sloped ceiling adapter, often referred to as a canopy kit or mounting bracket extension. This hardware allows the downrod to pivot freely, ensuring the fan hangs plumb regardless of the ceiling pitch. Before beginning, you must verify the specific angle of your ceiling, as most standard adapters are rated for pitches up to 30 or 45 degrees. Exceeding these limits requires custom solutions or alternative mounting locations.
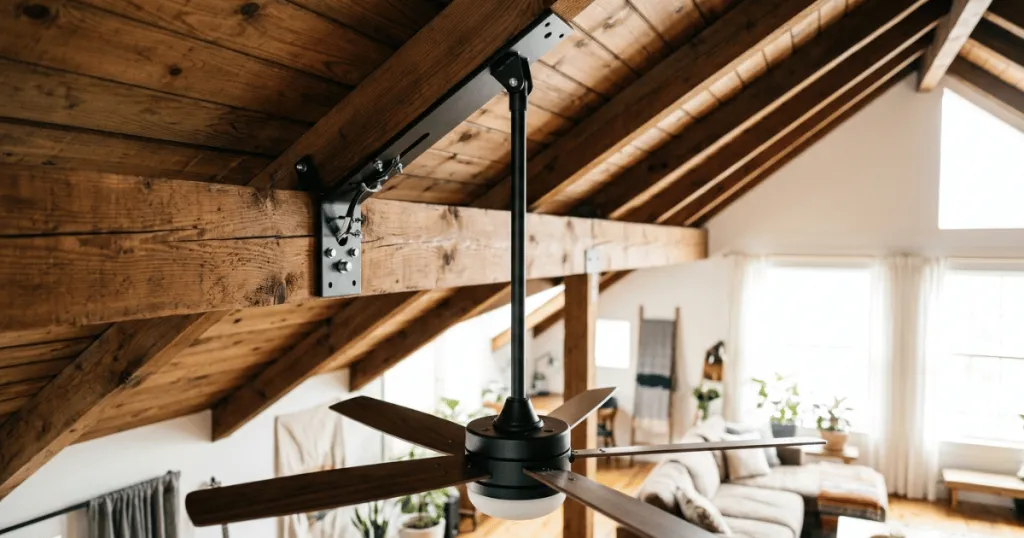
Key Factors for a Successful Installation
When you are planning your installation, the most critical factor is the ceiling pitch. A pitch is defined by the rise over the run—for instance, a 6/12 pitch means the ceiling rises 6 inches for every 12 inches of horizontal distance. You can determine this using a simple digital angle finder or a protractor. Knowing this number is non-negotiable because it dictates whether your chosen fan model can accommodate the slope with its included hardware or if you must purchase an additional adapter kit.
The downrod length is the second major factor. On a sloped ceiling, the fan blades must maintain a safe distance from the angled surface to prevent them from striking the ceiling as they rotate. This often requires a longer downrod than you would use in a room with a flat ceiling of the same height. You need to calculate the clearance based on the blade span and the slope angle. A common mistake is using a short downrod that looks aesthetically pleasing but fails to provide the necessary clearance for the blade path.
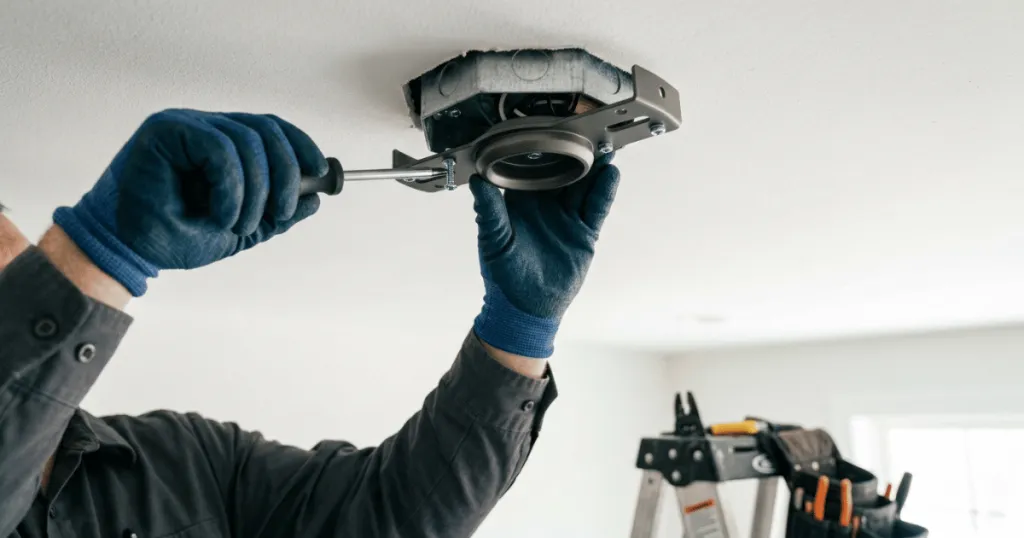
Structural integrity is another non-negotiable requirement. Ceiling fans generate significant torque and vibration. A sloped ceiling often features rafters or trusses that may not be perfectly centered or reinforced for the weight of a fan. You must ensure that the junction box is rated for ceiling fan support and that it is securely attached to a structural member, such as a ceiling joist or a fan-rated brace bar designed for angled installations. Never rely on a standard light fixture box to support a fan, as the dynamic load of a spinning fan will eventually cause the box to pull loose.
Real-World Context and Clearance Requirements
In practice, the most common scenario involves a living room or primary bedroom with a vaulted ceiling. If you are working with a 15-degree slope, many modern fan manufacturers include a canopy that can handle this minor angle without extra parts. However, once you move into the 20 to 30-degree range, the standard canopy will likely bind against the downrod. This is where the sloped ceiling adapter becomes the hero of the project. It extends the pivot point, allowing the downrod to hang straight down while the canopy remains flush against the ceiling surface.
Consider the blade-to-ceiling clearance. Most building codes and manufacturer guidelines suggest a minimum of 10 to 12 inches of clearance between the fan blades and the ceiling. On a sloped surface, the blade closest to the peak of the vault is at the greatest risk of collision. If your ceiling is very steep, you might find that even with a long downrod, the blade path is compromised. In these instances, you may need to relocate the fan to a lower point on the slope or consider a different fan design with a smaller blade span to maintain the required safety margins.
Noise sensitivity is another practical consideration. A fan installed on a sloped ceiling that is not perfectly plumb will inevitably develop a wobble. This wobble translates into vibration, which travels through the mounting hardware and into the ceiling structure, often resulting in an annoying humming or clicking sound. By ensuring the adapter is installed correctly and the downrod is perfectly vertical, you eliminate the source of this mechanical noise. If you hear a rhythmic thumping after installation, it is a clear signal that the fan is not hanging true and requires adjustment at the pivot point.
Why Proper Installation Matters for Longevity
The importance of a correct installation goes beyond simple aesthetics. A fan that hangs at an angle is under constant, uneven stress. The internal bearings of the fan motor are designed to handle the weight of the motor and blades in a vertical orientation. When that orientation is skewed, the weight distribution shifts, causing premature wear on the bearings. Over time, this leads to a fan that loses its smooth operation, becomes louder, and eventually fails much earlier than its rated lifespan.
Safety is the ultimate priority. A fan that is improperly mounted on a sloped ceiling is a dynamic hazard. As the fan rotates, the vibration can slowly loosen mounting screws or the junction box connection. If the fan is not anchored to a structural joist, the constant movement can widen the hole in the drywall, potentially leading to the fan detaching from the ceiling. Taking the time to use the correct adapter and ensuring a solid connection to the building frame is the only way to mitigate these risks.
Finally, consider the visual impact. A fan that hangs crooked is immediately noticeable and detracts from the room’s design. A proper sloped ceiling installation ensures that the canopy sits flush against the ceiling and the downrod appears perfectly vertical. This professional look is the hallmark of a well-executed project. By prioritizing the structural and mechanical requirements first, you ensure that the end result is both safe and visually balanced, providing reliable comfort for years to come.
Common Misconceptions
A frequent error is the assumption that all ceiling fans are universal in their mounting capabilities. Many homeowners believe that if a fan comes with a “universal” canopy, it will automatically work on any slope. In reality, most universal canopies are limited to specific angles, usually up to 15 or 20 degrees. Anything beyond that requires a dedicated sloped ceiling adapter kit that is often sold separately. Always check the manufacturer’s technical specifications for the maximum allowable slope before purchasing.
Another misconception is that the junction box does not matter as long as it is screwed into a stud. While the box must be secured to a joist, it must also be a fan-rated box. A standard junction box is designed to hold the weight of a light fixture, not the weight and movement of a ceiling fan. Using a non-rated box on a sloped ceiling is particularly dangerous because the angle of the pull puts additional leverage on the box, increasing the likelihood of failure. Always look for the “Fan Rated” stamp on the box itself.
Technical Considerations for Advanced Installations
When dealing with extreme slopes, such as those found in A-frame homes or lofted spaces, standard adapters may not suffice. In these cases, you might need to install a “false ceiling” or a horizontal mounting block. This involves creating a flat, level surface by installing a wooden or metal platform that is secured to the rafters. This platform provides a flat plane for the fan canopy to mount to, effectively turning a sloped installation into a standard one. While this adds complexity to the project, it is often the only way to achieve a safe and level installation on very steep pitches.
Wiring also requires extra attention in sloped ceiling environments. Because you are often working with longer downrods, you must ensure that your wiring is properly extended and secured. Never leave loose wires inside the downrod; they should be bundled and secured to prevent them from rubbing against the inside of the metal pipe, which can cause electrical shorts over time. Use heat-shrink tubing or electrical tape to keep wires organized and protected throughout the length of the downrod.
Finally, consider the weight of the fan itself. Heavier fans, such as those with solid wood blades or heavy-duty motors, exert more force on the mounting hardware. When installing these on a slope, the leverage effect is magnified. Ensure that your mounting bracket is not just fan-rated, but specifically rated for the weight of your chosen model. If you are unsure, consult the manufacturer’s documentation, as they often provide specific guidance for heavy-duty installations on angled surfaces.
Maintenance and Long-Term Care
Once your fan is successfully installed on a sloped ceiling, maintenance becomes the key to long-term performance. Because of the unique mounting requirements, you should perform a “check-up” on your fan every six months. During this time, inspect the canopy to ensure it remains flush against the ceiling. If you notice a gap opening up, it may indicate that the mounting screws are loosening due to the vibration of the fan. Tighten any hardware that shows signs of movement.
Additionally, keep an eye on the pivot point of the adapter. Over time, dust and debris can accumulate in the ball-and-socket joint, which may restrict movement or cause minor grinding noises. A quick cleaning with a dry cloth and, if recommended by the manufacturer, a light application of silicone-based lubricant can keep the pivot point moving freely. This ensures that the fan remains plumb and balanced, preventing the mechanical stress that leads to premature motor failure.
By following these guidelines, you can safely and effectively install a ceiling fan on a sloped ceiling, enhancing the comfort and airflow of your space while ensuring the safety and longevity of your investment. Remember, the goal is not just to get the fan spinning, but to ensure it operates smoothly and quietly for years to come.
FAQ
Can I install a ceiling fan on a sloped ceiling without an adapter?
Only if the ceiling slope is within the manufacturer’s specified limit for the included canopy, which is typically 15 to 20 degrees. If your ceiling pitch exceeds this, you must use a sloped ceiling adapter to ensure the fan hangs plumb.
How do I determine the pitch of my ceiling?
You can use a digital angle finder, a protractor, or a simple smartphone app designed to measure tilt. Place it against the ceiling surface to get an accurate reading in degrees, which you can then compare against the fan’s maximum slope rating.
What is the minimum clearance required for fan blades on a sloped ceiling?
Most manufacturers recommend a minimum of 10 to 12 inches of clearance between the fan blades and the ceiling. This ensures proper airflow and prevents the blades from striking the ceiling as they rotate.