The Short Version: To replace a ceiling fan safely, start by turning off the power at the circuit breaker and verifying the circuit is dead with a non-contact voltage tester. Ensure your ceiling junction box is fan-rated to support the weight and movement. Follow the manufacturer’s instructions for mounting the bracket, wiring the motor, and securing the blades, ensuring all connections are tight and the fan is balanced to prevent wobbling.
The safest starting point for any ceiling fan replacement project is a thorough inspection of the existing electrical infrastructure before you even touch a screwdriver. By confirming that your ceiling box is rated for the weight and rotational torque of a new unit, you establish a foundation of safety that prevents structural failure later. This project is a rewarding way to improve home comfort, but it requires a disciplined approach to electrical safety and mechanical assembly.
When you learn how to replace a ceiling fan, you are essentially managing a transition between two different mechanical systems. Whether you are upgrading to a more energy-efficient DC motor fan or simply swapping an outdated aesthetic for a modern design, the core principles of installation remain consistent. This guide will walk you through the preparation, the physical removal of the old unit, the critical wiring phase, and the final balancing steps to ensure your new fan operates silently and securely for years to come.
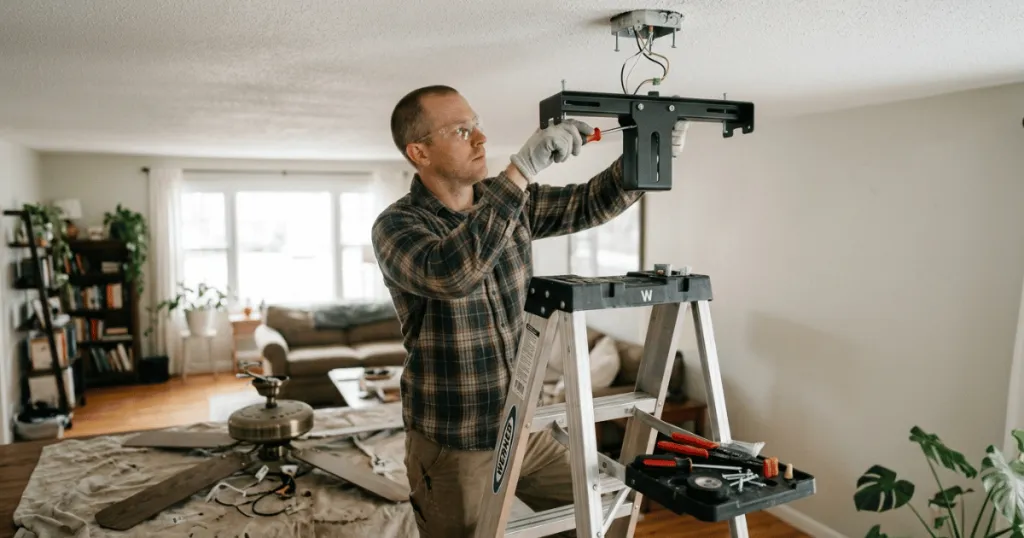
Before You Start: Preparation and Safety
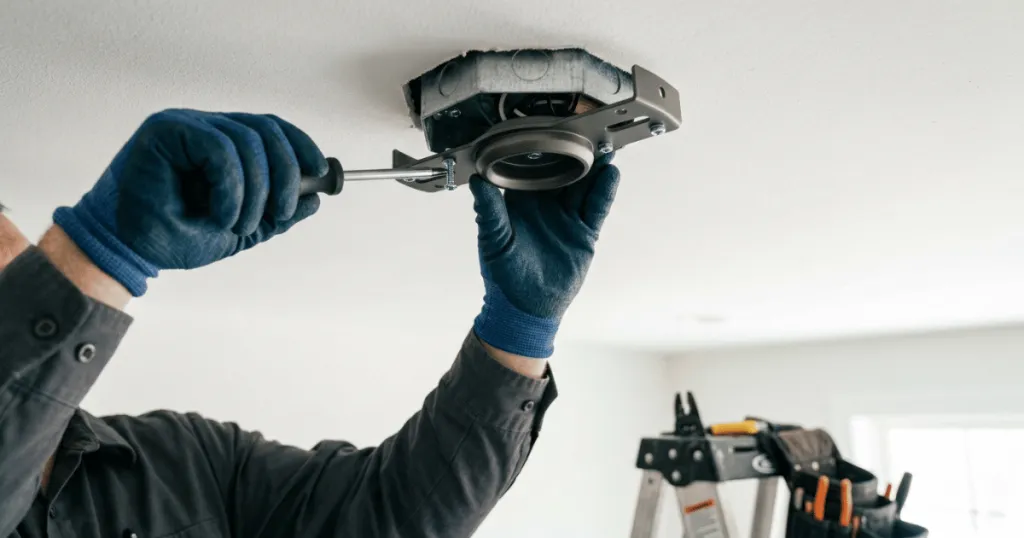
The most critical step in learning how to replace a ceiling fan is ensuring that your existing electrical junction box is rated for fan support. A standard light fixture box is often insufficient to hold the weight and vibrational torque of a ceiling fan. If you are replacing an old fan, the existing box is likely appropriate, but you should always inspect it for signs of damage or loose mounting hardware before proceeding.
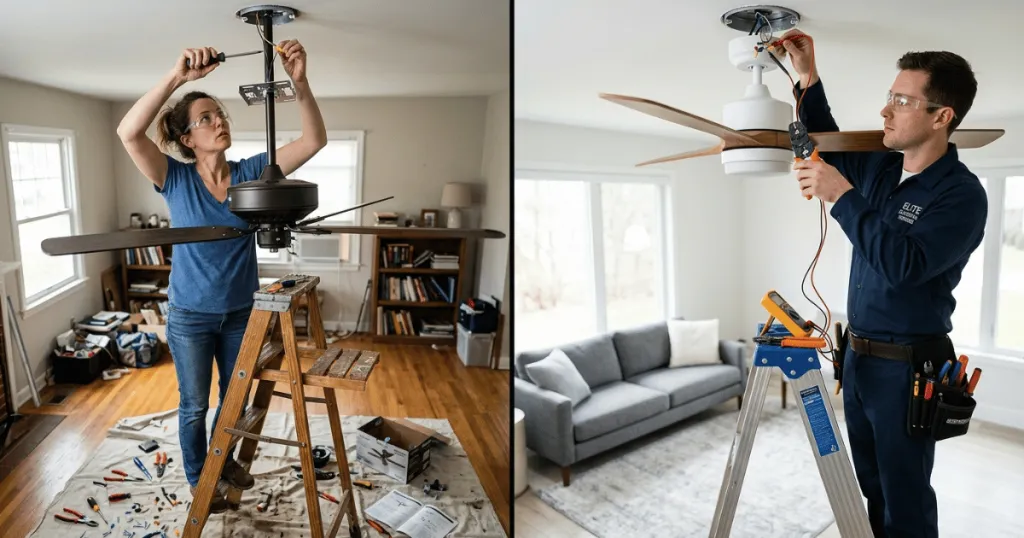
You must turn off the power at the main circuit breaker panel. Do not rely solely on the wall switch to cut power, as there is often live current present at the fixture even when the switch is in the off position. Use a non-contact voltage tester to confirm the wires are completely dead before touching any electrical components. If you are unsure about the status of your wiring, stop and consult a licensed electrician.
Gather all necessary components and check that the new fan includes all required hardware, such as the mounting bracket, downrod, and wire connectors. Having a clear, well-lit workspace is essential. Clear away furniture from directly underneath the fan to provide yourself with a stable platform. If your ceilings are high, use a sturdy, OSHA-rated ladder rather than a chair or table. Having a helper available to support the weight of the motor housing while you disconnect or connect wires can prevent accidents and make the process significantly smoother.
Prerequisites and Essential Tools
Having the right tools on hand prevents frustration and ensures a secure installation. You will need a reliable screwdriver set, including both Phillips and flat-head drivers, to handle various screw types found on mounting brackets and canopy covers. A pair of wire strippers and needle-nose pliers are necessary for managing the electrical connections, especially if the existing wires are frayed or need to be trimmed to a proper length.
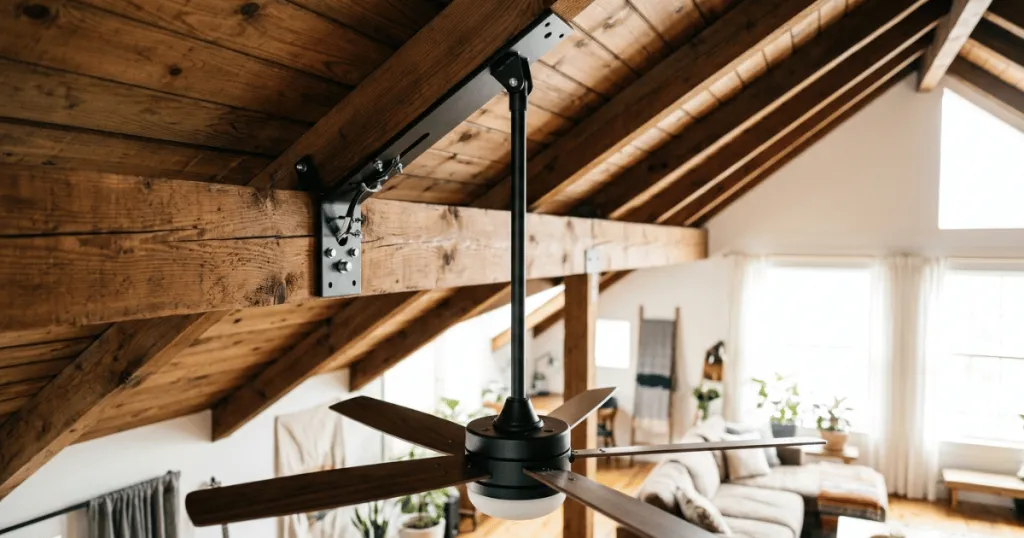
A non-contact voltage tester is your most important safety tool. Never assume the power is off; verify it at every wire lead before you begin the disconnection process. You should also have a step ladder that allows you to reach the ceiling comfortably without overextending your arms. If your ceiling is sloped, ensure your new fan kit includes a sloped ceiling adapter or a compatible mounting canopy, as standard mounts will not function correctly on angled surfaces.
Finally, keep a roll of electrical tape and wire nuts nearby. While many new fans come with pre-installed connectors, having extra supplies ensures you can secure connections properly. If you are working with an older home, you may encounter aluminum wiring or cloth-insulated wire; these situations require specific connectors and caution, and if you are not experienced with these materials, it is safer to hire a professional to avoid fire hazards.
Step-by-Step Installation Process
Once you have confirmed the power is off, begin by removing the decorative canopy cover of the old fan to expose the mounting bracket and wiring. Carefully disconnect the wires, keeping track of which wire corresponds to the house supply. If the old fan has a remote receiver, remove this as well, as you will likely be installing a new one provided with your replacement.
Next, remove the motor housing from the mounting bracket. This is usually the heaviest part of the assembly, so have your helper support the motor while you unscrew the mounting bolts. Once the motor is down, remove the old mounting bracket from the ceiling box. Inspect the junction box one last time to ensure it is securely fastened to the ceiling joist.
Install the new mounting bracket according to the manufacturer’s instructions. Ensure the bracket is perfectly level and tightened securely to the junction box. If the bracket is loose, the fan will wobble during operation, which can lead to noise and premature wear on the motor bearings.
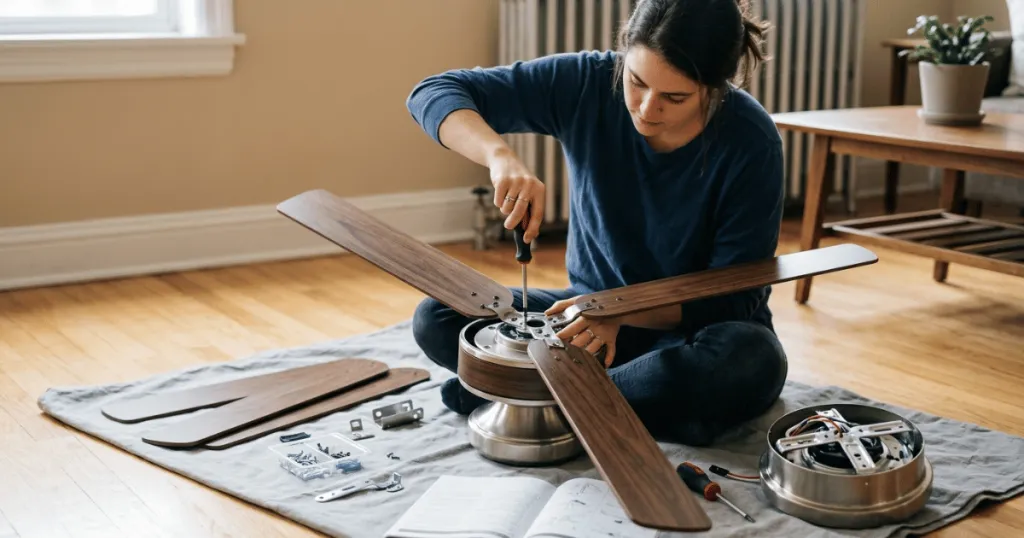
Assemble the downrod and motor housing on the floor before lifting the unit to the ceiling. Thread the wires through the downrod and attach the canopy and motor assembly. Once assembled, lift the motor into the mounting bracket. Most modern fans use a ball-and-socket joint that allows the motor to hang hands-free while you wire the connections.
Connect the wires according to the color-coded diagram provided in your manual. Typically, this involves connecting the green or bare copper ground wire, the white neutral wire, and the black or blue power wires. Secure each connection with a wire nut and wrap it with electrical tape. Carefully tuck the wires into the junction box, ensuring they are not pinched, and slide the canopy cover into place.
Finally, attach the fan blades and the light kit. Ensure every screw is tightened firmly, but avoid over-tightening, which can strip the threads. Once assembled, restore power at the breaker and test the fan at all speed settings to ensure smooth, quiet operation.
Understanding Fan-Rated Junction Boxes
A common oversight when replacing a ceiling fan is the assumption that any electrical box in the ceiling is sufficient. A fan-rated junction box is specifically engineered to handle the dynamic loads of a rotating motor. Unlike standard boxes, these are typically bolted directly to the ceiling joists or feature heavy-duty mounting bars that span between joists. If you find your current box is plastic or appears flimsy, it is a mandatory safety requirement to replace it with a UL-listed fan-rated box. This prevents the vibrational stress of the fan from loosening the box over time, which could lead to the fan falling.
Managing Wiring Complexity
When you learn how to wire a ceiling fan, you may encounter different configurations depending on your home’s age. Some homes feature dual wall switches—one for the light and one for the fan motor. Others use a single switch with a remote control receiver. Always follow the specific wiring diagram provided by the ceiling fan manufacturer. If you are installing a remote receiver, ensure it is tucked neatly into the canopy without crushing the wires. Poorly managed wiring inside the canopy is a frequent cause of buzzing noises, as loose wires can vibrate against the metal housing during high-speed operation.
Common Mistakes to Avoid
One of the most frequent mistakes when learning how to replace a ceiling fan is failing to tighten the mounting screws sufficiently. A fan that is not perfectly rigid will inevitably wobble, which creates an annoying clicking sound and puts unnecessary stress on the ceiling box. Always double-check that the bracket is flush against the ceiling and that all mounting hardware is torqued to the manufacturer’s specifications.
Another common error is neglecting to balance the blades. Even a slight weight discrepancy between blades can cause the fan to shake. Most kits include a balancing kit with small adhesive weights; if you notice a wobble after installation, use this kit to fine-tune the weight distribution of the blades. Do not attempt to bend the blade irons to fix a wobble, as this often makes the issue worse.
Using the wrong wire nuts or failing to secure them properly is a major safety concern. Ensure you are using the correct size wire nut for the gauge of wire you are connecting. If you can pull a wire out of the nut with a gentle tug, the connection is too loose and poses a fire risk. Always tug-test every connection before tucking the wires into the canopy.
Troubleshooting Your New Fan
If your fan fails to turn on, the first step is to check the circuit breaker. It is possible the breaker tripped during installation or was not fully reset. If the power is on but the fan is unresponsive, check the remote control batteries and the receiver wiring. Many modern fans require a specific pairing process between the remote and the receiver; consult your manual to ensure this step was completed correctly.
If you hear a humming or buzzing noise, it is often caused by an incompatible dimmer switch. Ceiling fans require specific fan-rated speed controls. If you are using a standard light dimmer to control the fan speed, the electrical interference will cause a persistent hum. Replace the switch with a dedicated fan speed control to resolve this issue.
If the fan wobbles despite your best efforts, check the blade screws. Sometimes a single loose screw can cause significant movement. If the blades are secure, check that the downrod is seated correctly in the mounting bracket. If the issue persists, the motor itself may be defective, or the ceiling box may not be as secure as you initially thought. In these cases, it is best to contact the manufacturer’s support line or a professional technician to evaluate the installation.
Long-Term Maintenance and Care
Once your new fan is installed, periodic maintenance will keep it running efficiently. Dust buildup on the leading edges of the blades can disrupt airflow and, in extreme cases, contribute to an imbalance. Clean the blades with a soft cloth every few months. Additionally, check the blade screws once a year, as the natural rotational torque can cause them to loosen slightly over time. By performing these simple checks, you extend the lifespan of the motor and ensure the fan remains a reliable part of your home’s climate control system.
FAQ
Can I use an existing light fixture box for a new ceiling fan?
No, you should not use a standard light fixture box. Ceiling fans require a specific fan-rated junction box designed to handle the weight and rotational force of the motor. Using a non-rated box can lead to the fan falling from the ceiling.
How do I know if my ceiling fan is balanced?
A balanced fan will operate smoothly without visible shaking or wobbling at any speed. If you notice persistent movement, use the balancing kit provided with your fan to add small weights to the blades until the motion stops.
Why does my new ceiling fan hum when I turn it on?
A humming noise is usually caused by using an incompatible dimmer switch. Ceiling fans require dedicated fan speed controls. If you are using a standard light dimmer to regulate the fan, the electrical interference will create an audible buzz.