Short Answer: To wire a ceiling fan with light safely, turn off power at the breaker, connect ground wires together, pair the white neutral wires, and connect the black hot wire to the motor while connecting the blue wire to the light kit power source or a separate switch.
Tackling electrical projects in your home requires patience, precision, and an unwavering commitment to safety. When you need to understand how to wire a ceiling fan with light fixtures, your absolute safest starting point is turning off the power at the main circuit breaker panel and verifying the circuit is completely dead using a non-contact voltage tester before you touch a single wire.
Many homeowners find themselves upgrading standard overhead fixtures to modern ceiling fans to improve year-round room comfort, enhance air circulation, and consolidate lighting into a single wall switch or remote control. While the physical mounting of the ceiling bracket involves heavy-duty hardware and secure electrical boxes, the wiring phase demands exact attention to electrical codes and circuit configurations. Taking time to plan your switch setup, verify wire gauges, and follow manufacturer instructions ensures a successful installation without frustrating electrical setbacks.
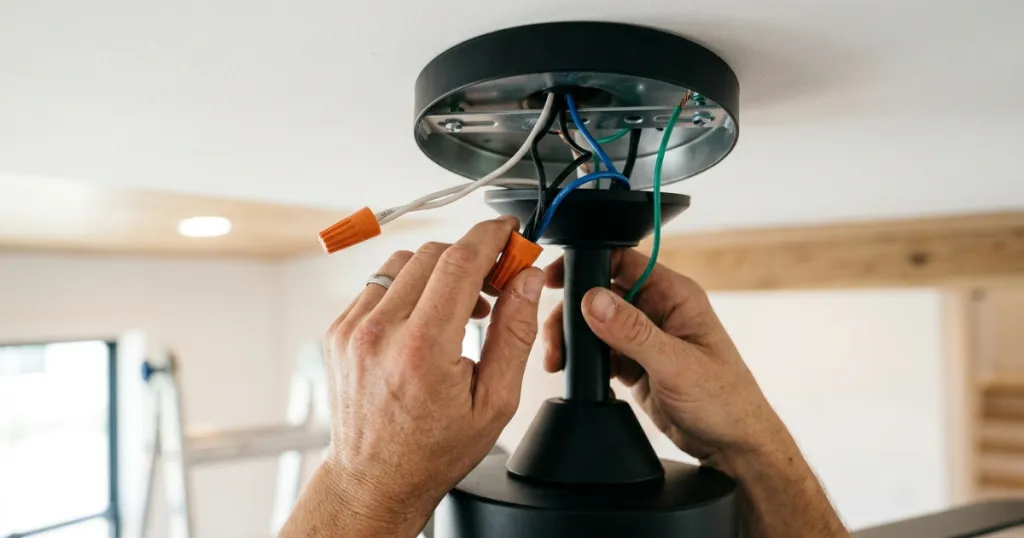
Before You Start: Preparation and Safety
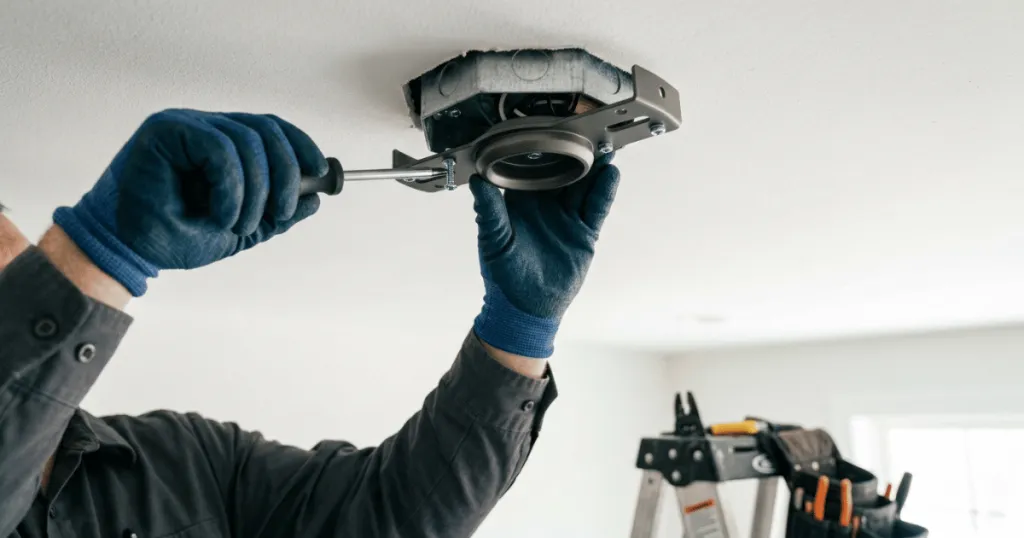
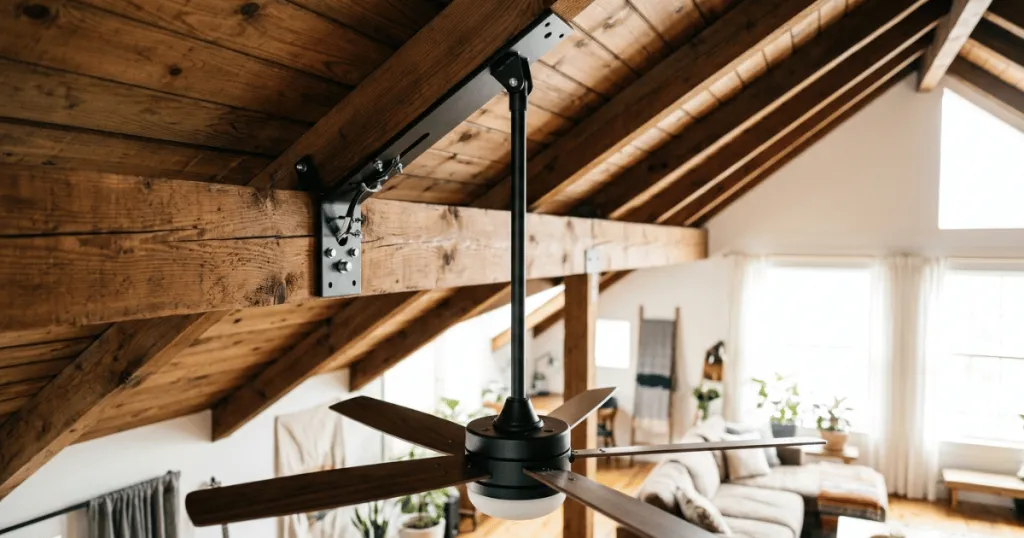
Proper preparation prevents dangerous electrical accidents and eliminates unnecessary rework. Before unpacking your new fixture, you must confirm that your ceiling junction box is rated to support the hanging weight and dynamic movement of a motorized fan. Standard light fixture boxes are rarely strong enough for ceiling fans, so verify that your box is securely anchored to a ceiling joist or structural brace designed for fan support.
Next, evaluate your wall switch setup to determine how your new fan and light kit will be controlled. A single wall switch requires a fan remote control receiver or pull chains to operate the light and motor independently. If your wall box contains two hot wires and a neutral, you can install a double wall switch to control the light and fan motor on separate switches. Check the existing wiring inside the ceiling box before removing the old fixture to see how many conductors are available.
Gather your safety gear and core tools before climbing the ladder. You will need a reliable non-contact voltage tester, wire strippers, lineman’s pliers, wire connectors, and insulated screwdrivers. Wear safety glasses to protect your eyes from falling debris when working overhead. Never rely on the wall switch alone to protect you from live electricity, because miswired switches or older home wiring can still leave circuits energized at the ceiling box.
Tools and Prerequisites for Fan Installation
Having the correct equipment on hand makes the wiring process significantly smoother and safer. A standard installation requires specific hardware and electrical components that meet local building codes. Using approved materials prevents loose connections, overheating, and premature electrical failures.
| Tool or Material | Primary Purpose | Safety or Practical Note |
|---|---|---|
| Non-Contact Voltage Tester | Verifies zero voltage in wires | Test on a known live source first to ensure the tool works properly. |
| Wire Connectors (Wire Nuts) | Secures copper wire bundles together | Use the correct size for the gauge and number of wires being joined. |
| Wire Strippers | Removes insulation to expose copper | Avoid nicking the copper strands inside the conductor. |
| Electrical Tape | Provides secondary security over wire nuts | Optional, but helpful for keeping wire nuts tightly seated. |
| Sturdy Stepladder | Provides stable overhead reach | Ensure the ladder is fully locked on a level surface. |
Check the wire gauge coming from your ceiling box and match it with the leads on your ceiling fan. Most residential circuits use 14-gauge or 12-gauge copper wire. Ensure that your wire connectors are rated for copper-to-copper connections and match the total combined thickness of the wires you are twisting together.
Step-by-Step Instructions: How to Wire a Ceiling Fan with Light
Execute each step in a deliberate, methodical order. Rushing electrical connections creates loose joints that can cause flickering lights, intermittent motor operation, or dangerous electrical arcing inside the junction box.
Step 1: Shut Off Power and Test the Circuit
Locate your home circuit breaker box and switch the breaker controlling the room to the off position. Go to the wall switch and toggle it to confirm the power is cut. Climb your ladder, remove the existing fixture canopy, and expose the wires. Touch your non-contact voltage tester to every single wire nut and exposed copper end in the box. If the tester lights up or beeps, stop immediately and find the correct breaker before proceeding.
Step 2: Prepare the Ceiling Fan Motor and Wires
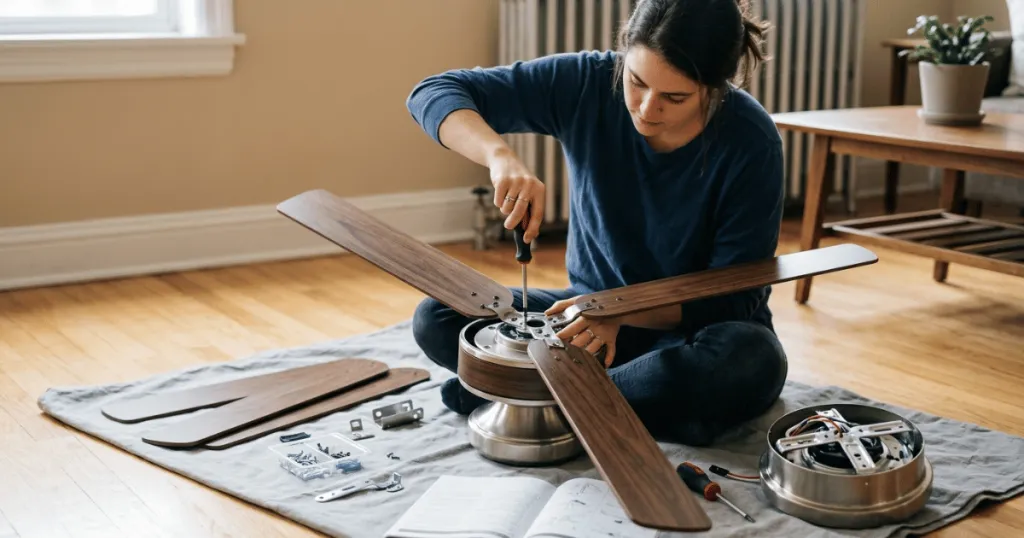
If your ceiling fan includes a remote control receiver, assemble the hanging bracket and lift the motor housing temporarily or place it on a stable surface according to the manufacturer manual. Identify the wires extending from the top of the fan motor. Typically, you will find a white neutral wire, a black motor power wire, a blue light kit power wire, and a green or bare copper ground wire.
Step 3: Connect Ground Wires
Safety grounding is your first line of defense against electrical shocks. Take the green or bare copper ground wire from the ceiling box, the ground wire from the mounting bracket, and the ground wire from the fan motor assembly. Twist their stripped copper ends together clockwise and screw a wire nut over the bundle firmly. Tug gently on each wire to make sure it cannot pull free from the connector.
Step 4: Connect Neutral Wires
Next, handle the neutral circuit path. Take the white neutral wire from the ceiling junction box and pair it with the white neutral wire coming from the fan motor or remote control receiver. If you are using a remote receiver, the receiver input white wire connects to the ceiling neutral, and the receiver output white wire connects to the fan neutral. Twist these ends together and secure them with a clean wire nut.
Step 5: Connect Power Wires for Fan and Light
Wiring configuration at this stage depends entirely on your switch setup. If you are using a remote control receiver, connect the black hot wire from the ceiling box to the black input wire on the receiver. Then, connect the black motor wire from the fan to the designated motor output on the receiver, and connect the blue light wire to the light output on the receiver.
If you are wiring the fan directly to a dual wall switch without a remote receiver, connect the black hot wire from the ceiling to the black fan motor wire. Connect the secondary hot wire from your second wall switch to the blue light wire. If you only have a single wall switch and no remote, you must twist the black motor wire and blue light wire together with the single black ceiling hot wire, meaning both the fan and light will turn on simultaneously from that single switch.
Step 6: Secure and Test the Connections
Carefully tuck all connected wires upward into the electrical junction box, keeping bare wire nuts separated and upright. Lift the decorative canopy into position against the ceiling and secure it with the manufacturer screws. Restore power at the main circuit breaker panel. Test the wall switches, pull chains, or remote control functions to confirm that both the fan motor and the light fixture operate smoothly across all settings.
Common Mistakes to Avoid During Installation
Homeowners often run into preventable complications due to rushed connections or overlooked specifications. One frequent error is failing to tighten wire nuts enough, which allows copper strands to slip out and causes intermittent power failures. Always pull gently on each individual wire after twisting the connector on to verify its physical security.
Another common mistake is mixing up the hot and neutral paths or tying the blue light wire into the neutral bundle. Doing so will trip your circuit breaker instantly or create a serious shock hazard. Pay close attention to wire color labels provided in the manufacturer instruction manual, as some imported fans use non-standard wire colors for internal components.
Overcrowding the ceiling junction box is another hazard. Shoving bulky remote control receivers and excessive wire length into an undersized box pinches insulation and damages conductors. If your box is too small to accommodate the receiver comfortably, consult an electrician about upgrading to a deeper fan-rated junction box.
Troubleshooting Ceiling Fan and Light Issues
If your installation is complete but the fan or light fails to operate as expected, a systematic diagnostic approach will isolate the problem quickly. Always shut off power at the breaker before opening the canopy to inspect wiring.
If the ceiling fan motor hums but the blades do not spin, check for loose wire connections in the motor circuit or verify that the reversing switch on the motor housing is fully engaged in forward or reverse. A hum can also indicate a jammed blade iron or shipping stabilization bracket left inside the motor housing.
If the light kit does not turn on while the fan motor works normally, the issue usually points to the blue wire connection. Verify that the blue light wire from the fan is securely connected to the hot power source or the remote receiver light output. If the wiring is correct, check whether the bulbs are screwed in completely or if the integrated LED driver module has power reaching its input terminals.
When remote controls fail to communicate with the fan receiver, check the battery orientation in the handheld transmitter or re-sync the frequency dip switches inside the transmitter and receiver compartments. If all wiring checks out and standard troubleshooting steps fail to resolve the problem, pause your work and contact a licensed electrician to evaluate the circuit.
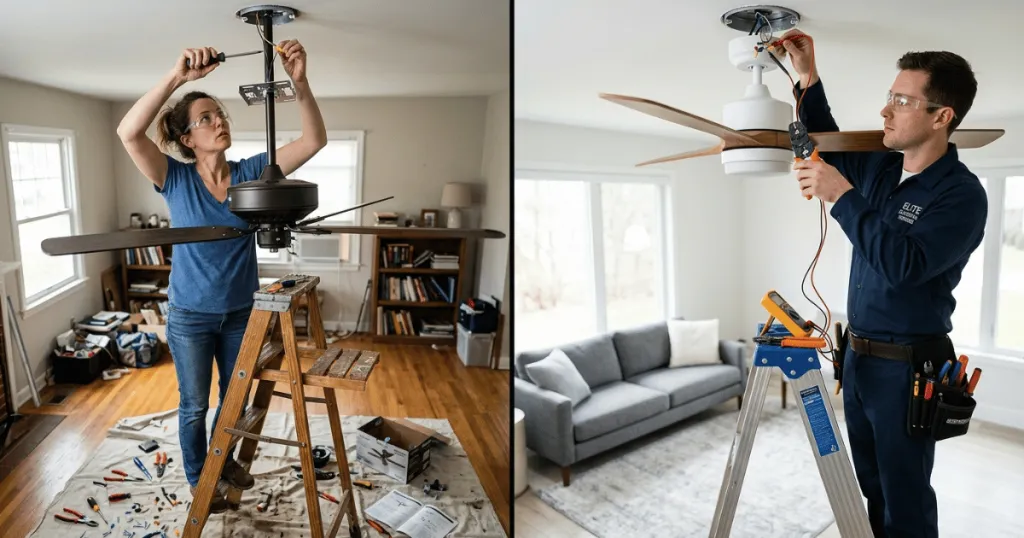
Taking a methodical approach to every phase of your overhead fan project guarantees that your finished installation operates quietly and safely. By double-checking your wire gauges, ensuring your grounding path is secure, and testing every circuit before replacing the canopy, you eliminate common DIY headaches. Whether you are controlling your new ceiling fan with a sleek handheld transmitter or a reliable wall switch, proper preparation and clean electrical connections deliver long-lasting comfort and reliable daily performance in any room of your home.
FAQ
Can I wire a ceiling fan with light to a single wall switch?
Yes. If you have a single wall switch and no remote control, you connect both the black motor wire and the blue light wire from the fan to the single hot wire coming from the ceiling box. This means turning on the wall switch will activate both the fan motor and the light simultaneously.
What does the blue wire do on a ceiling fan?
The blue wire is the designated power lead for the light kit. In installations with separate wall switches or remote control receivers, the blue wire connects to a separate hot line so the light can be turned on or off independently of the fan motor.
Why does my ceiling fan hum after installation?
A humming noise often indicates a loose wire connection, an incompatible wall dimmer switch on the circuit, or a minor load imbalance. Verify all wire connections under the canopy and ensure you are using a fan-rated control device.