Quick Answer: To replace a ceiling fan switch, first turn off power at the circuit breaker and verify with a voltage tester. Document the existing wiring with a photo, remove the housing, disconnect the old switch, and install the new one by matching the wiring configuration and amperage rating. Secure all connections, reassemble the housing, and test the fan.
Replacing a faulty ceiling fan switch is a common maintenance task that can restore full functionality to your fixture without requiring a complete replacement. Whether you are dealing with a broken pull chain mechanism inside the fan housing or a malfunctioning wall-mounted speed control, the process involves basic electrical safety and careful component matching. By following a methodical approach, you can identify the specific part causing the failure and install a compatible replacement unit. Learning how to replace ceiling fan switch components is a valuable skill for any homeowner.
This guide outlines the necessary steps to safely access your fan’s internal wiring, identify the correct replacement switch, and complete the installation. Before you begin, ensure you have the correct replacement part on hand, as ceiling fan switches vary significantly in their wiring configurations and amperage ratings. Taking the time to document your existing wiring setup is the most critical step in ensuring your fan operates correctly once the new switch is installed.
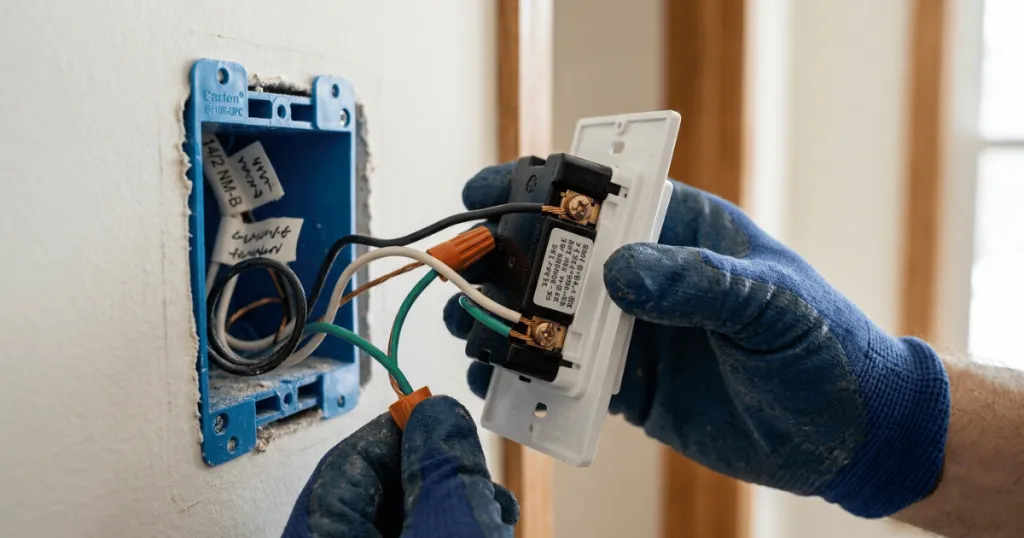
Before You Start: Safety and Preparation
The most important rule when working on any electrical fixture is to ensure the power is completely disconnected. Do not rely solely on the wall switch to turn off the power; instead, navigate to your home’s main electrical service panel and flip the circuit breaker corresponding to the room where the fan is installed. Once the breaker is off, verify the power is dead by attempting to operate the fan or using a non-contact voltage tester on the fan housing. If you are unsure which breaker controls the fan, turn off the main power to the entire house to avoid any risk of electrical shock.
Gather your tools before you climb the ladder. You will need a Phillips-head screwdriver, a flat-head screwdriver, a pair of wire strippers, and a set of wire nuts. A non-contact voltage tester is an essential safety tool that provides peace of mind before you touch any internal wires. If your ceiling fan is mounted on a high ceiling, ensure you have a sturdy, stable ladder that allows you to work comfortably without overreaching. Never attempt to perform this repair while balancing on furniture.
Finally, identify the exact type of switch you need. Ceiling fan pull-chain switches are not universal. Some are three-speed, while others are two-speed or simple on-off switches. Check the model number on the fan’s motor housing or the existing switch itself to find a compatible replacement. Using a switch with the wrong electrical rating or incorrect wiring configuration can lead to overheating or permanent damage to the fan motor.
Tools and Prerequisites
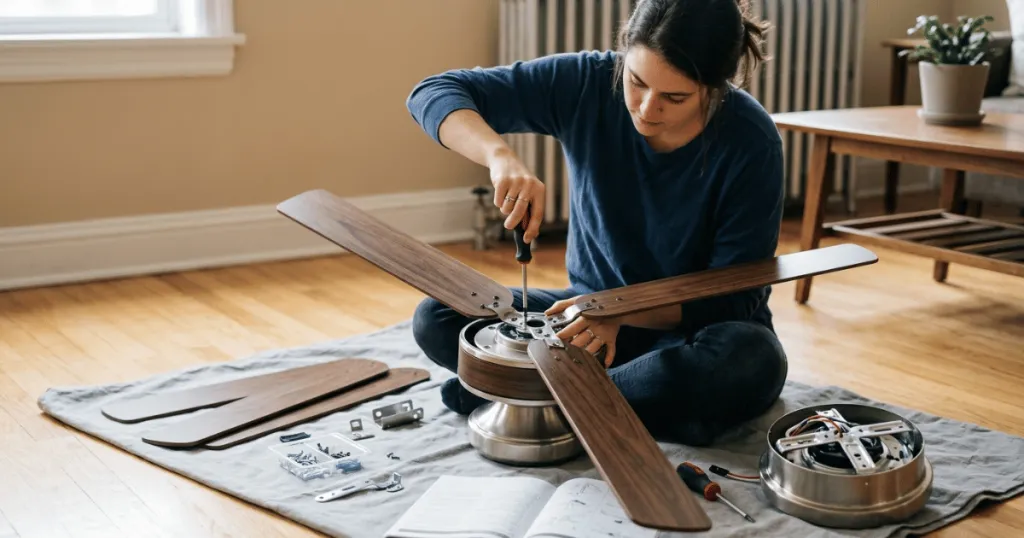
Having the right equipment makes the difference between a quick repair and a frustrating afternoon. Beyond the basic hand tools, consider having a small container to hold the tiny screws you will remove from the switch housing; these parts are easily lost in carpet or floor crevices. If you are replacing a wall-mounted switch, ensure you have a screwdriver that fits the screws on your wall plate.
Prerequisites for this job include a basic understanding of wire color coding. In most US residential settings, black typically represents the hot wire, white is neutral, and green or bare copper is the ground. However, fan manufacturers often use different color schemes for the internal switch wiring. Always prioritize the wiring diagram provided with your new switch or the photograph you take of the old wiring before disconnecting anything. If you find that your fan’s wiring is brittle, corroded, or shows signs of heat damage, do not attempt a simple switch replacement. In these cases, the internal components may be compromised, and a professional electrician should evaluate the unit.
Understanding Switch Types and Compatibility
Before purchasing a replacement, it is vital to understand that not all switches are created equal. A ceiling fan pull chain switch is essentially a rotary or slide-type mechanism that manages the electrical path to the motor windings. If you replace a 3-speed switch with a 2-speed version, the fan may not operate at all, or it may run at the wrong speed, potentially causing the motor to overheat.
Always check the amperage rating printed on the side of the original switch. This rating ensures the switch can handle the electrical load of your specific motor. If the rating on the new switch is lower than the original, it is a fire hazard. If it is higher, it is generally acceptable, provided the physical dimensions fit within the fan motor housing.
Step-by-Step Instructions
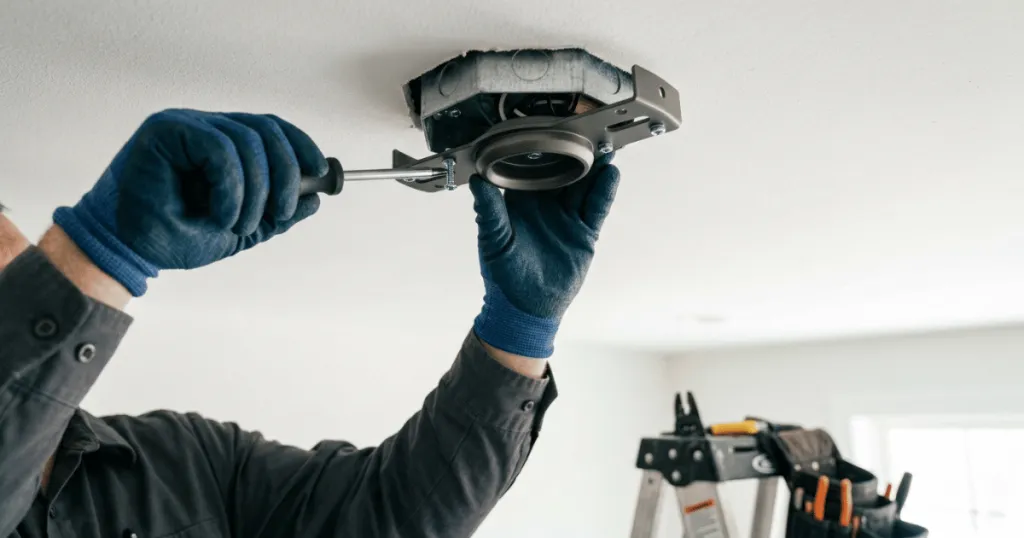
Once the power is confirmed off, begin by removing the decorative housing or the switch cap located on the fan body. You may need to remove the light kit first if the switch is located behind it. Use your screwdriver to gently loosen the screws holding the housing in place, and carefully lower it to expose the wiring.
Before you disconnect any wires, take a clear, high-resolution photograph of how the existing switch is wired. This serves as your primary reference for the installation of the new switch. If you are unsure about the connections, label each wire with a piece of masking tape to prevent confusion later. Once you have a clear record, use your wire strippers to disconnect the wires from the old switch terminals or cut the wires if they are soldered directly to the unit.
Remove the old switch by unscrewing the mounting nut that holds it to the housing. Install the new switch by reversing this process, ensuring the pull chain is properly aligned with the opening in the housing. Tighten the mounting nut firmly, but be careful not to overtighten, as the plastic housing can easily crack.
Connect the wires to the new switch according to your reference photo or the manufacturer’s provided wiring diagram. Use wire nuts to secure the connections, ensuring that no bare copper is exposed outside the nut. If your new switch uses push-in terminals, ensure the wires are inserted fully and locked in place. Once all connections are secure, gently tuck the wires back into the housing, replace the cover, and restore power at the circuit breaker to test the fan.
Managing Complex Wiring Scenarios
Some modern ceiling fans utilize a terminal block or a quick-connect plug system rather than individual wire nuts. In these instances, you may need to depress a small tab to release the wires from the block. If you encounter a quick-connect plug, do not cut the wires. Instead, carefully unplug the connector. When installing the new switch, ensure the plug clicks firmly into place. If the wires appear loose within the connector, they may need to be re-seated or the connector itself may need to be replaced. Always prioritize the integrity of the electrical connection; loose wires are a primary cause of intermittent fan operation and arcing, which can damage the motor over time.
Common Mistakes to Avoid
One of the most frequent mistakes is failing to document the wiring before disconnecting the old switch. Even if you believe you will remember the configuration, a simple photo can save you hours of troubleshooting. Another common error is using a switch that is not rated for the specific amperage of your fan motor. Always check the packaging of the replacement part to ensure it matches the electrical requirements of your specific fan model.
Overtightening the mounting nut is another common pitfall. Many fan housings are made of thin metal or plastic, and excessive force can strip the threads or crack the housing, making it impossible to secure the switch properly. Additionally, failing to test the connections with a voltage tester before touching the wires is a dangerous oversight. Always assume the circuit is live until you have verified otherwise with a reliable tool.
Troubleshooting Your New Switch
If the fan does not operate after you have installed the new switch, the first step is to double-check your connections. It is common for a wire to slip out of a wire nut or for a push-in terminal to fail to make a solid connection. Turn off the power again, open the housing, and tug gently on each wire to ensure it is firmly attached.
If the wiring is correct but the fan still fails to turn on, consider the possibility that the new switch itself is defective. While rare, manufacturing defects do occur. Alternatively, the issue might lie within the fan’s capacitor. If the fan hums but does not spin, or if it only runs at one speed despite having a three-speed switch, the capacitor is likely the culprit rather than the switch. In such cases, replacing the capacitor—a small, often rectangular component inside the housing—is the next logical step in your repair process.
Long-Term Maintenance and Care
To extend the life of your new switch and the fan motor, avoid jerking the pull chain. Pull the chain gently and directly downward to prevent the internal mechanism from binding or snapping. If you notice the pull chain becoming difficult to operate, it is often a sign that the switch mechanism is beginning to fail internally. Addressing this early can prevent the switch from breaking off entirely inside the housing. Keeping the fan clean of dust and debris also helps maintain proper airflow, which keeps the motor and internal components cooler, thereby reducing the stress on the electrical switches and capacitors.
When to Call a Professional
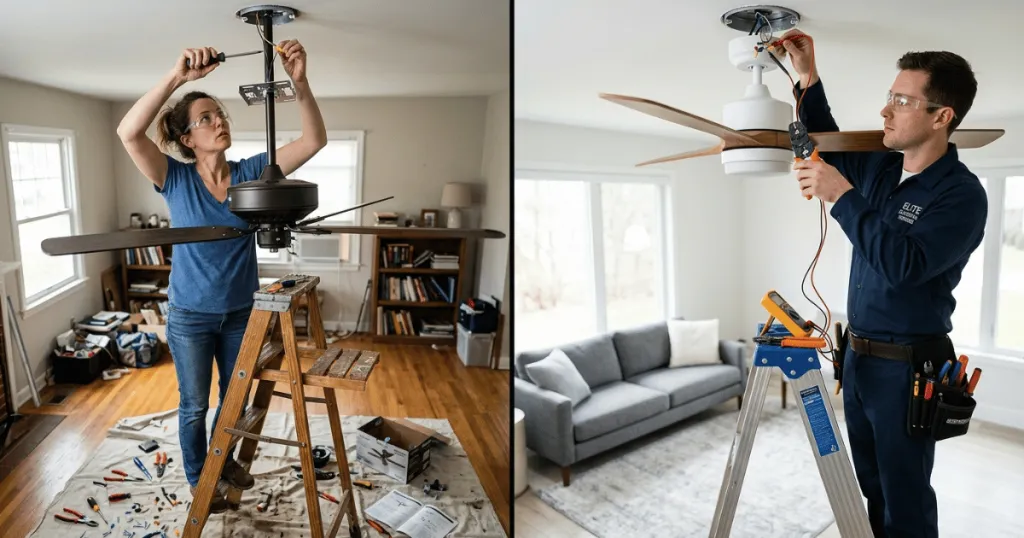
While replacing a switch is a manageable DIY task, there are situations where professional intervention is necessary. If you observe burning smells, charred wires, or melted insulation within the fan housing, this indicates a significant electrical fault that goes beyond a simple switch failure. In these instances, the entire fan may need to be replaced to ensure safety. Furthermore, if you are uncomfortable working with electrical wiring or if your home’s electrical system is outdated, do not hesitate to contact a licensed electrician. Safety should always take precedence over the convenience of a DIY repair.
FAQ
How do I know if the switch is the problem or the capacitor?
If your ceiling fan hums but won’t spin, or if it only works on one speed, the capacitor is usually the issue. If the fan has no power at all or the pull chain feels loose and unresponsive, the switch is likely the failed component.
Can I use a universal ceiling fan switch?
While many pull-chain switches are physically similar, they are not universal. You must match the electrical rating (amperage) and the number of speeds (e.g., 3-speed vs. 2-speed) to ensure the fan operates safely and correctly.
What should I do if my fan has no wires, just push-in terminals?
If your switch uses push-in terminals, ensure the wires are stripped to the correct length as indicated on the switch housing. Insert the wires firmly until they click or lock into place, and perform a gentle tug test to ensure they are secure.