Short Answer: Turn off the wall switch and circuit breaker, let the fixture cool completely, and use a sturdy stepladder. Remove the glass shade by loosening its screws or finial cap, unscrew the old bulb counterclockwise, screw in the replacement bulb by hand until snug, and reattach the glass shade before restoring power.
When a fixture goes dark overhead, knowing how to change light bulb in ceiling fan units safely restores bright, functional illumination to your living space. Replacing a burned-out bulb involves more than simply unscrewing the old glass and twisting in a replacement. Homeowners must navigate delicate glass globes, tight clearance spaces, and varied base types like candelabra or medium screw fittings.
Taking a methodical approach prevents accidental glass breakage, protects internal socket wiring, and ensures the new lamp matches your room lighting needs without exceeding safe wattage limits. Whether you are dealing with a standard pull-chain model or a remote-controlled unit, following a structured workflow keeps the job straightforward and free of frustration.
Beginning this maintenance task requires evaluating your setup before touching any hardware. Checking the wall switch position and locating your stability equipment prevents mid-project hazards and ensures a smooth workflow from start to finish.
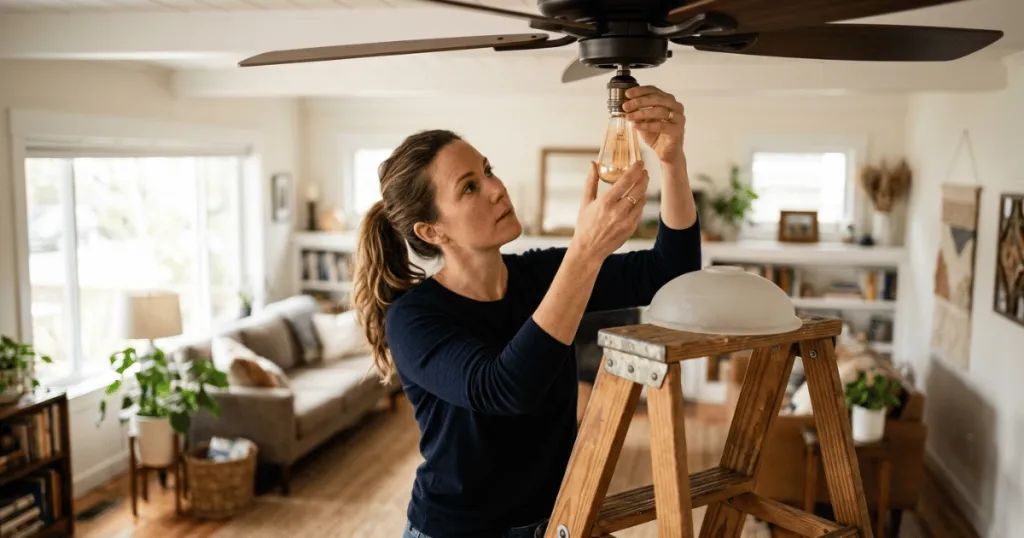
Before You Start: Preparation and Safety Checks
Preparation is the single most important phase of any electrical fixture maintenance. Before reaching for a ladder, verify that the wall switch controlling the fan is turned completely off. For added security, trip the corresponding circuit breaker in your electrical panel, especially if the fixture is older or if you plan to clean internal sockets while exposed. Understanding the exact mechanical layout of your ceiling fan light kit helps prevent unexpected complications during the process.
Allow sufficient cooling time if the lamp was recently illuminated. Traditional incandescent and halogen bulbs generate extreme heat that can cause severe skin burns upon immediate contact. Even modern LEDs retain residual warmth immediately after operation, so give the glass at least ten minutes to reach room temperature before attempting removal. Taking shortcuts here risks cracked glass from thermal shock or painful burns on your fingertips.
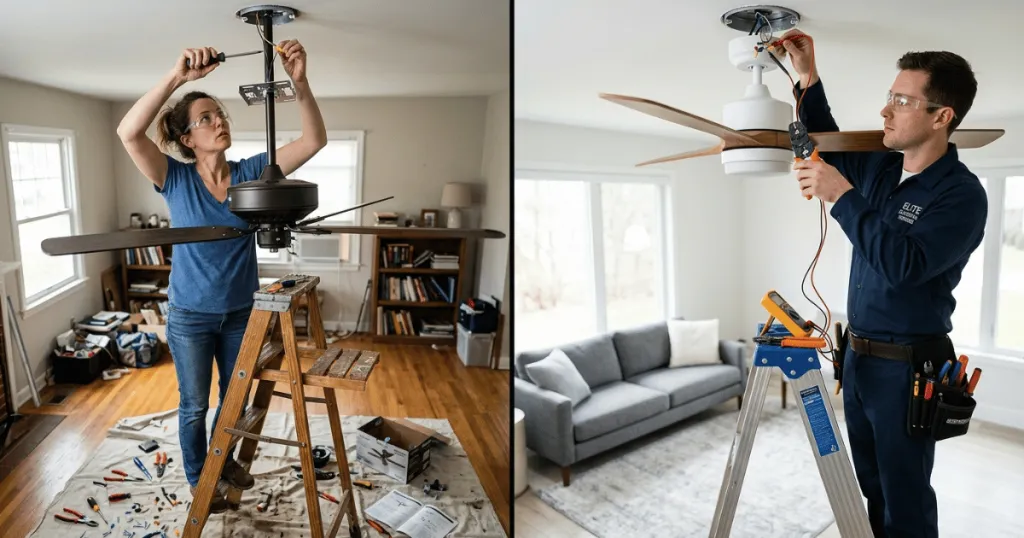
Evaluate your room layout and ceiling height to choose the correct stabilization equipment. A sturdy stepladder placed on a flat, even surface is essential for reaching overhead fixtures safely. Never attempt to balance on rolling chairs, unstable stools, or furniture edges. Having a helper steady the ladder base adds an extra layer of security, particularly on hardwood floors or high vaulted ceilings where leverage and balance are compromised.
Consider environmental factors in your workspace as well. If your ceiling fan is installed in a high traffic area like a kitchen or living room, clear away surrounding furniture, toys, or rugs before setting up your ladder. Ensuring a clean, uncluttered fall zone and working area protects both you and your household belongings in the rare event that a tool or glass shade slips from your grip.
Tools, Context, and Prerequisites
Gathering the right supplies beforehand prevents unnecessary trips up and down the ladder. You will need your replacement bulb, a clean microfiber cloth, a stable stepladder, and optionally, a pair of rubber grip gloves or specialized suction cup tools for stubborn glass shades. Having these items organized on a tool tray or nearby stable surface keeps your workflow uninterrupted.
Confirm the exact bulb specification required by checking the manufacturer label printed inside the light kit housing or referencing your user manual. Installing an incorrect base size or exceeding the maximum recommended wattage rating creates serious fire hazards and can permanently ruin the light kit sockets. LED alternatives offer superior energy efficiency and run significantly cooler than legacy incandescent options, making them the preferred choice for modern fixtures.
Examine the existing glassware and fitter screws. Different models secure glass shades using side thumb screws, a central threaded nipple with a finial cap, or a twist-and-lock mechanism. Understanding your specific attachment style prevents stripped threads or dropped glassware during disassembly. If your fixture features an intricate fitter ring design, take a close look at how the glass lip rests against the metal hardware before loosening anything.
Plan for the specific color temperature and brightness your room requires before selecting a replacement bulb. Ceiling fan lighting often serves as primary ambient illumination, so matching the lumen output and Kelvin rating to your space ensures consistent visual comfort. Keep extra compatible bulbs stored in a safe household location so you are prepared for future burnouts without needing another hardware store trip.
Step-by-Step Instructions: How to Change Light Bulb in Ceiling Fan
Once your safety measures are in place and your tools are ready, you can begin the physical replacement process. Work deliberately and keep both hands free to support delicate parts whenever possible.
Step 1: Turn off Power and Cool the Fixture
Flip the wall switch to the off position. If you want absolute security against accidental activation, locate the breaker box and shut off power to the entire room. Wait ten to fifteen minutes for the hot bulb to cool down completely.
Step 2: Position the Ladder and Access the Fixture
Set up your stepladder directly beneath the fan so you can reach the light kit comfortably without overreaching. Lock the ladder spreader braces securely into position. Step up carefully, maintaining three points of contact with the ladder rails at all times.
Step 3: Remove the Glass Globe or Shade
Support the bottom of the glass globe with one hand while loosening the attachment mechanism with your other hand. If the shade uses three thumbscrews around the metal fitter ring, loosen them evenly until the glass slides downward. If it uses a central finial cap, unscrew the cap while supporting the glass bowl. Set the fragile shade down safely on a padded surface nearby.
Step 4: Unscrew the Old Bulb
Grip the cooled bulb gently but firmly. Twist counterclockwise to unscrew it from the socket. If the bulb is stuck due to age or minor corrosion, stop applying heavy pressure to prevent the glass from shattering in your hand. Use a specialized bulb removal tool or wear rubber grip gloves to gain better traction without risking cuts.
Step 5: Inspect and Clean the Socket
Take a moment to look inside the empty lamp socket. Check for accumulated dust, spider webs, or corrosion on the metal contact tab at the bottom. Wipe the area gently with a dry microfiber cloth if cleaning is needed. Never insert metal tools into a live socket.
Step 6: Install the New Bulb
Take your new replacement bulb and thread it clockwise into the socket until snug. Avoid overtightening, which can crack the glass base or strip the socket threads. For halogen bulbs, use a clean tissue or glove during handling because skin oils can create hot spots and shorten bulb lifespan.
Step 7: Reattach the Glass Shade and Test
Carefully lift the glass shade back into position over the light kit. Secure it by tightening the thumbscrews evenly or threading the central finial cap into place. Do not overtighten thumb screws against glass lips, as thermal expansion can cause cracking later. Step down from the ladder, restore power at the wall switch or breaker, and test the light to confirm proper operation.
Common Mistakes to Avoid
Rushing through this simple maintenance task often leads to preventable accidents or damaged hardware. One frequent error is neglecting to shut off the circuit breaker, which leaves live electricity running directly to the switch terminals. Always verify power isolation before touching internal components.
Another common mistake is overtightening replacement bulbs or shade thumb screws. Glass lamp holders and delicate socket threads easily crack under excessive torque. Hand-tighten until snug, and stop immediately when resistance builds. Touching bare halogen glass with unwashed fingers also ruins the quartz envelope over time, leading to premature burnout.
Failing to match the bulb shape to the enclosure dimensions causes aesthetic and functional issues. Oversized replacement bulbs may prevent the glass bowl from seating correctly against the fitter ring, leaving unsightly gaps or preventing reassembly entirely. Always check physical clearance dimensions before purchasing multi-packs of replacement lamps.
Neglecting to support glass globes properly during removal or installation remains a leading cause of accidental breakage. Never trust the mounting hardware to hold a shade while you unscrew things with only one hand. Always cradle the bottom of the glass bowl securely until all fasteners are completely removed or securely tightened.
Troubleshooting and Edge Cases
Occasionally, standard replacement steps hit unexpected snags. If a bulb breaks off inside the socket during removal, do not panic. Turn off the wall switch and breaker, grab a pair of needle-nose pliers, and carefully grip the outer metal base to unscrew it counterclockwise. Never touch internal contacts with bare metal tools while power is active.
If your new bulb flickers after installation, the center contact tab inside the socket may be compressed flat from years of use. Cut power completely, use a non-conductive wooden craft stick to gently pry the small metal tab upward by a millimeter, and try screwing the bulb back in to restore proper electrical contact. Ensure the bulb is screwed in fully and not caught in a half-threaded state.
When a replacement LED bulb still fails to illuminate, check whether the ceiling fan uses a dimmer-compatible bulb and a compatible wall dimmer switch. Incompatible LED and dimmer combinations cause persistent flickering, buzzing, or complete failure to turn on. If problems persist, test the bulb in a standard table lamp to rule out a defective out-of-the-box product.
For ceiling fans equipped with remote controls or integrated wireless receivers, failure of the light to turn on might point to a pairing or receiver issue rather than the bulb itself. If you hear a click from the receiver unit when pressing the light button on your remote but the bulb remains dark, verify that the bulb type matches the electrical specifications of the fan controller module.