Short Answer: Yes, you can install a ceiling fan without existing wiring by using an old-work ceiling joist brace box for support, and routing power via fished NM-B cable, surface raceways, or a wireless wall switch receiver kit.
Adding air circulation to a room that lacks overhead electrical infrastructure requires careful planning and alternative power delivery methods. When you need to figure out how to install a ceiling fan without existing wiring, the project usually involves working with existing wall switch lines, running surface raceways, or adopting wireless control technology. This guide walks you through the practical steps, structural assessments, and power solutions required to mount a fan securely where no electrical box currently waits.
Before you commit to tearing open drywall or buying hardware, take a quick moment to check your ceiling construction, attic access, and wall switch layout. If you have an accessible attic directly above the room, dropping a new electrical cable down to a ceiling box is straightforward. If the ceiling sits below another finished floor or a concrete slab, your approach shifts entirely to surface-mounted wiring channels or battery-operated remote receivers paired with modified wall power. Knowing what is above and behind your ceiling determines whether this is a simple weekend afternoon project or a job that demands creative wiring solutions.
Assessing your workspace readiness before opening tools or climbing ladders prevents costly mistakes. If your wall boxes lack a neutral wire, or if your ceiling joists run perpendicular to your planned wire path, recognizing these hurdles early allows you to select the right surface raceway ceiling fan wiring kit or wireless canopy receiver module before you begin the physical installation.
Before You Start: Assessing Your Ceiling and Power Options
Starting a fan installation without pre-existing overhead wire means you must establish how power will reach the motor and light kit. The primary challenge is delivering both structural support and electrical current without creating a hazardous or unsightly mess.
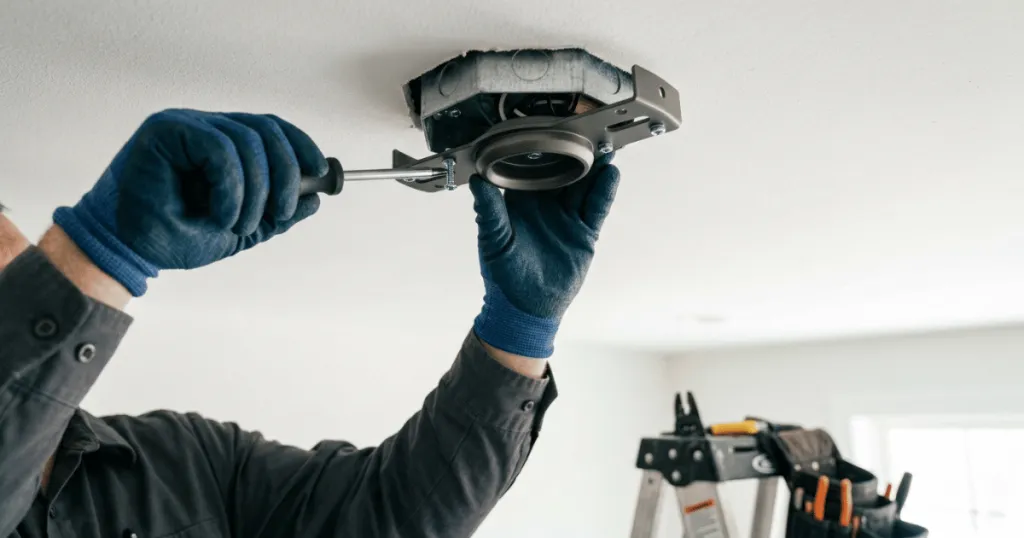
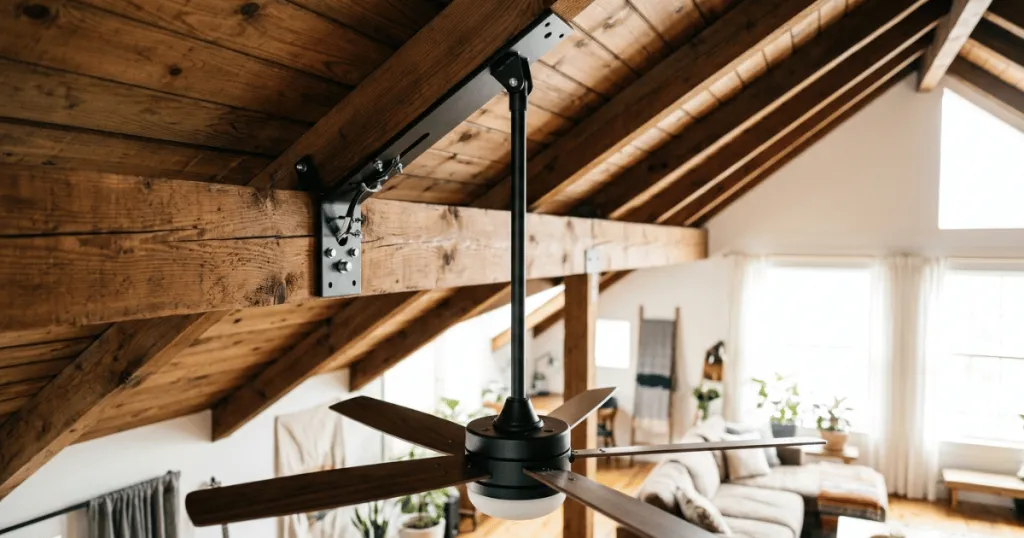
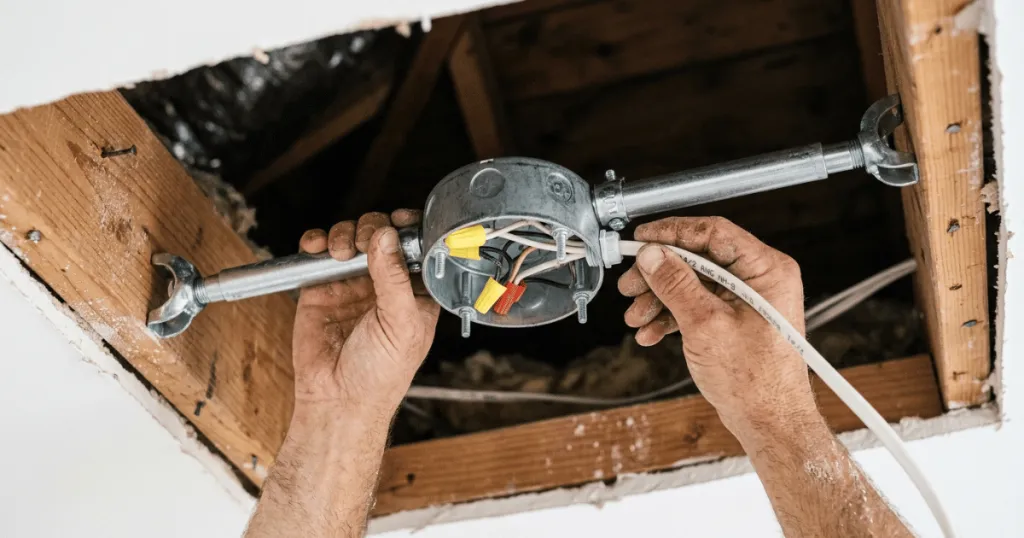
Begin by inspecting the ceiling framing. Standard ceiling light boxes are rarely rated to handle the dynamic weight and rotational vibration of a moving ceiling fan. You must replace any existing plastic or light-duty electrical box with a heavy-duty fan-rated brace box that spans directly between your ceiling joists. This structural upgrade is non-negotiable because a spinning fan generates continuous torque that can pull standard boxes loose from drywall over time.
Next, evaluate your power delivery options. When no switch leg runs to the ceiling, you generally choose between fishing new NM-B cable through the framing, installing surface metal raceways along the ceiling and wall, or utilizing a wireless wall switch receiver kit that communicates via radio frequency with a canopy module. Surface raceways offer a clean, paintable route for wires when fishing through walls is impossible, while wireless setups minimize physical wire runs if a constant hot wire is available at a nearby wall box.
When evaluating these routes, consider how room layout and furniture placement affect your aesthetic tolerances. A surface raceway crossing the exact center of a decorative plaster ceiling might look out of place, making a concealed fish-tape run through the joist cavities far more desirable even if it requires minor drywall patching. Conversely, in a garage, workshop, or industrial loft style room, exposed metallic surface raceways look intentional and trim down total project time significantly.
Tools and Materials Needed for the Job
Gathering the right equipment before you climb the ladder prevents frustrating interruptions halfway through the installation process. Working with electrical components, even when temporary power is off, requires insulated hand tools and precise testing instruments.
You will need a non-contact voltage tester to verify that circuits are completely dead before touching any wires. A stud finder helps locate ceiling joists and wall studs, while a drywall saw or keyhole saw creates precise openings for electrical boxes. If you are fishing wire through wall cavities, a fish tape becomes essential for pulling cables across tight spaces.
For the physical mounting and wiring phase, prepare a heavy-duty fan-rated brace box designed for old-work or new-work applications depending on your attic access. Keep wire strippers, wire connectors, cable clamps, a cordless drill, and a sturdy step ladder nearby. If you opt for surface wiring to solve the lack of overhead lines, purchase UL-listed surface raceway kits, matching connectors, and mounting clips that can be painted to match your decor.
Having a helper during the motor hanging stage is also a valuable asset, especially when dealing with heavy multi-speed units that include integrated glass light bowls. Preparing your hardware trays and organizing your wire nuts by gauge beforehand ensures you spend your time executing steps rather than searching for lost fasteners.
Step-by-Step Instructions: How to Install a Ceiling Fan Without Existing Wiring
Executing this project safely requires a strict sequence. Never skip shutting off main breaker power, and always secure the mechanical hanging bracket before making any electrical connections.
Step 1: Shut Off Power and Verify the Workspace
Locate your main electrical service panel and switch off the breaker controlling the room where you plan to work. Go to the wall switch and any nearby outlets to confirm power is cut. Use your non-contact voltage tester against the switch box and the ceiling area to ensure zero electrical potential remains before touching any surfaces.
Step 2: Install the Fan-Rated Ceiling Support Box
If you have attic access above the room, crawl up and secure a heavy-duty saddle box or brace directly to the joists from above. If you are working from below with no attic access, cut a hole in the drywall sized to fit an old-work fan brace kit. Insert the metal brace bar through the hole, twist it until the anchor spikes bite securely into the adjacent ceiling joists, and tighten the U-bolt assembly. Slide the electrical box onto the brace and lock it firmly into position.
Step 3: Establish the New Power Route
Determine how electricity will reach your newly mounted ceiling box. If you are fishing a new line from an existing wall switch box up to the ceiling, carefully cut small access holes in the drywall as needed, feed your fish tape from the ceiling box down to the switch box, and pull a compliant romex cable through the cavity. If fishing wire is structurally impossible, install a surface raceway kit starting from a lower power source or wall switch, running upward along the wall and across the ceiling directly to the fan canopy.
When running surface raceways across a ceiling, take time to align the channel parallel or perpendicular to the room walls so it follows natural architectural lines. Secure the mounting clips every twelve to sixteen inches to prevent any sagging or separation over time. If your chosen raceway system permits painting, apply a coat of wall-matching latex paint before snapping the cover strips into place to help the installation blend seamlessly into the room.
Step 4: Assemble and Hang the Ceiling Fan Motor
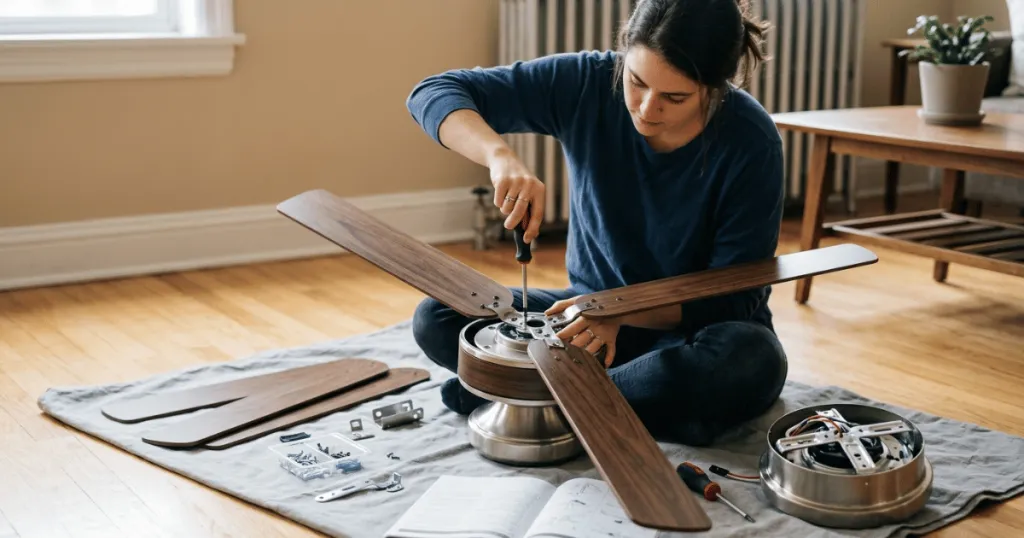
Follow the manufacturer instructions to assemble the downrod, canopy, and motor housing on a stable workbench or the floor. Lift the motor assembly up to the ceiling box and hang it securely from the hook or cradle provided by the mounting bracket. This step leaves both of your hands free to complete the wiring harness without holding the heavy motor weight.
Step 5: Connect the Wiring and Canopy Receiver
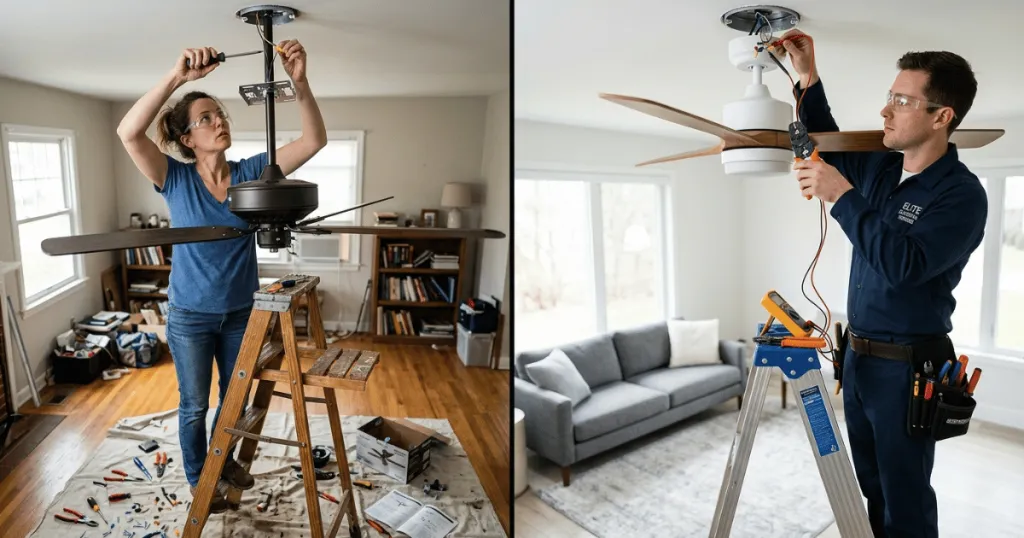
If your setup uses a wireless remote receiver module, wire the house power lines into the receiver input, and connect the receiver output wires directly to the fan motor leads according to the wiring diagram. Secure all wire connections with appropriate twist-on wire connectors and wrap them with electrical tape for added security. Carefully tuck all excess wire bundles up into the electrical box and slide the decorative canopy flush against the ceiling surface.
Step 6: Attach Blades and Test Operation
Mount the fan blades to the motor flywheel or blade irons, making sure every mounting screw is tightened evenly to prevent wobble. Restore power at the main service panel and test the fan speeds and light kit using your wall switch or remote control. Check for balanced rotation and listen for any unusual mechanical humming or loose vibration.
Common Mistakes to Avoid
Attempting to power a ceiling fan without pre-existing wiring introduces several pitfalls that can compromise safety or ruin the finished look of your room.
A frequent error is hanging a heavy fan assembly from a standard plastic light box. Standard boxes cannot bear the rotational load and will eventually tear out of the ceiling. Always install a rated metal brace box tied directly into structural framing members.
Another mistake is overloading an existing lighting circuit without checking total amperage draw. Ensure the circuit breaker feeding your new fan run can handle the combined load of lighting and motor amperage, especially if the room already shares heavy appliances or entertainment electronics on the same breaker.
Rushing the wire routing phase often leads to sloppy surface raceways that warp or pull away from textured walls. Take time to measure twice, use proper mounting anchors for raceway clips, and select paintable channels that blend seamlessly into your ceiling and wall surfaces.
Ignoring local electrical codes regarding cable protection and box accessibility is another major hazard. Even when retrofitting older homes, any junction box or splice point must remain permanently accessible and cannot be buried behind un-removable drywall or plaster without violating safety standards.
Troubleshooting Your New Fan Installation
Even with careful execution, minor issues can pop up once power is restored to a newly wired ceiling fan setup.
If the fan fails to respond entirely when you turn on the power, grab your voltage tester and check for current at the electrical box. A loose wire nut inside the canopy or a misconfigured remote receiver pairing frequently causes total power loss. Verify that the handheld remote has fresh batteries and that the receiver dip switches match the transmitter settings if your model uses manual frequency matching.
If the fan operates but wobbles noticeably, inspect the blade brackets and ensure every blade is seated flush against the motor. Uneven blade weight is the leading cause of wobble, which can be corrected easily using a standard balancing kit that clips onto the blades during testing.
If you encounter persistent electrical humming from the motor, check whether your wall control is compatible with the fan motor type. Using an incandescent dimmer switch on a ceiling fan motor creates an audible electrical hum and can damage internal motor windings over time. Always pair your fan with a dedicated fan speed control or the specific control unit recommended by the manufacturer.
In scenarios where a wireless remote receiver experiences intermittent signal dropouts, verify that the antenna wire on the canopy module is fully extended and not pinched inside the metal mounting bracket. Metal housings can block radio frequencies, so keeping the antenna outside the main enclosure preserves reliable communication between your handheld controller and the motor.
FAQ
How do you power a ceiling fan if there is no wall switch?
If your room lacks a wall switch, you can install a wireless radio frequency wall control kit or handheld remote receiver. This setup allows a single constant hot wire to feed a canopy receiver module that controls both motor speeds and lighting wirelessly.
Can I use surface wiring for a ceiling fan installation?
Yes, UL-listed surface raceways can run along walls and ceilings to conceal new electrical wires safely when fishing cables through wall cavities is structurally impossible.
Do I need a special electrical box for a ceiling fan?
Yes, you must replace any standard light fixture box with a heavy-duty fan-rated brace box that attaches directly to your ceiling joists to support the dynamic weight and rotational torque of a moving fan.