Quick Answer: To connect ceiling fan wires safely, first turn off the power at the circuit breaker and verify it with a voltage tester. Use a fan-rated junction box to support the weight. Connect the ground wires (green/bare) first, then the neutral (white) wires, and finally the hot (black/blue) wires. Ensure all wire nuts are secure, tuck wires neatly into the canopy to avoid pinching, and test the fan before fully securing the canopy.
Installing a new ceiling fan is a rewarding project that significantly improves air circulation and comfort in any room. Understanding how to connect ceiling fan wires is the most critical part of the process, as it ensures your fan operates safely and reliably for years to come. While the task may seem intimidating, it follows a logical pattern that any homeowner can master with the right preparation and focus on safety.
Before you begin, remember that working with electrical components requires patience and precision. This guide focuses on the standard wiring configurations found in most residential settings, helping you navigate the connections between your ceiling junction box and the fan motor assembly. By following these steps, you will be able to manage the wiring process with confidence and avoid common mistakes that lead to flickering lights or non-functional fan motors.
The safest starting point for any electrical project is the absolute verification of a de-energized circuit. Before you touch a single wire, ensure the power is completely off at the main service panel. Do not rely on the wall switch alone. Once the breaker is flipped to the off position, use a non-contact voltage tester to confirm that no electricity is flowing to the ceiling box. This simple habit prevents accidental shocks and protects your home electrical system from short circuits during the installation process.
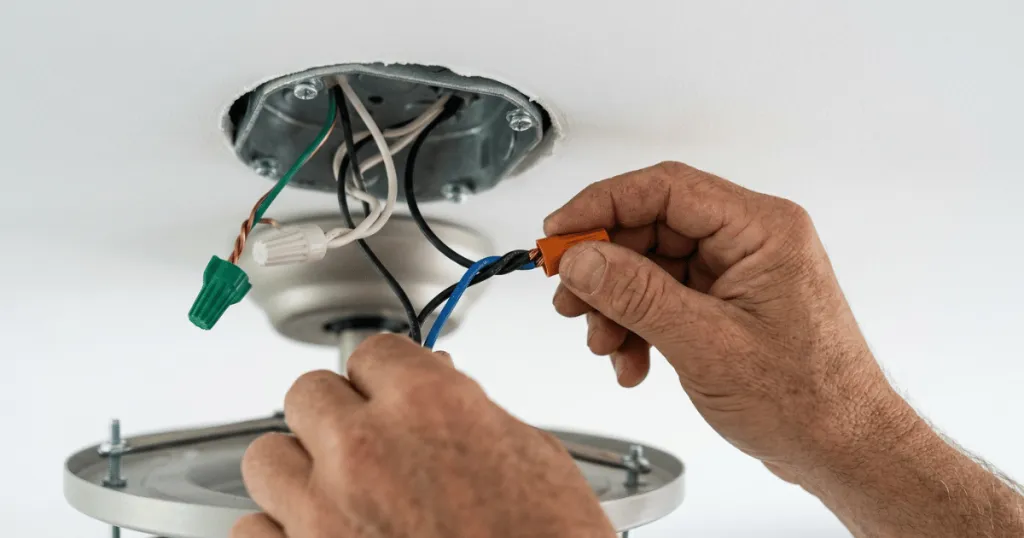
Before You Start: Preparation and Safety
The absolute first step in any electrical project is ensuring the power is completely off. Do not rely on the wall switch alone. Go to your home’s main electrical panel and flip the circuit breaker corresponding to the room where you are working. Once the breaker is off, verify the power is dead by testing the wall switch or using a non-contact voltage tester on the existing fixture wires. Never assume the power is off simply because the light is not on.
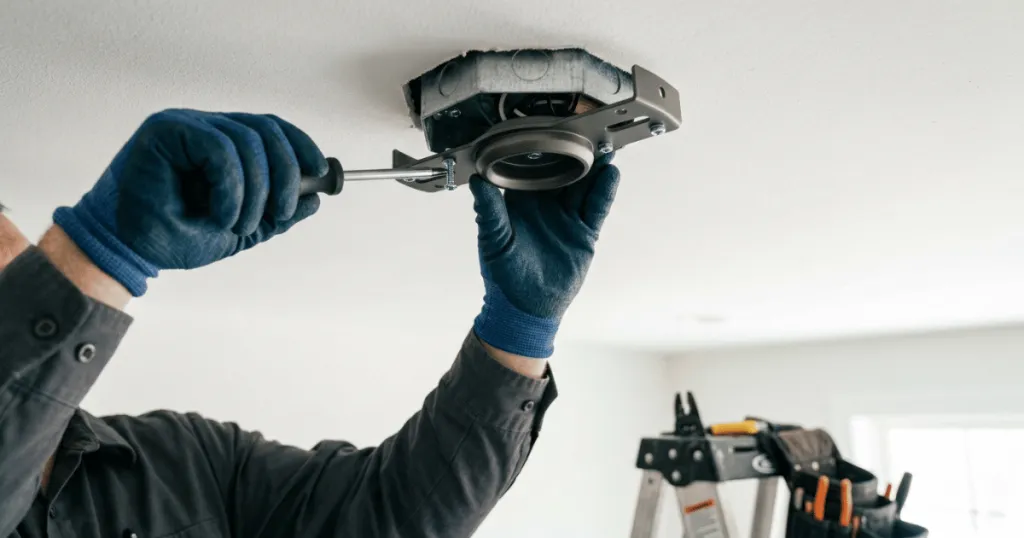
Next, inspect your ceiling junction box. A standard light fixture box is often insufficient for the weight and vibration of a ceiling fan. You must use a UL-listed fan-rated box that is securely anchored to a ceiling joist. If you are replacing a heavy chandelier or a standard light, check the markings inside the box to confirm it is rated for fan support. If it is not, you must replace the box before proceeding, as a standard box can pull loose under the torque of a running fan.
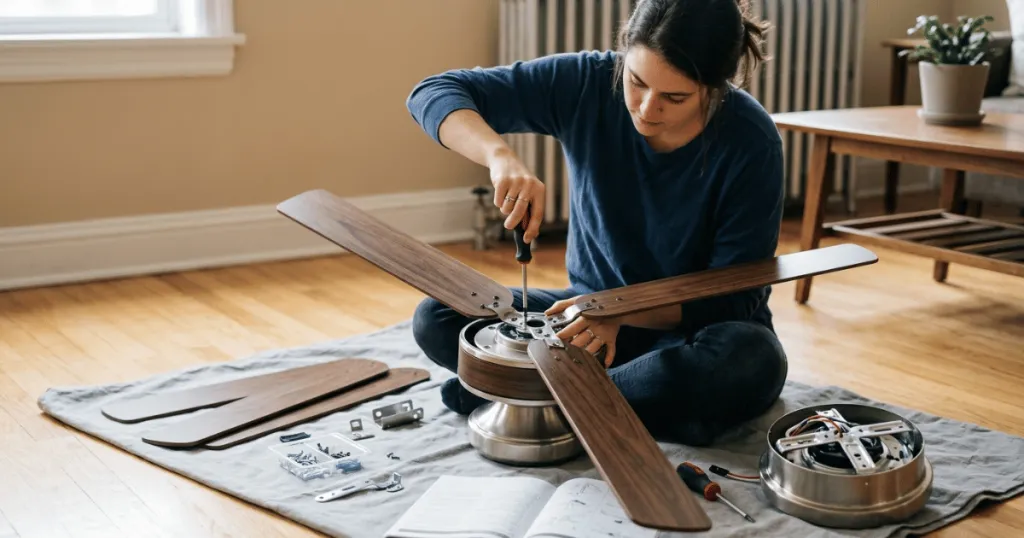
Gather your materials before you climb the ladder. You will need wire strippers, a screwdriver set, wire nuts, and a non-contact voltage tester. If your fan includes a remote control receiver, you will have more wires to manage, so ensure you have enough space in the canopy to tuck them away neatly. Organize your workspace so you are not fumbling for tools while holding the fan motor assembly in place, as this is when most accidents occur.
Prerequisites and Essential Tools
Success depends on having the right tools and understanding the basic anatomy of your wiring. Most ceiling fans in the United States follow a standard color-coding system, but you should always verify the wires coming from your ceiling. Typically, the black wire is hot, the white wire is neutral, and the green or bare copper wire is the ground. Your fan will likely have a black wire for the motor and a blue wire for the light kit, which may be bundled together depending on your control setup.
Check your wire nuts to ensure they are the correct size for the gauge of wire you are connecting. Using a wire nut that is too loose can lead to a poor connection, while one that is too small will not cover enough of the exposed copper. Always strip about half an inch of insulation from the ends of the wires. If the wires are stranded, twist them slightly to keep the strands together before inserting them into the wire nut. A clean, tight connection is the foundation of a safe installation.
When working with older homes, you may encounter wiring that does not follow modern color standards. In some cases, you might find two hot wires if the home was wired for a dual-switch setup, where one switch controls the light and the other controls the fan motor. If you see extra wires, do not guess their purpose. Use a multimeter to identify which wire carries voltage when the switches are toggled. Understanding these variations is vital because misconnecting a dual-switch system can cause the fan to hum or the light to flicker whenever the motor is engaged.
Step-by-Step Instructions: How to Connect Ceiling Fan Wires
Once you have mounted the fan bracket and hung the motor assembly, you are ready to make the electrical connections. Follow these steps in order to ensure every circuit is properly closed.
- Ground the System: Connect all green or bare copper wires from the ceiling, the mounting bracket, and the fan motor together using a wire nut. This provides a path for electrical surges to travel safely to the ground rather than through the fan housing.
- Connect the Neutral Wires: Take the white neutral wire from the ceiling and connect it to the white neutral wire coming from the fan motor. If you are using a remote receiver, connect the white wire from the ceiling to the white input wire on the receiver, then connect the white output wire from the receiver to the white wire on the fan.
- Connect the Hot Wires: Connect the black hot wire from the ceiling to the black motor wire (or the black input wire on the remote receiver). If your fan has a separate blue wire for the light kit, connect it to the blue wire on the receiver. If you do not have a remote, you may connect both the black and blue wires from the fan to the single black hot wire from the ceiling to control both with one switch.
- Secure the Connections: Ensure each wire nut is twisted on firmly. Give each wire a gentle tug to make sure it does not slide out of the nut. If you see any exposed copper wire extending beyond the nut, remove the nut, trim the excess wire, and re-secure it.
- Organize and Close: Gently tuck the wires into the junction box, ensuring they are not pinched or crushed. Slide the canopy up to the ceiling and secure it with the provided screws. A tidy, organized canopy prevents wire shorts and makes future maintenance much easier.
Common Mistakes to Avoid
One of the most frequent errors is failing to secure the ground wire properly. Some installers assume that because the fan is mounted to a metal bracket, it is automatically grounded. This is incorrect. You must physically connect the ground wires to ensure safety in the event of a fault. Another common mistake is overcrowding the junction box. If you have a remote receiver, it can be difficult to fit all the wiring and the receiver itself into the canopy. Take your time to fold the wires neatly rather than forcing the canopy into place, which can strip screws or damage wire insulation.
Over-tightening wire nuts is another issue. While you want them secure, using pliers to crank them down can damage the plastic housing of the nut or break the wire strands inside. Hand-tightening is usually sufficient if the wires are properly twisted together. Finally, never mix up your hot and neutral wires. If you are unsure which wire is which, use a voltage tester to identify the hot wire before you begin the final connections. Mixing these up can cause the fan to operate in reverse or create a significant electrical hazard.
Another common oversight involves the physical management of the wires within the canopy. Many homeowners try to shove the excess wire into the junction box without regard for the heat generated by the fan motor or the remote receiver. If the wires are bunched up against the motor housing, the heat can eventually degrade the plastic insulation, leading to a short circuit. Always ensure that the wires are tucked neatly to the sides of the junction box, leaving the center area clear for the receiver or the downrod assembly. This simple practice improves airflow around the electrical components and extends the lifespan of your fan electronics.
Troubleshooting Your Connections
If your fan does not turn on after you have finished, do not panic. First, check the circuit breaker to ensure it did not trip during the installation process. If the breaker is on but the fan remains unresponsive, the most likely culprit is a loose wire connection. Turn off the power, remove the canopy, and inspect each wire nut to ensure every wire is firmly held in place. A single loose wire is the most common cause of intermittent fan performance or a fan that works but has a light kit that stays dark.
If the fan runs but the light does not, or vice versa, check the connections between the remote receiver and the fan wires. It is easy to accidentally cross the blue light wire with the black motor wire. If you are using a wall control, ensure the wiring at the wall switch matches the configuration at the fan. If you have followed all steps and the fan still fails to operate, consider that the issue might be a faulty remote receiver or a defective motor, but always double-check your wiring connections first, as they are the source of the vast majority of installation problems.
When troubleshooting, pay close attention to the remote receiver pairing process. Sometimes, the wiring is perfectly correct, but the fan is not responding because the receiver has not been synchronized with the handheld remote. Consult your manual for the specific pairing sequence, which often involves turning the power on and holding a specific button on the remote within a short time window. If you hear a series of beeps or see the light kit flash, the receiver is successfully communicating with the fan. If you still experience issues, verify that the dip switches on both the remote and the receiver are set to the same pattern, as mismatched settings will prevent the fan from receiving the signal.
Advanced Considerations for Complex Installations
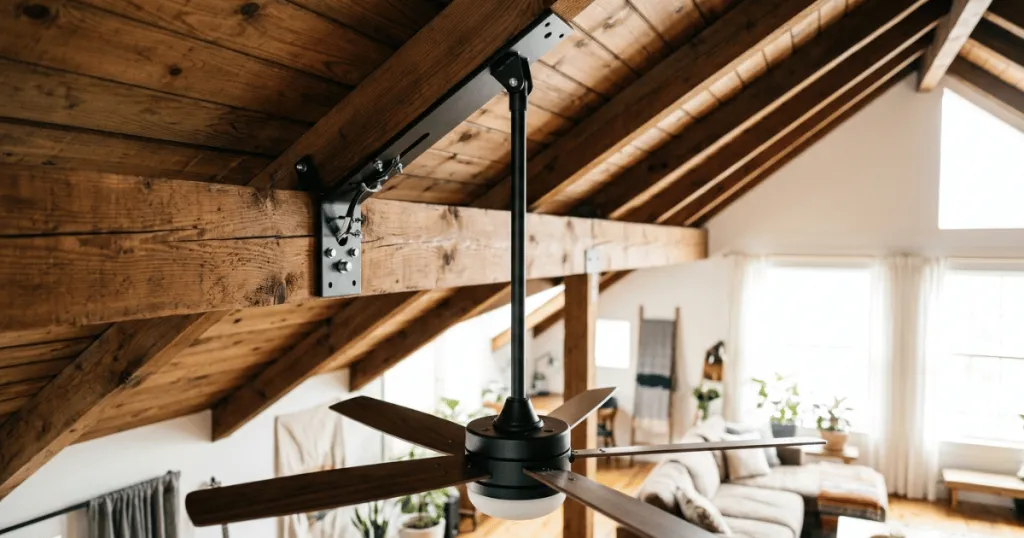
For homeowners dealing with vaulted ceilings or long downrods, the wiring process becomes slightly more complex because the wires must travel through the extension rod. Always ensure that the wire extensions provided by the manufacturer are used correctly. Never splice extra wire using substandard connectors or electrical tape alone. If you need to extend the wires, use proper crimp connectors or solder the joints and cover them with heat-shrink tubing to ensure they can withstand the vibration of the fan over time. Vibration is a constant force that can loosen poorly made connections, so prioritize mechanical integrity in every splice you make.
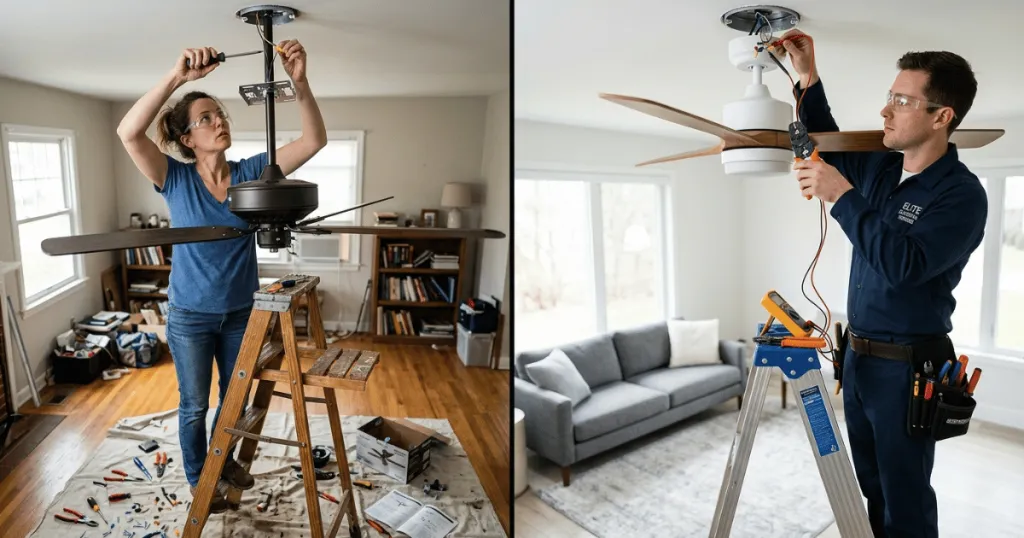
If you find yourself stuck or if the wiring in your home does not match the standard colors described here, stop immediately. Older homes may have non-standard wiring colors that require a multimeter to identify correctly. When in doubt, or if you feel uncomfortable with the electrical aspects of the installation, contact a licensed electrician. Knowing when to call a professional is a sign of a responsible homeowner who prioritizes safety over finishing a project quickly.
Conclusion
Learning how to connect ceiling fan wires is a manageable task when you approach it with caution and attention to detail. By verifying your power source, using the correct hardware, and ensuring every connection is tight and properly insulated, you can enjoy the comfort of a well-installed fan for many years. Always prioritize safety, take your time with the wiring, and do not hesitate to seek professional help if you encounter unexpected wiring configurations in your home.
FAQ
Do I need to turn off the main power to the whole house?
No, you only need to turn off the power to the specific circuit that controls the room where you are installing the fan. Use your circuit breaker panel to identify and flip the correct switch.
What should I do if my ceiling fan has more wires than my ceiling box?
This is common when using a remote control receiver. The receiver acts as an intermediary. You will connect the ceiling wires to the receiver input, and the fan wires to the receiver output, following the specific wiring diagram provided with your fan.
Can I use electrical tape on my wire connections?
While wire nuts are the primary method for securing connections, wrapping electrical tape around the base of the wire nut and the wire is an acceptable practice for extra security, though it is not strictly required if the wire nut is the correct size and properly installed.
How do I know if my ceiling box is safe for a fan?
Look for a stamp or label inside the junction box that explicitly states it is ‘Fan Rated’ or ‘Acceptable for Fan Support.’ If you do not see this, or if the box is loose, you must replace it with a fan-rated box before hanging the motor.