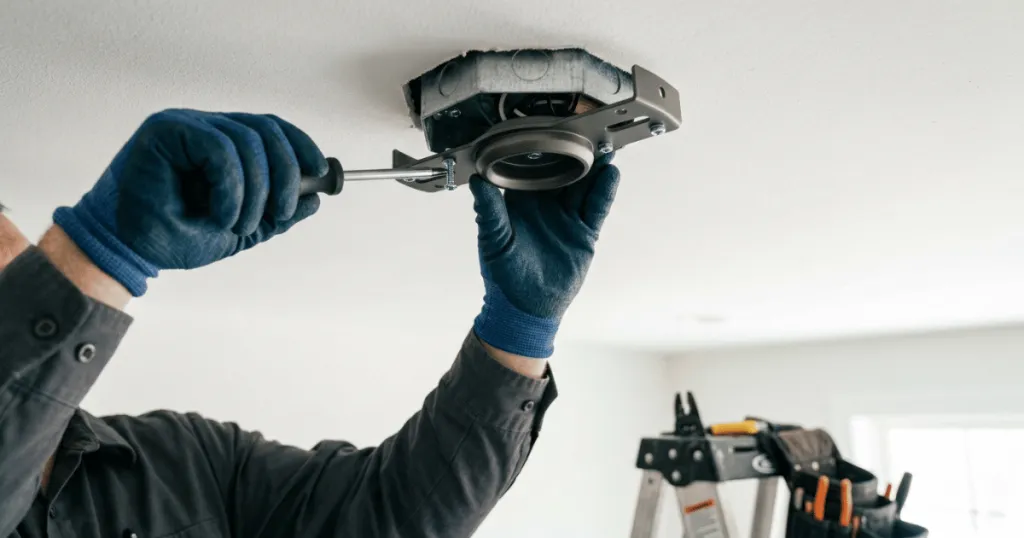
In Simple Terms: The red wire is an auxiliary hot wire used to provide a separate power source for a ceiling fan light kit. It allows you to control the fan motor and the light independently using two separate wall switches.
When you open the canopy of a ceiling fan during installation, you are often greeted by a cluster of colored wires that can look intimidating. One of the most common points of confusion for homeowners is the presence of a red wire. Many people ask, What is the red wire for a ceiling fan, and why does it seem to appear in some junction boxes but not others? Understanding this wire is the key to mastering your wall controls and ensuring your fan and light kit operate exactly the way you want them to.
In the simplest terms, the red wire is an auxiliary or secondary hot wire. While the black wire typically provides power to the fan motor, the red wire is often used to provide a separate power source for the light kit. This setup allows you to control the fan and the light independently using two separate wall switches. If you encounter this wire, it is usually a sign that your home was wired with dual-switch capability in mind.
It is important to recognize that the presence of this wire is a feature of the home electrical system rather than the fan itself. When builders install wiring for ceiling fans, they often run a three-conductor cable (black, red, white, and a bare ground) to the ceiling box. This extra conductor provides flexibility for future upgrades. By understanding its purpose, you can decide whether to utilize this convenience or stick with a simpler, single-switch control method.
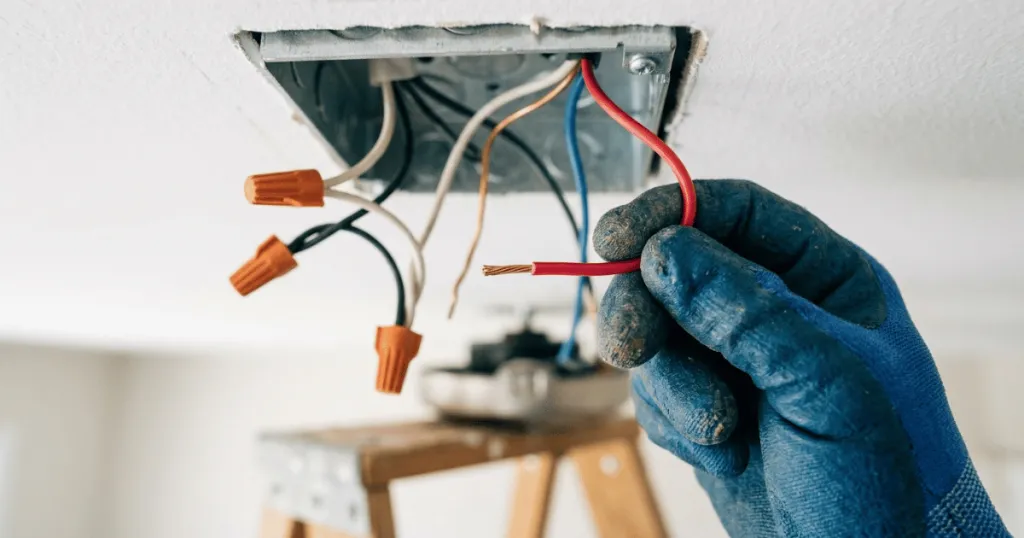
What Is the Red Wire for a Ceiling Fan and How Does It Work?
To understand the function of the red wire, you must first visualize the standard electrical path in a residential ceiling box. Most ceiling fan installations involve a black wire for the motor and a white wire for the neutral return. When a red wire is present, it acts as a dedicated path for a secondary load. This is a common feature in rooms where the builder installed a double-gang wall switch, allowing one toggle to control the fan motor and the other to control the light fixture.
When you connect the red wire from your ceiling box to the light kit wire on your fan, you are effectively creating a dedicated circuit for the illumination. If you do not connect this wire, or if you only have a single wall switch available, the light kit will not receive power from that specific line. In such cases, the red wire is typically capped off with a wire nut and tucked away safely inside the junction box, as it remains unused.
The internal logic of the fan receiver also plays a role here. Many modern fans come with remote control receivers that consolidate the wiring. In these systems, the receiver takes the power from the wall and manages the fan speed and light intensity wirelessly. If you are using a remote receiver, you might find that the red wire from the ceiling is not needed at all, as the receiver handles the switching internally. Always consult the specific wiring diagram provided by your fan manufacturer, as they dictate which wires must be connected to ensure the unit functions safely.
Furthermore, the electrical path relies on the switch configuration at the wall. In a dual-switch setup, the wall box contains two separate switches that each draw power from the same supply line but divert it through different conductors. The black wire usually carries power to the first switch, while the red wire carries power to the second switch. When you toggle the switch associated with the red wire, you are completing the circuit for the light kit. This separation is beneficial because it prevents the fan motor from drawing too much current on a single circuit if the light kit is high-wattage, though modern LED kits make this less of a concern than it was with older incandescent bulbs.
Practical Examples and Installation Scenarios
Consider a scenario where you are replacing an old light fixture with a new ceiling fan that includes an integrated light. You remove the old fixture and see a black wire, a white wire, and a red wire hanging from the ceiling. If your wall has two switches, the red wire is likely connected to one of them. By connecting the red wire to the light-kit wire on your fan, you gain the ability to turn the lights on and off without touching the fan motor settings.
Another common situation involves a single-switch room. If your wall only has one light switch, the red wire in the ceiling box is likely redundant. You might find that the previous homeowner or builder installed it just in case a future owner wanted to upgrade to a dual-switch setup. In this instance, you would connect the black fan wire to the black house wire and cap the red wire. The fan and light will then be controlled by the single wall switch, and you will likely use the pull chains or a remote to manage the fan and light separately.
Troubleshooting is another area where this wire becomes relevant. If you install a fan and the light does not turn on, the first thing to check is whether you accidentally connected the light kit to the wrong hot wire. If you have a dual-switch setup but only connected the black wire, the light will remain dark. Ensuring the red wire is properly mated to the light-kit power lead often solves this issue immediately.
When dealing with older homes, you might encounter a scenario where the wiring colors do not match modern standards. Occasionally, a blue wire from the fan might be intended for the light kit, while the red wire in the ceiling is the power source. Always verify the function of each wire using a non-contact voltage tester. If you are uncertain which switch controls which wire, turn on one switch and test the wires in the ceiling box. The wire that shows voltage is the one controlled by that switch. This methodical approach prevents guesswork and ensures that your fan and light operate exactly as you intend.
Related Terms and Electrical Concepts
Understanding the red wire requires a basic grasp of related electrical terminology. A hot wire is any conductor that carries current from the power source to the load. In the context of a ceiling fan, both the black and red wires are considered hot. The neutral wire, usually white, completes the circuit by providing a path for the current to return to the electrical panel. Without a neutral connection, the fan will not operate regardless of how many hot wires you connect.
The term junction box refers to the metal or plastic enclosure in your ceiling that houses the wiring connections. It is the anchor point for your fan and the place where all wire splices occur. A wire nut is the plastic connector used to join these wires together. Using the correct size of wire nut is essential for a secure connection that will not loosen over time due to the vibrations of the fan motor.
Finally, the concept of load is important. The load is the device consuming the electricity, such as the fan motor or the light bulbs. When you use a red wire to separate the light from the fan, you are splitting the load across two different circuits. This is a standard practice in electrical design that increases convenience for the user, allowing for better control over the room environment.
Another concept to keep in mind is the grounding wire. While not directly related to the red wire, the bare copper or green wire is critical for safety. Never confuse the red wire with the ground wire. The red wire is a current-carrying conductor, whereas the ground wire is intended to carry current only in the event of a fault. Proper identification of all wires in the junction box is the foundation of a safe electrical installation.
Common Misconceptions About Ceiling Fan Wiring
One of the most dangerous misconceptions is that wire colors are always consistent across every home. While the National Electrical Code provides guidelines, older homes or custom wiring jobs might use different colors for hot wires. You should never assume a wire is neutral or ground just because of its color. Always use a non-contact voltage tester to verify which wires are actually carrying current before you begin your installation.
Another common mistake is thinking that you must use the red wire if it is present. Many homeowners feel obligated to connect every wire they see in the ceiling box. If your fan does not have a separate input for a light kit, or if you prefer to use a remote control system, the red wire is not required. Leaving it properly capped and secured is perfectly safe and standard practice. Do not force a connection if the fan manufacturer does not explicitly call for it in the installation manual.
Lastly, some people believe that the red wire provides extra power for the fan motor itself. This is incorrect. The red wire is a signal or power path for a separate switch, not a booster for the motor. Connecting the red wire to the black wire in an attempt to make the fan run faster or better will likely trip your circuit breaker or cause damage to the fan motor. Always follow the manufacturer instructions to the letter to avoid these issues.
Homeowners should also be aware that the presence of a red wire does not automatically guarantee that it is connected to a switch. In some cases, the wire might be pulled to the box but left disconnected at the switch location. If you find a red wire in your ceiling box but cannot find a corresponding second switch on your wall, it is possible the wire is simply a spare conductor. In such cases, it is best to leave it capped and unused rather than attempting to modify your wall switches without proper electrical knowledge.
FAQ
Do I need to connect the red wire if my fan has a remote?
In most cases, no. If your ceiling fan uses a remote control receiver, that receiver typically manages both the light and the motor from a single power source. You should cap the red wire and follow the receiver’s specific wiring instructions.
What happens if I connect the red wire to the black wire?
Connecting the red wire to the black wire can create a short circuit or overload the switch, which may trip your circuit breaker. It is generally unsafe and unnecessary to join these two hot wires together unless specifically instructed by the fan manufacturer for a unique wiring configuration.
How can I tell if my wall switch is designed for a red wire?
If you have a dual-gang wall box with two separate toggles or sliders, your wall is likely wired to support independent control of the fan and light. You can verify this by using a multimeter or voltage tester to see if each switch controls a different wire in the ceiling box.