The Short Version: To wire a ceiling fan with 2 switches, you must confirm your ceiling box has two separate hot wires. Connect the fan motor wire to the first hot wire and the light kit wire to the second hot wire, ensuring all neutral and ground wires are properly secured. Always verify power is off at the breaker before starting.
The most common mistake when attempting to wire a ceiling fan with 2 switches is assuming that every fan housing is pre-wired to support dual-switch functionality. Many modern fans arrive with a single receiver that combines the motor and light signals into one line, which effectively renders your second wall switch useless unless you specifically configure the wiring to bypass or split these controls. Understanding how to wire a ceiling fan with 2 switches requires a clear grasp of your home electrical layout and the specific capabilities of your fan model.
By following the correct sequence, you can regain independent control over your fan motor and light kit, allowing you to turn off the blades while keeping the light on, or vice versa. This setup is highly practical for bedrooms and living areas where lighting needs often differ from airflow requirements. Before you begin, ensure you have a clear plan for identifying your hot, neutral, and ground wires, as misidentifying these is the primary cause of blown fuses or non-functional wall switches.
Achieving this configuration is not merely about connecting wires. It is about verifying that your infrastructure supports the load. If your home was built with a single switch leg, attempting to force a dual-switch setup will result in frustration. You must confirm the presence of two distinct hot wires at the ceiling junction box before you start the physical installation process. Without this, you are essentially trying to power two independent circuits with a single source, which is electrically impossible without adding new cabling.
Preparation and Safety Before You Start
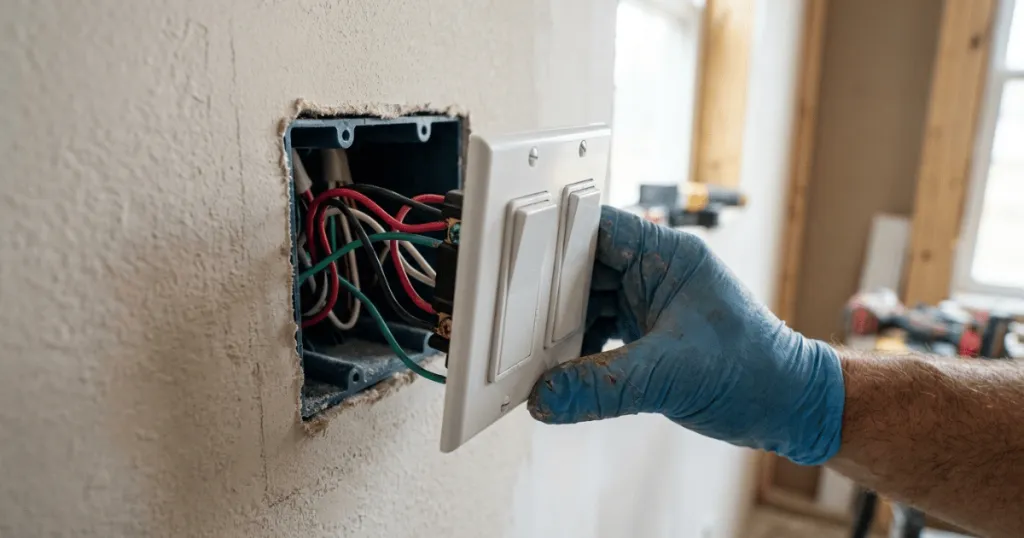
Before you touch any wiring, you must confirm that your wall box actually contains two separate hot wires coming from the switch bank. Many older homes were wired with a single hot wire for a ceiling fixture, meaning you might only have one switch leg available. If you only have one hot wire, you cannot achieve independent control without running new cable through the ceiling, which is a significant project. Always verify your wall switch configuration by removing the switch plate and checking for two distinct load wires leaving the switches toward the ceiling.
Safety is the absolute priority when dealing with household electricity. You must turn off the power at the main circuit breaker panel. Do not rely solely on the wall switch to cut power, as the switch might be wired to the neutral side in older homes, leaving the fixture live even when the switch is in the off position. Use a non-contact voltage tester to confirm that no power is flowing to the ceiling box or the wall switches before proceeding.
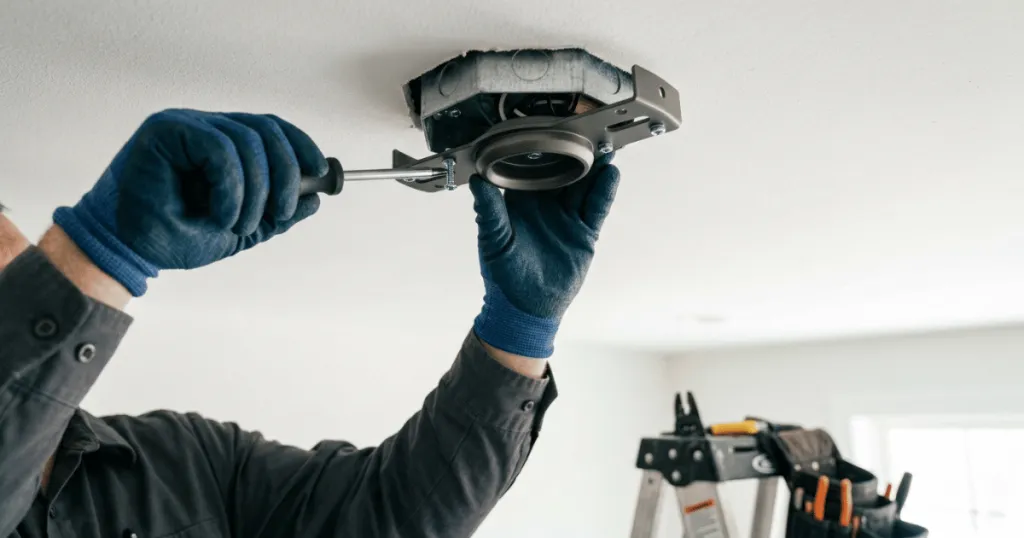
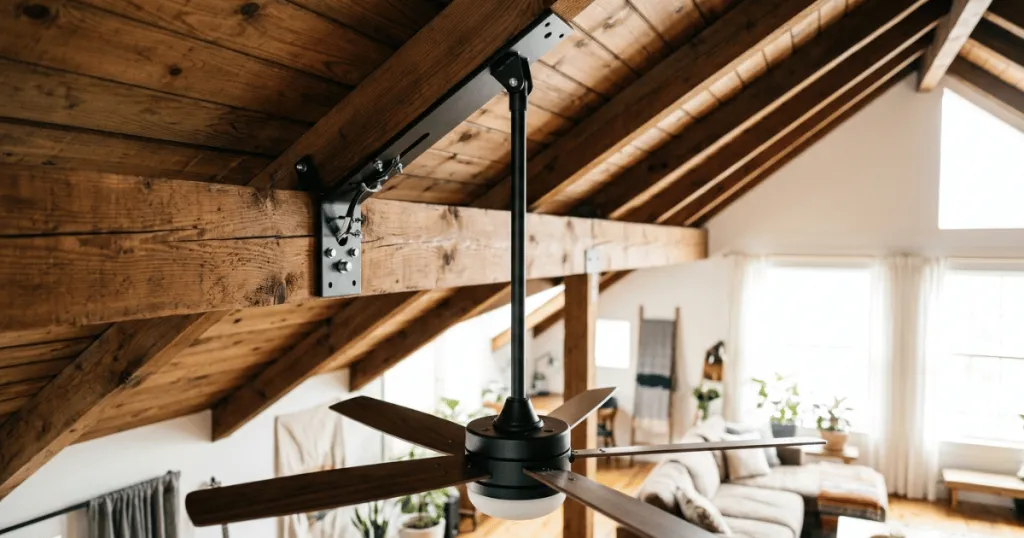
Gather your tools before you climb the ladder. You will need a reliable voltage tester, wire strippers, wire nuts, a screwdriver set, and a pair of needle-nose pliers. If you are working on a high ceiling, ensure your ladder is stable and positioned on a level surface. A common oversight is failing to check the weight rating of the existing ceiling junction box. A fan requires a box specifically rated for fan support, which is different from a standard light fixture box. If your current box is not fan-rated, you must replace it to prevent the unit from falling.
When preparing, consider the physical space inside your junction box. Adding extra wire connections for a dual-switch setup can crowd the box. If you find that the box is already packed with existing wire nuts and cables, you may need to use smaller, high-quality wire connectors or rearrange the existing wiring to ensure the fan canopy can sit flush against the ceiling. A crowded box can lead to pinched wires, which creates a risk of short circuits or ground faults that are difficult to diagnose later.
Tools and Prerequisites for Dual-Switch Setup
To successfully wire a ceiling fan with 2 switches, you need to verify the wiring configuration at both the ceiling junction box and the wall switch box. In a standard dual-switch setup, you should see a black wire (usually for the fan motor) and a blue or red wire (usually for the light kit) originating from the wall switches. These two wires must be present at the ceiling box to allow for independent control.
If your fan includes a remote control receiver, you must check the manual to see if it supports dual-switch operation. Many modern receivers are designed to be powered by a single hot wire, with the remote handling the switching logic internally. If you force a dual-switch setup on a receiver not designed for it, you may damage the internal electronics or cause the fan to behave erratically. If you prefer manual wall control, you may need to bypass the receiver entirely, provided your fan model allows for direct wiring.
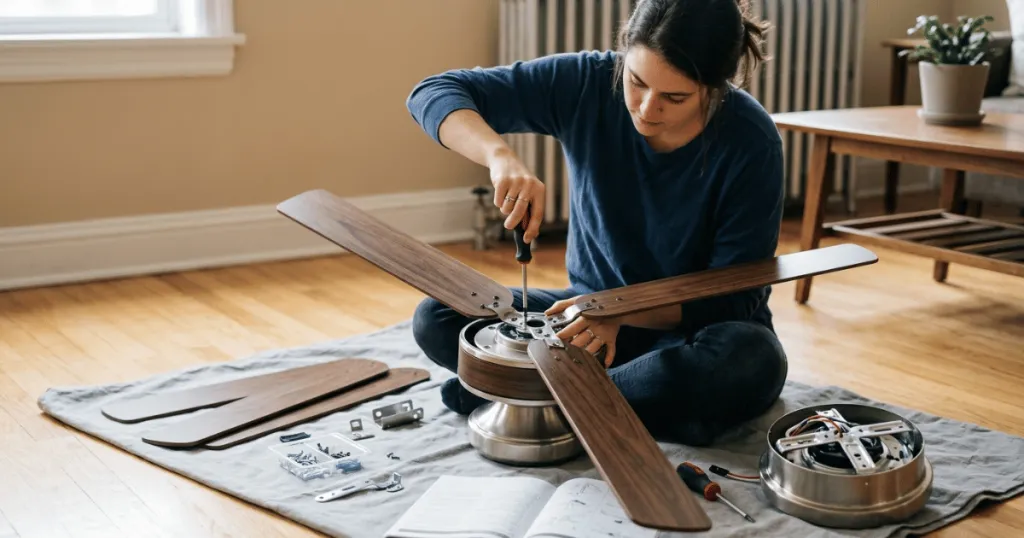
Beyond the basic tools, having a flashlight and a helper is highly recommended. A helper can hold the fan motor housing while you make the connections, which prevents strain on the wires and ensures you can focus on making secure, code-compliant connections. Always verify that your wire nuts are sized correctly for the gauge of wire you are using. Using a wire nut that is too large or too small can lead to loose connections, which are a common source of intermittent power loss or buzzing sounds in the fan motor.
Step-by-Step Instructions: How to Wire a Ceiling Fan with 2 Switches
1. Turn off the power at the breaker. Verify the power is off using your voltage tester on both the wall switches and the ceiling box wires.
2. Identify the wires in your ceiling box. You should find a white (neutral) wire, a green or bare (ground) wire, and two separate hot wires. These hot wires are typically black and red, though they may both be black depending on how the electrician labeled them.
3. Connect the ground wires. Attach the green or bare copper wire from the ceiling to the green wire on the fan mounting bracket and the green wire coming from the fan motor housing. Secure these with a wire nut.
4. Connect the neutral wires. Connect the white wire from the ceiling to the white wire from the fan motor. Ensure the connection is tight and secure.
5. Connect the motor hot wire. Take the black wire from the fan motor and connect it to the first hot wire from the ceiling box, which corresponds to your first wall switch.
6. Connect the light kit hot wire. Take the blue wire from the fan (or the light kit wire) and connect it to the second hot wire from the ceiling box, which corresponds to your second wall switch.
7. Organize the wires. Gently tuck the wires into the junction box, ensuring no connections are pinched or strained. Attach the fan canopy to the mounting bracket.
8. Restore power and test. Turn the breaker back on. Test each switch individually to ensure the fan motor and the light kit respond to their respective switches.
When connecting the wires, ensure that you are stripping only about half an inch of insulation from the ends. Excess exposed copper can increase the risk of accidental contact with the metal junction box or other wires. If you are using stranded wire from the fan, ensure that the strands are twisted tightly before inserting them into the wire nut. This prevents stray strands from poking out and creating a potential short circuit.
Common Mistakes to Avoid
One of the most frequent errors is mixing up the neutral and hot wires. If you connect a hot wire to the white neutral wire, you will create a short circuit that will trip your breaker immediately upon restoration of power. Always double-check the color coding and verify your connections before flipping the switch.
Another common mistake is failing to secure the wire nuts properly. Loose wire connections can lead to arcing, which generates heat and can melt wire insulation or cause a fire hazard. Give each wire a firm tug after securing it with a wire nut to ensure it is locked in place. If a wire slides out, strip it again and re-secure it.
Many homeowners also forget to check the grounding path. The ground wire is your primary safety mechanism in the event of an electrical fault. Skipping the ground connection or failing to connect it to the metal housing of the fan can lead to the entire fixture becoming energized if a wire frays inside the housing. Always ensure the ground wire is securely attached to the mounting bracket and the fan motor housing.
Additionally, avoid the temptation to use electrical tape as a substitute for a properly sized wire nut. While tape can provide extra security, it does not replace the mechanical connection provided by a wire nut. If you find that your wires are not staying inside the nut, it is a sign that you need to re-strip the wire or use a different size of connector. Never force a connection that feels loose or unstable.
Troubleshooting Your Installation
If the fan works but the light does not, check the connection between the light kit wire and the second wall switch. It is possible that the wire is loose or that the second wall switch is not actually connected to the second hot wire in the ceiling box. Use your voltage tester to see if power is reaching the light kit wire when the second switch is toggled.
If the fan or light hums or flickers, this often indicates a poor connection or an incompatible dimmer switch. If you are using a standard wall switch for the light, ensure it is not a dimmer unless your light kit is explicitly rated for dimming. Using a non-dimmable LED bulb with a dimmer switch is a common cause of flickering and premature bulb failure.
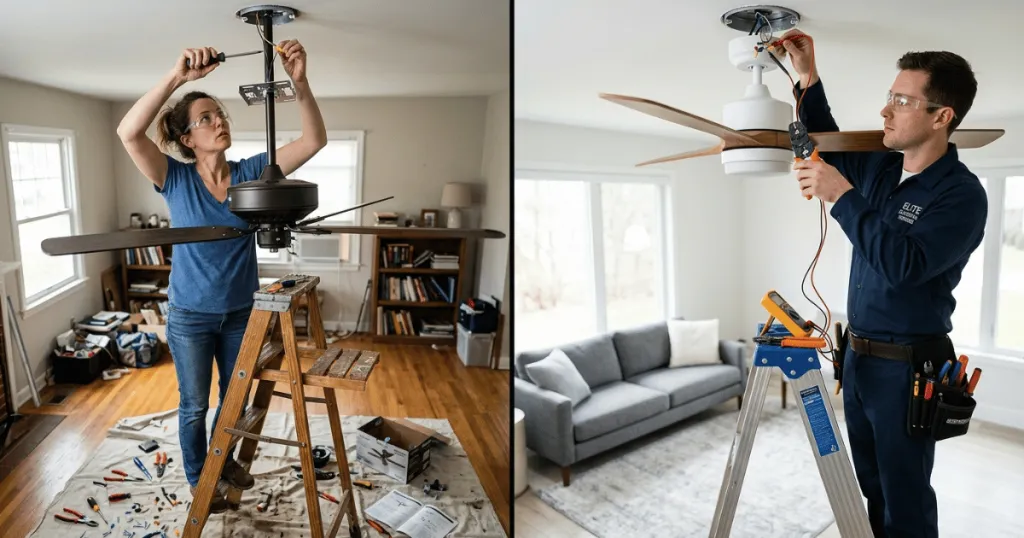
If the breaker trips immediately, you have a direct short. Turn off the power, remove the canopy, and inspect your wire nut connections. Look for any exposed copper touching the metal box or other wires. If you cannot find the issue, it is time to stop and call a licensed electrician to verify the circuit integrity.
Sometimes, the issue is not with the wiring but with the switch itself. If you have verified that power is reaching the ceiling box but the fan or light still does not respond, inspect the wall switch. Over time, switches can wear out or develop internal contact issues. If you notice the switch feels mushy or does not click firmly into the on or off position, it may need to be replaced. Always ensure that the replacement switch is rated for the load of your fan and light kit.
Finally, consider the possibility of a faulty receiver if your fan uses one. Even if you have wired it correctly, the internal electronics of the receiver can fail. If you have bypassed the receiver and the fan works, but the receiver prevents operation, the receiver is likely the culprit. In such cases, you may need to contact the manufacturer for a replacement part rather than attempting to repair the internal circuitry yourself.
FAQ
Can I use a dual-switch setup with a remote-controlled fan?
Most remote-controlled fans are designed for single-switch power. Using two switches may interfere with the receiver’s operation. Check your manual to see if the receiver supports dual-switch input or if you must bypass the receiver to use wall switches.
What if I only have one hot wire in my ceiling box?
If you only have one hot wire, you cannot achieve independent control of the fan and light via two wall switches without running a new three-conductor cable from the switch box to the ceiling. This is a significant electrical project.
Does it matter which hot wire goes to the fan or the light?
It does not matter electrically, but for consistency, it is standard practice to connect the fan motor to the switch that feels most intuitive, such as the left switch for the fan and the right for the light.