The Short Version: To clean ceiling fans without making a mess, slip an old pillowcase over each blade and pull it back to trap falling dust inside the fabric. Wipe the blades with a damp microfiber cloth and mild soap, clean any glass light covers, and dry all surfaces completely before testing the rotation.
Maintaining clean ceiling appliances is essential for household air quality and motor efficiency, yet many homeowners put off the job because of the mess it usually creates. When heavy dust accumulation falls onto beds, couches, and floors, a simple maintenance task turns into a massive cleanup chore. Figuring out how to clean ceiling fans efficiently transforms a dreaded chore into a quick, dust-free routine that keeps your cooling systems running smoothly all year long.
By using the right tools and a controlled containment strategy, you can trap debris at the source and restore your fixtures in minutes. Whether you are dealing with a light layer of dry buildup or stubborn kitchen grease baked onto the blades, a methodical approach protects your home surfaces and preserves the delicate balance of the motor. Understanding the relationship between dust buildup and aerodynamic drag also highlights why routine upkeep protects your investment over time.
Before You Start: Preparation and Safety Checks
Proper preparation prevents both personal injury and unnecessary household messes. Before reaching for any cleaning supplies, take a moment to evaluate the stability of your fixture and the surrounding space. Check whether the pull chains hang freely and ensure the wall switch is completely powered off so the motor cannot accidentally turn on while your hands are near the blades.
Safety is the primary concern when working overhead on a ladder or stepstool. Always place your ladder on a flat, stable surface rather than resting it on thick carpets or uneven rugs. If you are using a sturdy stepstool, verify that the locking mechanism clicks fully into place before stepping up. Never lean too far to the side while reaching for a distant blade; instead, climb down and reposition the ladder to keep your center of gravity directly over the steps. For vaulted or high ceilings, using a specialized extension pole with a cleaning attachment eliminates the ladder hazard entirely, though it requires a slightly different technique to maintain downward pressure on the blades.
Protecting the room below your fixture saves you from doing double the work. Dust, pet dander, and dried oils will inevitably fall downward during the wiping process, so spreading a large drop cloth or an old bedsheet directly beneath the fan footprint is essential. If the room has delicate hardwood floors or light-colored carpeting, this extra barrier catches falling clumps before they can settle into fibers or scratch surfaces.
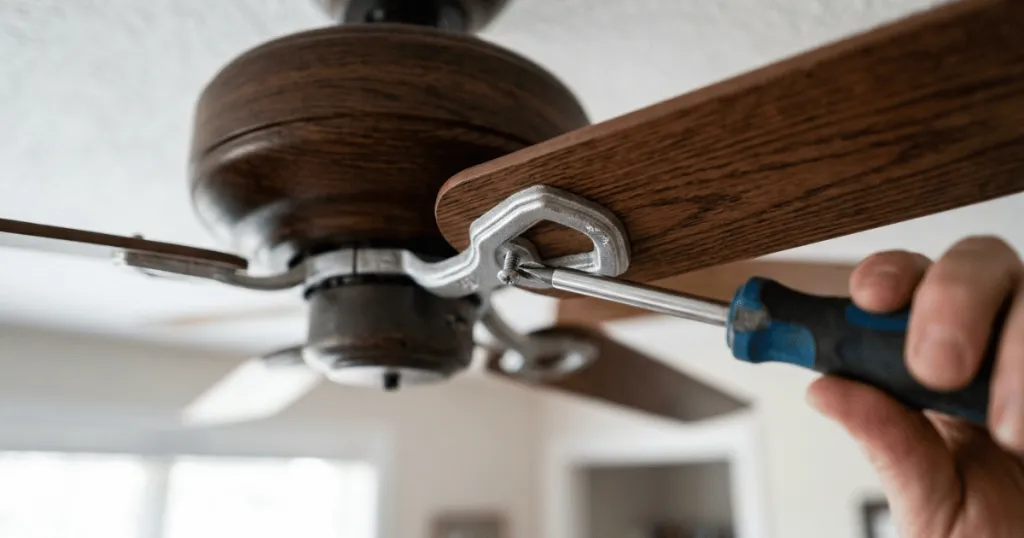
Take time to inspect the blade brackets and mounting hardware while you are up close. Loose blade screws are a leading cause of noisy operation and wobbling during high-speed rotation. Tightening these screws before you begin cleaning ensures the fan operates smoothly once you turn the power back on. If you notice any unusual cracks in wooden blades or deep corrosion on metal housings, note those areas for potential part replacements rather than aggressive scrubbing.
Tools and Supplies Needed for the Job
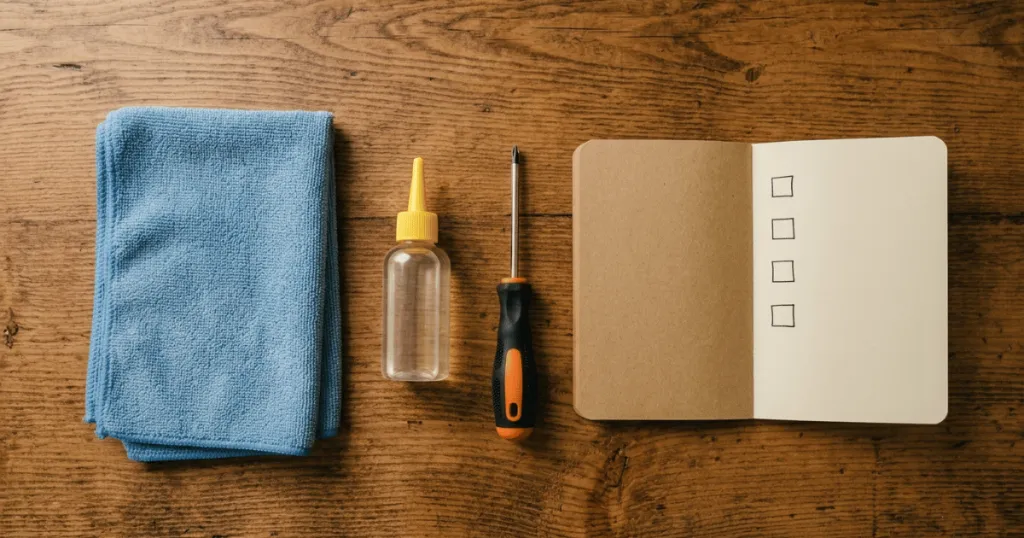
Gathering your supplies beforehand prevents frustrating interruptions while you are balancing on a ladder. For standard maintenance, you only need a few basic household items. Avoid harsh industrial chemical cleaners, as they can strip protective lacquers off wooden blades or discolor plastic housings.
To capture dust effectively without sending it airborne, keep a clean pillowcase on hand. A standard bed pillowcase slides easily over an individual blade to trap falling debris inside the fabric. You will also want a microfiber cloth for detailed wiping, a soft-bristled brush attachment for your vacuum cleaner, and a mild cleaning solution suited for the specific finish of your fan.
For standard painted or sealed wooden blades, warm water mixed with a single drop of mild dish soap is usually sufficient. If you are cleaning a fan located in a kitchen or a high-humidity area, you may encounter sticky grease films that require a gentle grease-cutting formula. Always spray cleaning solutions directly onto your cloth rather than onto the fan blades themselves to prevent liquid from seeping into the motor housing or electrical switches.
Step-by-Step Instructions: How to Clean Ceiling Fans
Executing the cleaning process in a logical sequence ensures every part of the fixture gets proper attention without stirring up unnecessary airborne particles. Follow these numbered steps to complete the job cleanly and safely.
Step 1: Trap Dry Dust with the Pillowcase Method
Slide an old pillowcase completely over one fan blade until the tip touches the motor housing. Gently pull the pillowcase back toward yourself while pressing lightly on both the top and bottom surfaces of the blade. The enclosed space forces all the accumulated dust, pet hair, and lint to collect inside the bottom of the pillowcase instead of floating down onto your furniture. Shake the pillowcase out outdoors or empty it into a trash bin before repeating the process for each remaining blade.
Step 2: Wipe Down the Blades and Housing
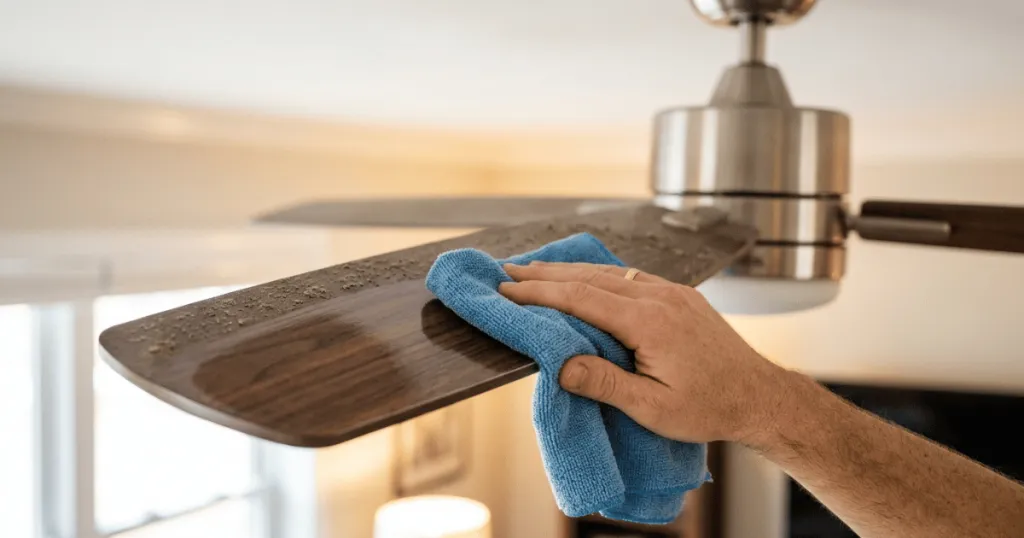
After removing loose debris, dampen a microfiber cloth with your mild soap and water solution. Wipe down the top and bottom of each blade to lift any remaining residue or stubborn film. Pay special attention to the leading edge of each blade, as that area accumulates the heaviest buildup of dust particles as the fan cuts through the air. Once the blades are clean, wipe down the motor housing, the downrod, and the canopy cover using a lightly damp cloth, making sure no excess moisture drips into the electrical components.
Step 3: Clean Glass Globes and Light Kits
If your ceiling fan includes an integrated light kit, remove the glass shades or globe covers carefully. Wash the glass pieces in a sink filled with warm soapy water, rinse them thoroughly, and dry them completely with a lint-free towel before reattaching them. While the glass is removed, take the opportunity to wipe down the bulb sockets and replace any burned-out lightbulbs with compatible energy-efficient alternatives.
Step 4: Dry and Polish All Surfaces
Take a dry microfiber cloth and buff every surface you just cleaned. Polishing wooden blades prevents moisture spotting, while wiping down metal fixtures removes streaks and restores their original finish. Leaving moisture on wooden components for extended periods can cause warping or peeling, so thorough drying is a critical final step.
Step 5: Test the Balance and Operation
Step down from your ladder, remove the drop cloth from the floor, and restore power at the wall switch. Turn the fan on at its lowest speed setting first to observe the rotation. Watch for any wobbling or unusual noises that might indicate a loose screw or a blade that was reinstalled unevenly. Once you confirm the operation is smooth and quiet, you can return the fan to your preferred operating speed.
Common Mistakes to Avoid
Homeowners often make avoidable errors that damage their fixtures or make the cleaning process much harder than it needs to be. Understanding these common pitfalls helps you save time and protect your investment.
A frequent mistake is using a dry feather duster or an open duster wand without containment. This approach simply knocks loose dust into the air, allowing it to settle right back onto your freshly cleaned floors and furniture within minutes. Always use enclosed trapping methods like the pillowcase trick or a damp cloth to capture particles directly.
Another common error is spraying liquid cleaners directly upward into the fan housing. Moisture entering the motor assembly can short out internal wiring, damage the capacitor, or ruin remote control receivers housed inside the canopy. Always apply cleaning sprays to your cloth first, and use minimal moisture when wiping near electrical parts.
Neglecting the balance of the blades is another oversight that creates long-term mechanical issues. Bending a blade downward while applying aggressive pressure with a cleaning sponge throws the entire rotation off balance. If a fan wobbles noticeably after cleaning, the blades may need to be re-measured or checked with a balancing kit to prevent excessive wear on the motor bearings.
Troubleshooting and Maintenance Issues
Even with careful cleaning, you may uncover underlying performance issues that require attention. Recognizing these signs early prevents premature motor failure and maintains quiet operation.
If your fan makes a persistent clicking or humming noise after cleaning, check the blade iron screws first. A single loose screw allows the blade to shift slightly during rotation, creating repetitive mechanical sounds. Tightening all visible hardware usually resolves the noise immediately.
If you notice a thick, dark discoloration on the ceiling directly above the fan blades, you are dealing with a phenomenon known as thermal tracking or ghost staining. This occurs when airborne dust particles are drawn upward and trapped against the warm ceiling by the vortex created by the spinning blades. This staining cannot be removed by dry dusting; you will need a gentle trisodium phosphate substitute or a specialized wall cleaner to lift the marks from the paint without damaging the finish.
When a fan vibrates violently despite tight blade screws and clean surfaces, the issue may stem from warped blades. Wooden or composite blades can warp over time due to high ambient humidity or temperature fluctuations. If one blade sags lower than the others, it disrupts the aerodynamic balance. In severe cases, replacing the entire set of matching blades is necessary to restore smooth operation and eliminate annoying motor strain.
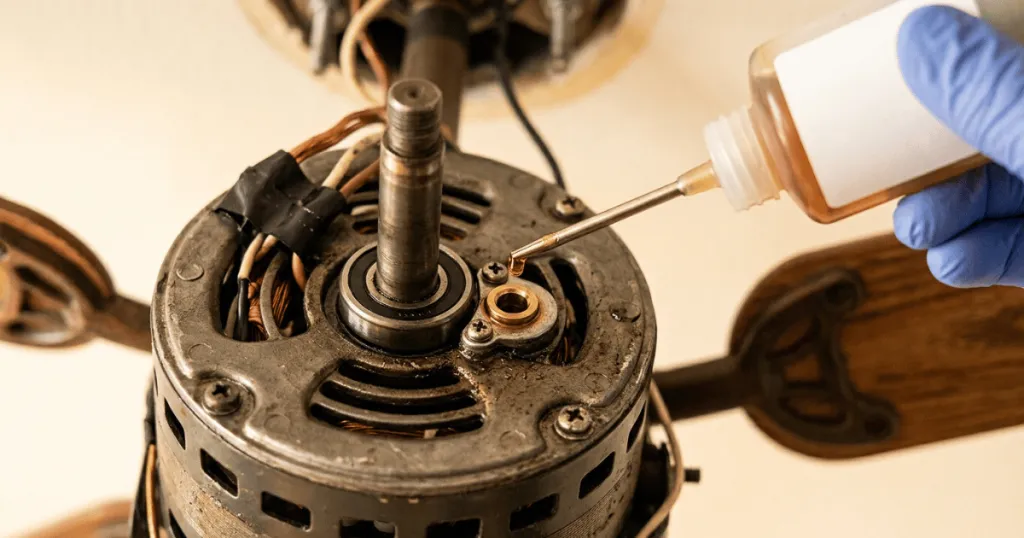
For bedrooms or living rooms where quiet airflow is essential, performing this maintenance routine every few weeks also prevents lint buildup from reaching the internal motor bearings. When dust enters the upper housing and mixes with factory lubrication, it creates a thick paste that forces the motor to work harder and generate heat. Keeping the exterior immaculate ensures long-term reliability and silent performance across every seasonal transition.
FAQ
How often should I clean my ceiling fan?
In most homes, cleaning your ceiling fan every one to two months prevents heavy dust buildup. If your fan runs continuously or sits in a high-traffic area like a kitchen, monthly cleaning keeps dust and grease from hardening.
Can I use vinegar to clean wooden ceiling fan blades?
Yes, a diluted solution of water and white vinegar works well for cutting through light grime. However, avoid soaking wooden blades, and always dry them immediately with a microfiber towel to prevent warping.
Why does my ceiling fan wobble after I clean it?
Wobbling usually happens if you pushed too hard on one blade during cleaning, bending its metal iron bracket slightly, or if a blade screw loosened up. Check and tighten all screws, and gently bend any misaligned blade back into place.