When upgrading an overhead fixture or ceiling fan, integrating decorative ceiling medallions transforms a standard electrical box into a purposeful architectural focal point. These ornamental elements draw the eye upward, frame light fixtures and fan canopies with crisp definition, and help bridge the visual gap between a plain ceiling and a statement-making motor housing. Understanding how to select the right material, diameter, and mounting style ensures the final look feels intentional rather than tacked on as an afterthought.
Choosing the correct architectural accent requires looking beyond simple aesthetic preferences to evaluate proportion, weight limits, and material durability. Many homeowners buy an accent piece that matches a specific design era only to find the canopy diameter does not cover the drywall cutout or the ceiling fan motor crowds the inner opening. Careful planning prevents installation friction and delivers a polished overhead appearance.
Core Factors Guiding Your Selection Process
Selecting architectural millwork for overhead fixtures involves a balance of room scale, fixture dimensions, and material properties. Ignoring any one of these elements can leave a room feeling visually unbalanced or create mechanical headaches during installation.
Proportion and Diameter Sizing Rules
Sizing represents the most critical decision when choosing decorative ceiling medallions. A common design guideline suggests that the outer diameter of the accent piece should measure roughly one-third the width of the room in smaller spaces, though ceiling height and fixture bulk heavily influence this ratio. In a standard bedroom or living room, a fixture spanning fifty inches across generally pairs best with a medallion measuring between twenty-four and thirty inches in diameter.
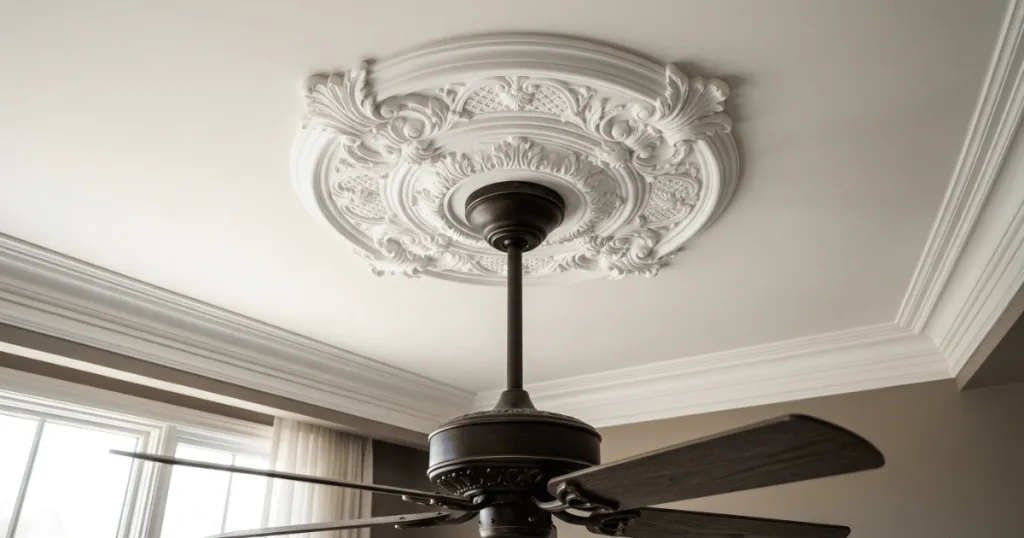
Canopy clearance is equally vital. The inner hole of the millwork must comfortably clear the mounting bracket and electrical box while leaving enough room for the ceiling fan canopy to sit flush against the face. If the inner opening is too wide, gaps will appear around the wiring pipe. If it is too narrow, the fan motor housing will not seat properly against the flat surface.
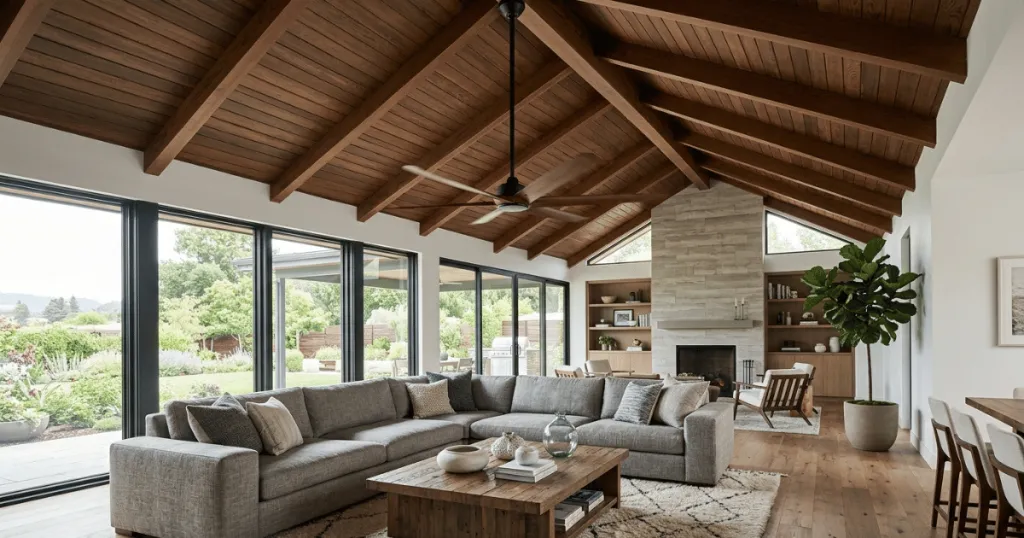
To refine this process further, homeowners should account for furniture layout and sightlines. For example, in a dining room where the seating arrangement locks the viewpoint directly underneath the fixture, even subtle sizing discrepancies become immediately noticeable. Conversely, in a sprawling great room with vaulted architecture, standard sizing rules often fail because the vast expanse of open ceiling swallows small decorative details. In these expansive settings, stepping up to a thirty-six-inch or larger profile prevents the fixture from looking lost against the drywall. Furthermore, pairing the millwork with complementary crown molding coordination creates a unified perimeter frame, tricking the eye into perceiving a harmonious balance between wall boundaries and center-room hardware.
Material Performance and Weight Considerations
Modern architectural accents come in several distinct materials, each suited to different installation scenarios and budget levels. Urethane and polyurethane dominate the current market because they mimic traditional plaster while remaining exceptionally lightweight and resistant to moisture warping.
Plaster and heavy composite options offer authentic historical depth and rigid durability, but their substantial weight often requires extra fastening hardware driven directly into ceiling joists. Lightweight foam or molded PVC options cut down on installation labor, though they lack the sharp, crisp edge definition found in high-density polyurethane or traditional plaster casts.
When evaluating these materials for longevity, environmental factors inside the home play a major role. Polyurethane ceiling medallions handle humidity exceptionally well, making them ideal for covered outdoor porches or high-moisture indoor environments where standard wood products might swell and degrade. On the other hand, traditional plaster offers unmatched fire resistance and a tactile coldness that mimics historic masonry, but its brittleness demands extreme care during handling and cutting. If a homeowner needs to modify the center hole to accommodate a bulky electrical box or an oversized ceiling fan downrod, polyurethane can be easily sawed using standard woodworking tools without splintering or shattering, whereas plaster requires specialized diamond-edge blades and meticulous dust management.
Real-World Context and Room Integration Scenarios
Applying these design principles in everyday residential spaces highlights why context dictates every successful choice. A massive dining room with twelve-foot ceilings can easily support a deeply carved, multi-tiered plaster piece measuring thirty-six inches across, framing a heavy chandelier or a large industrial ceiling fan with ease.
Conversely, a standard low-slung bedroom with eight-foot ceilings demands a flatter, more restrained profile. Overcrowding a low ceiling with a bulky, protruding molding piece makes the room feel smaller and draws unwanted attention to limited vertical space. In these settings, a low-profile polyurethane design keeps the overhead plane clean and sophisticated.
Ceiling fans present unique architectural challenges compared to stationary light fixtures. The constant vibration of a running motor can loosen improperly secured accents over time. Selecting a lightweight model and applying both heavy-duty construction adhesive and perimeter fasteners ensures the assembly remains stable through years of seasonal operation.
Wall texture also dictates installation strategy. Smooth drywall allows decorative ceiling medallions to sit completely flush with minimal preparation, while heavy knockdown or popcorn textures require careful sanding or specialized caulk smoothing around the outer rim to eliminate unsightly gaps where dust and shadows accumulate.
Examining everyday scenarios further clarifies these trade-offs. Consider a basement renovation where ceiling heights are strictly limited by exposed ductwork and low concrete slabs. Installing a heavy plaster focal point in this environment is structurally impractical and visually oppressive. A lightweight, flat-backed polyurethane profile painted to match the ceiling color adds subtle texture without stealing precious vertical clearance. Similarly, in older homes featuring uneven plaster walls, rigid medallions will often bridge across low spots and leave hollow gaps behind the perimeter. Addressing this requires dry-fitting the piece, noting where gaps occur, and utilizing a paintable elastomeric sealant to create a seamless transition from the wall surface to the decorative rim.
Why Proper Overhead Detailing Matters for Homeowners
Investing time in proper overhead detailing elevates the perceived craftsmanship of an entire room. Standard electrical installations often leave raw drywall edges, minor patching scars, or unsightly gaps around junction boxes that paint alone cannot conceal. A well-fitted accent piece acts as a clean transition collar that masks these imperfections effortlessly.
From an interior design perspective, these architectural elements establish a cohesive period style or add subtle character to a modern build. They create a deliberate visual hierarchy, guiding the eye from the flooring upward to the primary lighting or air movement appliance. When scaled correctly, they eliminate the sterile look of a bare drywall expanse and provide a finished, custom appearance.
Beyond visual enhancement, proper detailing serves a functional purpose in home maintenance. Junction box covers and oversized canopy rings often leave slight rings of discoloration or unpainted drywall if a previous fixture had a different footprint. Rather than undertaking a full room repainting project, installing a properly proportioned millwork piece completely covers these lingering paint lines. This makes ceiling medallion installation an efficient, high-impact update during routine room refreshes or fixture replacements. Furthermore, integrating these elements with existing crown molding coordination unifies disparate architectural styles, bridging the gap between utilitarian electrical hardware and sophisticated interior design.
Common Misconceptions and Planning Pitfalls
A frequent mistake involves assuming that any accent piece will accommodate any ceiling fan. Many decorative ceiling medallions feature small center holes designed for slender lighting downrods rather than the wider mounting collars required by modern ceiling fans. Always verify the inner diameter against the specific fan canopy dimensions before purchasing.
Another widespread error is relying solely on adhesive for heavy installations. While modern construction adhesives bond strongly to painted drywall, overhead vibration from ceiling fans requires mechanical fasteners like finishing nails or drywall screws driven into solid wood framing or heavy anchors. Counter-sinking these fasteners and filling the holes with spackle prior to touch-up painting ensures a seamless, professional finish that stands the test of time.
Homeowners also frequently underestimate the complexity of dealing with existing ceiling wiring and switch boxes. Trying to slip a rigid medallion over live wires without disconnecting the fixture first creates dangerous safety hazards and risks damaging the delicate decorative edges against metal boxes. Always completely lower the existing fixture, feed the wires safely through the center hole of the millwork, and temporary support the medallion before applying adhesive. Another oversight involves neglecting the weight distribution of heavy ceiling fans. If the decorative piece is too thick, it can prevent the fan mounting bracket from making direct, secure contact with the electrical box and structural ceiling joists. The bracket must always anchor directly to the building framing, never sandwiching the decorative material in a way that compromises the mechanical load-bearing integrity of the fan assembly.