At a Glance: To replace a bathroom ceiling fan, first turn off the power at the breaker and verify with a voltage tester. Remove the old grille and motor, then detach the housing from the joists. Ensure your new fan matches the existing ceiling cutout and duct diameter. Install the new housing using the provided brackets, connect the ductwork securely with foil tape, wire the electrical connections according to code, and test the unit for airflow and noise before replacing the grille.
Replacing a bathroom ceiling fan is one of the most impactful upgrades you can make to improve moisture control and air quality in your home. The easiest way to get this wrong is by failing to verify the housing size and duct compatibility before removing the old unit. Many homeowners assume all fan housings are universal, only to find that the new fan is slightly too large for the existing ceiling cutout or that the ducting diameter does not match, leading to unnecessary drywall repairs or airflow restrictions.
By taking the time to measure your current housing and understanding the ventilation requirements for your specific bathroom size, you can ensure a smooth, professional-grade installation. This guide focuses on the practical steps required to swap out an aging, noisy, or underperforming fan for a modern, efficient unit that keeps your bathroom environment comfortable and dry. How to replace a bathroom ceiling fan is a process that requires careful planning and attention to detail.
Before You Start: Planning Your Replacement
Before you even reach for a screwdriver, you must assess the current installation. The most common pitfall is purchasing a replacement fan that does not match the existing ceiling opening. Carefully remove the grille of your current fan and measure the housing dimensions from inside the ceiling. If the new fan is smaller, you will be left with a gap in your drywall that requires patching; if it is larger, you will need to cut the ceiling material, which is a significantly more involved process.
Check the ductwork diameter as well. Most standard bathroom fans use 3-inch or 4-inch ducting. If your existing duct is 3 inches and your new, high-performance fan requires 4 inches, you will face reduced airflow and increased noise due to backpressure. While adapters exist, they are rarely ideal. Ideally, match the duct size of the new fan to the existing infrastructure to avoid having to replace the entire vent run through your attic or ceiling joists.
Consider the electrical requirements. If you are upgrading to a fan with an integrated LED light or a heater, ensure your current wiring can handle the additional load. Most standard bathroom fans are wired to a single switch, but adding features might require running new wires or installing a multi-gang switch box. If you are not comfortable working with electrical circuits, this is the point where you should consult a licensed electrician.
Finally, evaluate the mounting method. Some fans are designed to be installed from below, while others require access from the attic. If you do not have attic access, you must choose a “retrofit” or “remodel” fan specifically designed for installation from the room side. Attempting to install a standard new-construction fan without attic access is a recipe for frustration and potential ceiling damage.
Required Tools and Prerequisites
Having the right tools ready prevents mid-project trips to the hardware store. You will need a non-contact voltage tester, a set of screwdrivers (both Phillips and flathead), wire strippers, and a pair of needle-nose pliers. A utility knife or drywall saw is essential if you need to enlarge the ceiling cutout, and a cordless drill will make driving screws into the joists much faster.
Safety gear is non-negotiable. Wear safety glasses to protect your eyes from falling debris, insulation, and dust when you remove the old housing. A dust mask is also highly recommended, as bathroom ceilings often harbor years of accumulated lint and attic dust. If you are working in an attic, ensure you have a stable work platform, as stepping directly on drywall or between joists can cause significant damage to the ceiling below.
Before beginning, verify that you have electrical wire connectors (wire nuts) and, if necessary, a new duct clamp or aluminum foil tape to secure the vent connection. Do not rely on old, brittle tape to seal the connection between the fan housing and the duct; a loose connection will leak moist, humid air directly into your ceiling cavity, which can lead to mold growth and structural damage over time.
How to Replace a Bathroom Ceiling Fan | Step-by-Step
Follow these steps to ensure a safe and effective replacement of your bathroom fan.
1. Power Down and Verify
Turn off the power to the bathroom fan at the main electrical panel. Use your non-contact voltage tester on the switch and, once the unit is opened, on the wires themselves to confirm there is no live current. Never assume the switch is off; verify the circuit is dead before touching any wiring.
2. Remove the Old Unit
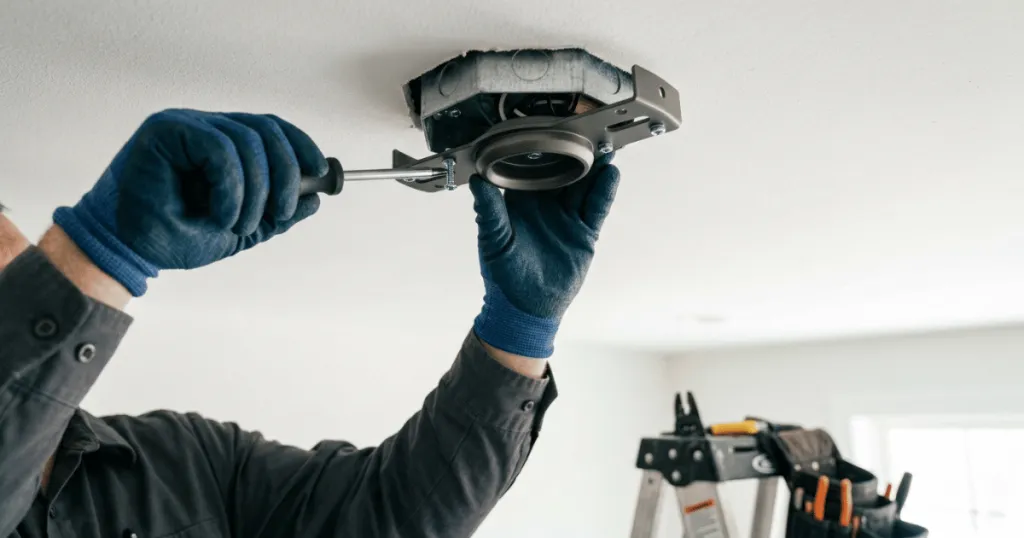
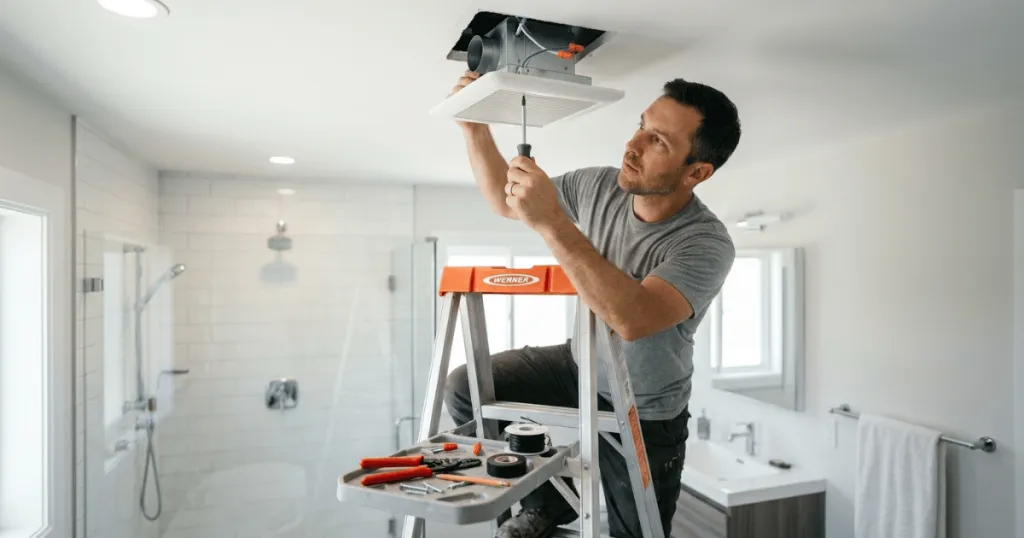
Remove the grille and the fan motor assembly. Most older units allow you to unplug the motor and slide it out. Once the motor is gone, unscrew the housing from the ceiling joists. Carefully detach the ductwork and the electrical cable, noting how the wires were connected. If the housing is nailed or screwed directly into the joist, you may need a pry bar to gently work it loose without damaging the surrounding drywall.
3. Prepare the Opening
Clean the area around the ceiling cutout. If your new housing is a different size, use a template—often provided with the new fan—to mark the ceiling and cut the drywall as needed. Ensure the opening is square and clean to allow the new housing to sit flush against the ceiling surface.
4. Secure the New Housing
Position the new housing into the ceiling opening. Most modern retrofit fans include mounting brackets that expand to grip the joists from the from the inside. Follow the manufacturer’s instructions to tighten these brackets until the housing is rigid and level. A loose housing is a primary cause of vibration and rattling noise.
5. Connect the Ducting
Attach the ductwork to the fan’s exhaust port. Secure it with a metal duct clamp or high-quality aluminum foil tape. Ensure the duct is not kinked or crushed, as this drastically reduces the fan’s ability to move air. If the duct is flexible, keep it as straight as possible to minimize airflow resistance.
6. Complete the Electrical Wiring
Connect the house wiring to the fan’s wiring box, matching black to black (hot), white to white (neutral), and green or bare copper to the ground screw. Use wire nuts to secure the connections and tuck the wires neatly into the junction box. Replace the cover of the junction box to ensure all connections are enclosed.
7. Final Assembly and Testing
Slide the fan motor assembly into the housing and plug it into the internal receptacle. Attach the grille according to the manufacturer’s instructions. Restore power at the breaker and test the fan. Listen for unusual noises and verify that the fan is actually pulling air by holding a tissue near the grille; if it pulls the tissue against the vent, your installation is successful.
Deep Dive: Optimizing Performance and Longevity
Beyond the basic installation, maximizing the lifespan of your bathroom ventilation system requires attention to detail. One often overlooked aspect is the insulation around the housing. After securing the unit, ensure that attic insulation is pushed back into place around the exterior of the fan housing, but not directly touching the motor assembly, as this can cause overheating. Proper insulation prevents thermal bridging, where the metal housing acts as a cold bridge, leading to condensation forming on the ceiling surface during winter months.
When selecting a replacement, consider the sone rating of the fan. Sones measure the sound level of the fan during operation. A lower sone rating means a quieter fan, which is crucial for bathrooms where you want to minimize noise pollution. High-quality fans often feature sound-dampening materials or advanced motor designs that keep noise levels below 1.0 sone, providing a much more pleasant experience than older, builder-grade units that often exceed 3.0 sones.
Furthermore, consider the humidity-sensing capabilities of modern units. If your household frequently forgets to turn the fan on or off, a humidity-sensing fan can automate the process. These units detect moisture levels and run the fan until the humidity drops below a set threshold, ensuring that you never have to worry about excess moisture lingering in the room. This is a significant upgrade for preventing long-term mold and mildew growth, which is the primary enemy of bathroom structural integrity.
Common Mistakes to Avoid
One of the most frequent errors is failing to seal the gap between the housing and the drywall. Even a small gap allows humid air to escape into the attic, which can cause wood rot and insulation degradation. Use expanding foam or caulk to seal any gaps around the perimeter of the housing to maintain an airtight seal.
Another common mistake is neglecting the duct termination. Many homeowners replace the fan but fail to check the exterior vent cap on the roof or wall. If the exterior flap is stuck shut or clogged with debris, the new, more powerful fan will struggle to move air, potentially burning out the motor prematurely. Always inspect the entire path of the ductwork to ensure it is clear.
Over-tightening screws is also a risk. While you want the housing to be secure, driving screws too deeply into the joists can warp the housing, causing the motor assembly to misalign. This misalignment often results in a persistent clicking or grinding noise that is difficult to diagnose later. Tighten until snug, then stop.
Troubleshooting Your New Fan
If your new fan is louder than expected, check for vibration. Ensure the housing is firmly attached to the joist and that no wires are touching the fan housing, which can amplify sound. Sometimes, simply adjusting the grille or tightening the mounting screws will eliminate the noise.
If the fan is not moving air effectively, re-examine the ductwork. A common issue is a “bottleneck” where the duct has been pinched or bent at a sharp angle. If you used a flexible duct, ensure it is pulled taut. If the fan runs but the bathroom remains steamy, check if the fan’s CFM (cubic feet per minute) rating is appropriate for the size of your bathroom; an undersized fan will never clear the room effectively, regardless of the installation quality.
Finally, if the fan fails to turn on, double-check your wiring connections. A loose wire nut is the most common culprit. Ensure that all wires are stripped to the correct length and that the wire nut is tightened securely. If the problem persists, use your voltage tester to confirm that power is reaching the junction box at the fan itself.
Maintenance Tips for Continued Efficiency
Once your new fan is installed, it requires minimal but consistent maintenance to keep it operating at peak efficiency. Every six months, remove the grille and vacuum the dust from the fan blades and the housing interior. Dust buildup on the blades can throw the motor off balance, leading to increased noise and reduced airflow. Additionally, check the exterior vent cap annually to ensure that birds or insects have not built nests that block the exhaust path. By keeping the entire ventilation path clear, you ensure that your investment in a new fan provides reliable service for years to come, protecting your bathroom from the damaging effects of trapped moisture.
FAQ
Do I need an electrician to replace a bathroom ceiling fan?
If you are simply swapping an existing fan for a new one with the same electrical requirements, many homeowners handle this as a DIY project. However, if you are adding new features like a heater or light, or if you are uncomfortable working with household wiring, you should consult a licensed electrician to ensure the circuit is properly rated.
How do I know if my bathroom fan is the right size?
Fan size is measured by CFM (cubic feet per minute). A general rule of thumb is to provide at least 1 CFM per square foot of bathroom floor space. For bathrooms larger than 100 square feet, calculate the total volume and ensure the fan can exchange the air at least eight times per hour.
Can I install a new fan without attic access?
Yes, provided you purchase a ‘retrofit’ or ‘remodel’ fan. These units are specifically engineered to be installed from the room side by using mounting brackets that expand through the ceiling cutout to grip the joists.
Why is my new bathroom fan noisy?
Noise is often caused by a loose housing, a duct that is too small for the fan’s capacity, or a kinked flexible duct creating backpressure. Ensure the housing is tightly secured to the joists and that the ductwork is as straight and clear as possible.