Quick Answer: Installing a ceiling fan is a moderate DIY project that ranges from a simple 2-hour swap to a complex structural and electrical upgrade. The difficulty depends entirely on whether you have a pre-existing fan-rated junction box and whether your home’s wiring is up to modern safety standards.
For most homeowners, the question of how hard is it to install a ceiling fan comes down to a balance between basic electrical comfort and physical stamina. While it is not an impossible task for a capable DIY enthusiast, it is significantly more involved than swapping out a standard light fixture. You are essentially dealing with a heavy, moving appliance that requires both a secure structural mount and a reliable electrical connection.
If you have basic experience with home wiring and feel comfortable working on a ladder for extended periods, the project is manageable. However, the difficulty level shifts dramatically depending on your existing ceiling infrastructure. Whether you are replacing an old fan or installing one where only a light fixture previously existed, understanding the specific requirements before you begin is the best way to ensure a safe and successful installation.
Factors Influencing Installation Difficulty
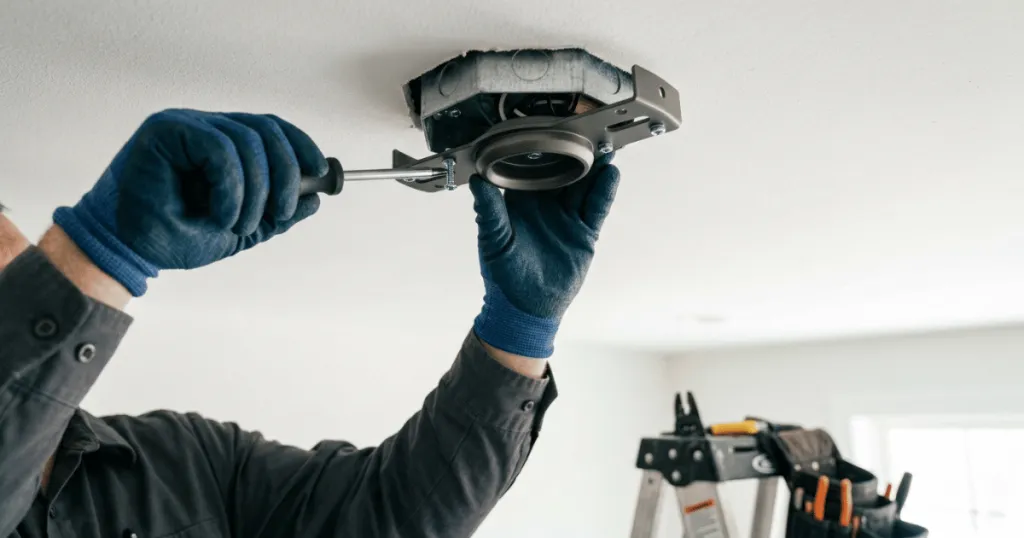
The primary factor determining how hard is it to install a ceiling fan is the state of your ceiling junction box. A standard light fixture box is rarely rated to support the weight and vibration of a ceiling fan. Installing a fan on an improper box is a significant safety risk, as the torque generated by the motor can cause the fixture to loosen or detach over time.
Structural Support Requirements
To install a fan safely, you must have a fan-rated junction box. These boxes are reinforced to handle the weight and the dynamic forces of a spinning fan. If your current box is not fan-rated, you will need to replace it. This often involves accessing the ceiling joists from above or using a specialized retrofit brace that expands between joists through the existing hole. This single step is where most DIY projects become significantly more difficult, as it may require drywall repair or working in cramped attic spaces.
Electrical Wiring Complexity
The electrical aspect is usually straightforward if you are replacing an existing fan. You are simply matching wire colors—typically black to black, white to white, and green or copper to ground. However, if you are adding a fan to a room that only has a single switch, you may face challenges with wall control integration. If you want independent control of the light and the fan motor, you might need to run additional wiring or install a remote receiver module within the fan canopy. Understanding your home’s existing wiring configuration is essential before you commit to the project.
Real-World Context and Practical Challenges
In practice, the physical labor is often more taxing than the electrical work. Ceiling fans are heavy, and holding the motor assembly in place while connecting wires can be physically demanding. Most modern fans include a mounting bracket that allows you to hang the motor housing temporarily, which drastically reduces the strain. If you are working alone, this feature is a lifesaver, but it still requires precision to ensure the downrod is properly seated.
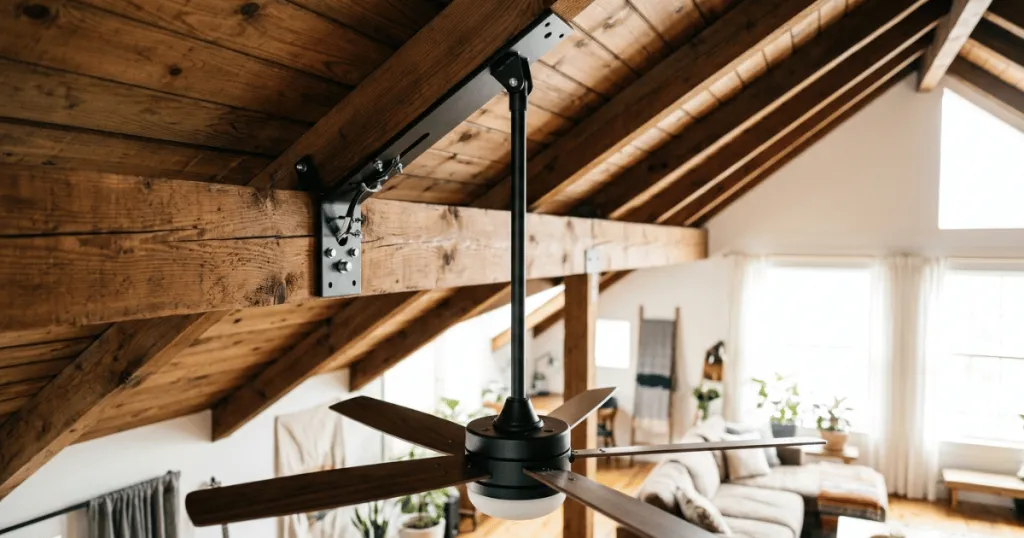
Another common hurdle is ceiling height. If you are working on a vaulted ceiling, you will need an extension downrod and potentially a sloped ceiling adapter. These components add complexity to the assembly process and require careful attention to the manufacturer’s instructions. A mistake in the downrod connection can lead to a wobbly fan, which is not only annoying but also puts unnecessary stress on the mounting hardware.
Noise sensitivity is another factor that homeowners often overlook. A poorly installed fan—even one that is electrically sound—will hum or rattle if the mounting screws are not tightened to the correct torque or if the canopy is rubbing against the ceiling. Achieving a silent, smooth operation requires patience during the final balancing and leveling phase. This is where the difference between a rushed job and a professional-grade installation becomes obvious.
Why Proper Installation Matters
The importance of following installation guidelines cannot be overstated. Beyond the obvious risk of the fan falling, improper installation can lead to electrical fires or persistent mechanical failures. When you consider how hard is it to install a ceiling fan, remember that you are installing a device that will be in motion for thousands of hours. The vibrations generated by the motor are constant, and any weakness in the mounting system will be exacerbated over time.
Furthermore, manufacturer warranties are almost always voided by improper installation. If you encounter a motor defect or a faulty remote receiver, the manufacturer will look for evidence of correct installation. By using the provided hardware and following the steps in the manual, you protect your investment. Taking the time to ensure the fan is perfectly balanced and that all connections are secure is not just about safety; it is about ensuring the longevity of the appliance.
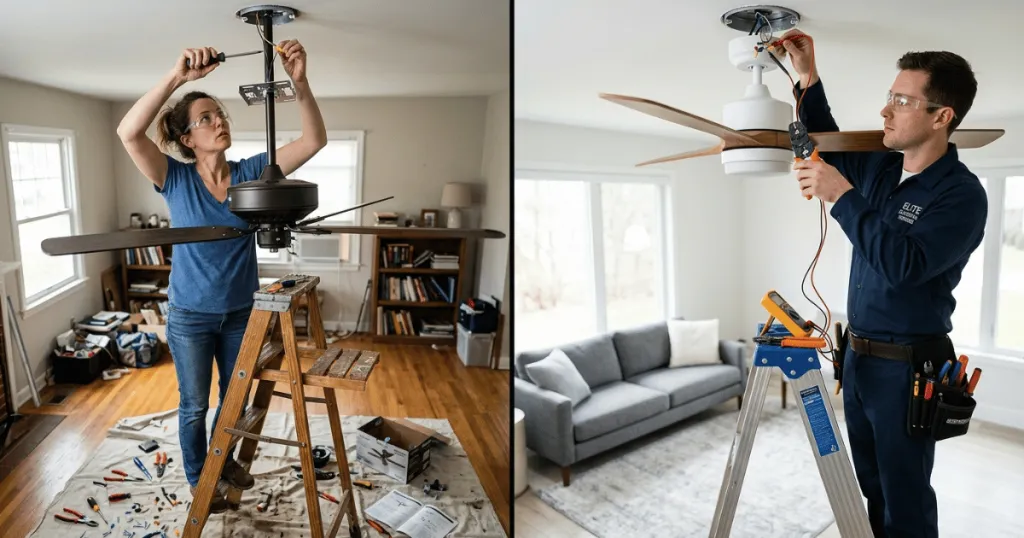
Finally, consider your own comfort with electrical systems. If you find yourself confused by the wiring diagrams or if the junction box replacement seems beyond your current skill set, there is no shame in calling a licensed electrician. A professional can ensure the structural integrity of the mount and the safety of the electrical circuit in a fraction of the time it might take a novice to troubleshoot the same issues.
Common Misconceptions About Fan Installation
A frequent misconception is that any ceiling box that looks sturdy is sufficient for a fan. This is dangerous; even if a box feels solid, it may not be rated for the specific weight or the dynamic load of a ceiling fan. Always look for the “Fan Rated” stamp inside the box. If you cannot find it, assume it is not rated and replace it.
Another misunderstanding involves the use of remote controls. Many people assume that a remote-controlled fan eliminates the need for wall-switch wiring. While the remote handles the operation, you still need a consistent power source at the ceiling. If your wall switch is currently wired to a dimmer that is incompatible with the fan’s motor or receiver, you will experience flickering lights or humming motors. Always check the compatibility of your existing wall controls before starting the installation.
Lastly, many DIYers assume that balancing the blades is a complex, technical task. In reality, most modern fans are factory-balanced, and if you follow the assembly instructions carefully, you rarely need to use a balancing kit. If you find your fan wobbling, the culprit is almost always a loose screw or an improperly seated downrod, not an issue with the blades themselves. Focus on the structural connections first, as these are the most common points of failure.
Deep Dive: Navigating Specific Installation Variables
To truly understand how hard is it to install a ceiling fan, one must look at the variables that turn a two-hour job into a weekend project. The first variable is the ceiling material. Installing a fan into a standard drywall ceiling is standard, but if you are working with plaster, lath, or tongue-and-groove wood, the process of cutting the hole for a new junction box becomes significantly more delicate. Plaster, in particular, is prone to cracking, and you must use specialized tools to ensure a clean opening that the canopy can cover.
Another variable is the age of the home. In homes built before the 1970s, you may encounter knob-and-tube wiring or lack of a dedicated ground wire. Modern ceiling fans require a ground connection for safety. If your home lacks this, you are not just installing a fan; you are potentially looking at a partial electrical upgrade. This is a critical juncture where the DIY project should likely transition to a professional electrician, as modern safety standards (such as those dictated by the National Electrical Code) are non-negotiable for the safe operation of high-torque appliances.
Furthermore, consider the weight of the fan itself. Large, heavy-duty fans with solid wood blades require much more robust mounting hardware than lightweight plastic or composite models. The installation manual will specify the required torque for the mounting bolts. Using a power drill to tighten these can often lead to stripped threads or over-tightened bolts that snap under the stress of the fan’s rotation. Hand-tightening with a screwdriver is almost always the preferred method for the final securing of the mounting bracket to the ceiling joists.
The Role of Manufacturer Documentation
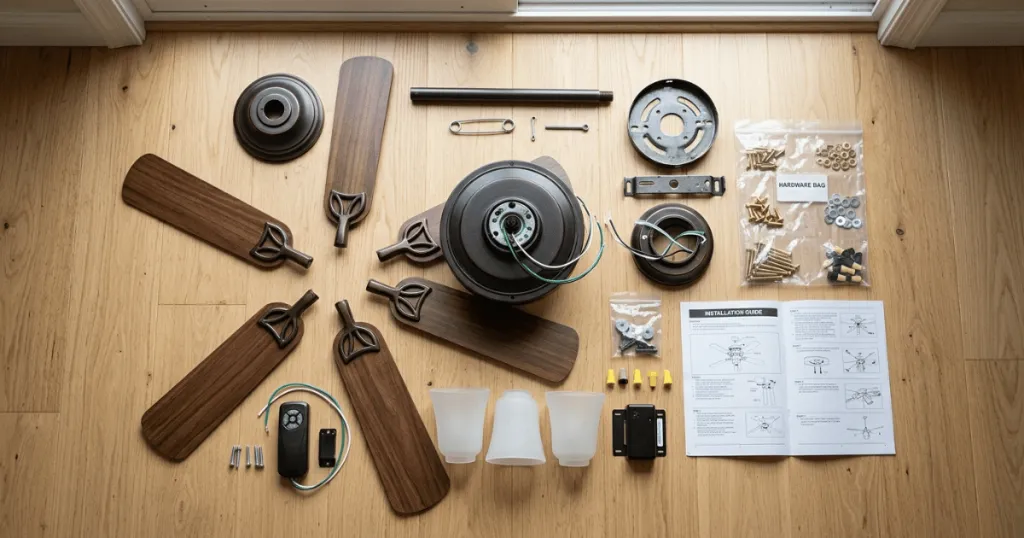
One of the most overlooked aspects of installation is the reliance on manufacturer documentation. Every ceiling fan model is designed with specific tolerances. The distance between the blade tips and the ceiling, the angle of the blade pitch, and the specific wiring sequence for the remote receiver are all unique to that unit. Ignoring these instructions in favor of “general knowledge” is a primary cause of installation failure.
When you read the manual, look specifically for the section on “troubleshooting during installation.” This section often contains the most valuable information regarding common pitfalls, such as how to properly seat the ball-and-socket joint of the downrod or how to ensure the canopy does not interfere with the rotation of the motor housing.
If you find the documentation confusing, many manufacturers now provide video tutorials. These can be incredibly helpful for visualizing the installation process, especially for complex steps like wiring the remote receiver or attaching the blade irons to the motor. Seeing the physical movement of the parts can clarify instructions that seem abstract on paper. However, always prioritize the printed manual that came in the box, as specific model revisions may have different requirements than the general videos found online.
Final Considerations for a Successful DIY Project
Before you commit to the installation, perform a “pre-flight check.” Ensure you have all the necessary tools: a sturdy ladder, a voltage tester, a set of screwdrivers (both Phillips and flathead), wire strippers, and a level. Never rely on your eyes to determine if a fan is level; use a bubble level on the motor housing before you attach the blades. This simple step can prevent hours of frustration later.
Also, consider the environment. If you are installing a fan in a high-humidity area like a bathroom or a covered porch, you must ensure the fan is rated for damp or wet locations. These fans have sealed motors and corrosion-resistant hardware. Installing a standard indoor fan in these environments will lead to rapid mechanical failure and potential electrical hazards. The difficulty of the installation is the same, but the selection of the correct fan is a critical prerequisite that dictates the long-term success of the project.
Ultimately, the difficulty of installing a ceiling fan is a spectrum. For a standard replacement in a modern home with a pre-existing fan-rated box, it is a moderate task that requires attention to detail. For a new installation in an older home, it is a complex project that requires structural and electrical knowledge. By assessing your specific situation honestly and knowing when to seek professional help, you can ensure that your ceiling fan provides years of comfort and reliable performance.
FAQ
How do I know if my ceiling box is fan-rated?
You must remove the existing fixture and look for a stamp or label inside the junction box that explicitly states it is rated for ceiling fan support. If there is no label or if the box is plastic and not specifically marked for fans, you should replace it with a fan-rated box.
Do I need an electrician to install a ceiling fan?
You do not necessarily need an electrician if you are comfortable with basic wiring and have a fan-rated box already in place. However, if you need to install a new junction box, run new wiring, or if you are uncomfortable working with electricity, hiring a professional is the safest choice.
What is the most common cause of a wobbly ceiling fan?
The most common cause is a loose connection at the mounting bracket or the downrod. Ensure all screws are tightened to the manufacturer’s specifications and that the downrod is fully seated and secured with the provided pins and clips.