At a Glance: Ceiling fans are mounted using a specialized fan-rated junction box and a manufacturer-specific mounting bracket. The fan motor is then attached to this bracket either directly (flush mount) or via a downrod (standard mount), ensuring the assembly is securely anchored to a ceiling joist to handle the weight and rotational torque.
When you ask how are ceiling fans mounted, the answer centers on the connection between the fan motor housing and your home’s structural ceiling joist. Every ceiling fan installation relies on a specialized mounting bracket that serves as the mechanical anchor, supporting both the weight of the unit and the kinetic energy generated by the spinning blades. While the specific hardware may vary based on the fan model and your ceiling type, the fundamental requirement remains a secure, code-compliant junction box rated specifically for the weight and vibration of a ceiling fan.
Understanding these mounting methods helps you determine which style fits your room’s architecture and ceiling height. Whether you are dealing with a standard flat ceiling, a sloped surface, or a low-clearance area, the mounting system is the most critical component for ensuring quiet, wobble-free operation. Proper installation starts long before the blades are attached, beginning with the integrity of the ceiling box and the correct selection of the mounting bracket.
Core Mounting Systems and Hardware
The most common way ceiling fans are mounted involves a hanging system that connects the motor assembly to the ceiling. This system is designed to handle the torque and movement inherent in a rotating appliance. The choice of mount often dictates the final aesthetic and the clearance available in the room.
The Downrod Mount
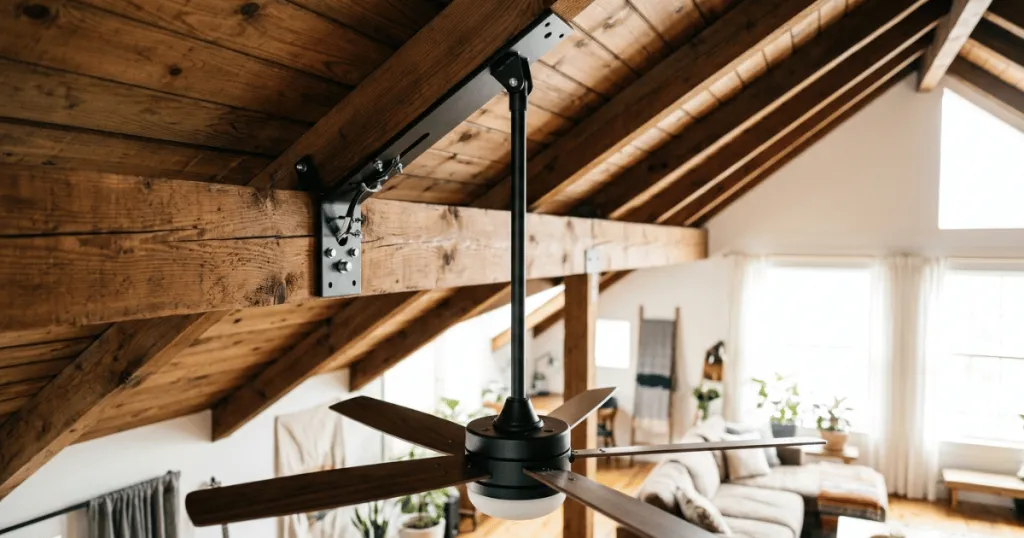
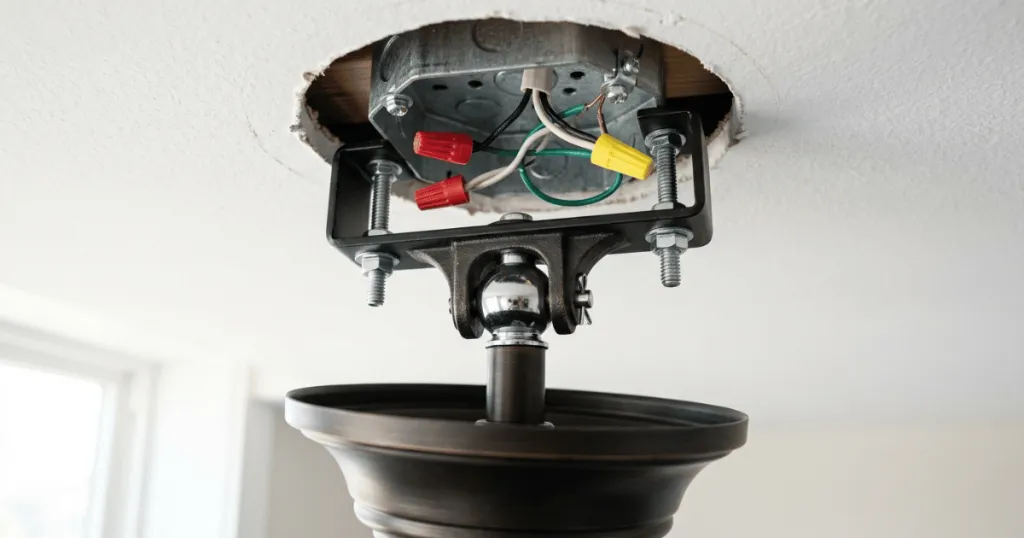
The downrod mount is the industry standard for most residential ceiling fans. It uses a metal pipe-the downrod-to suspend the motor housing away from the ceiling. This method is essential for high ceilings or sloped ceilings, as it allows the fan to hang at an optimal height for air circulation. The top of the downrod typically features a ball-and-socket joint, which allows the fan to hang plumb even if the ceiling is angled.
This flexibility is a major advantage for homeowners with vaulted or cathedral ceilings, as it prevents the motor from binding or wobbling during operation. By extending the fan away from the ceiling surface, the downrod also allows the blades to pull air from a greater volume of the room, which is particularly beneficial in larger spaces where air stratification can occur.
Flush Mount and Hugger Designs
For rooms with lower ceilings, flush mount or “hugger” fans are the practical choice. These units attach the motor housing directly to the mounting bracket, eliminating the downrod entirely. While this design is excellent for maximizing vertical space, it does come with a trade-off in airflow efficiency. Because the blades are positioned closer to the ceiling, they may experience more air resistance, which can slightly reduce the total volume of air moved compared to a downrod-mounted fan.
In practice, this means choosing a hugger fan is a balancing act between physical clearance and the desired cooling power. When installing a hugger fan, ensure that the mounting bracket is perfectly level; because there is no ball-and-socket joint to compensate for minor ceiling imperfections, any tilt in the ceiling surface will be immediately reflected in the fan’s operation.
The Role of the Junction Box
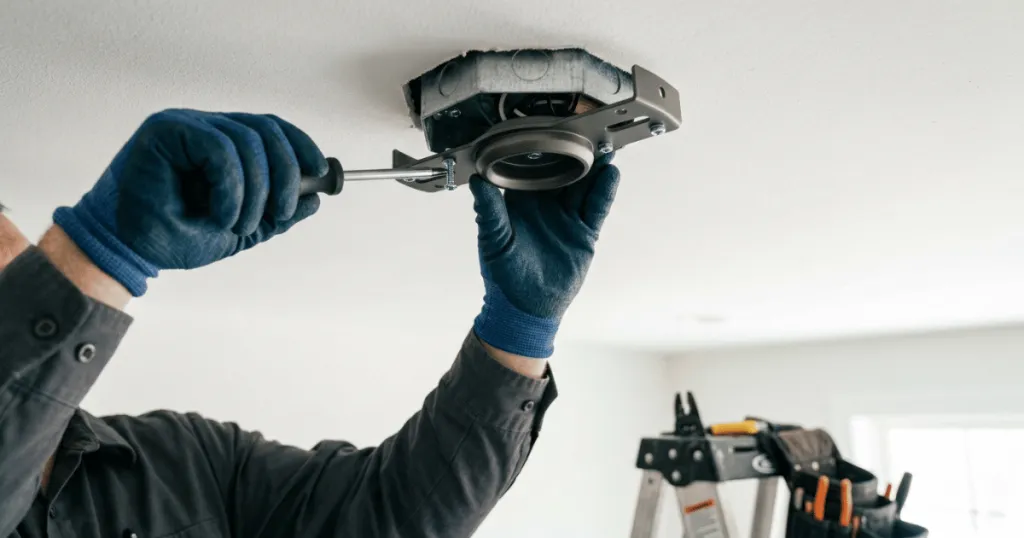
Regardless of the mounting style, the junction box is the unsung hero of the installation. A standard electrical box used for a light fixture is rarely sufficient for a ceiling fan. Ceiling fans require a fan-rated junction box, which is engineered to support the dynamic load of a spinning motor. These boxes are typically secured directly to a ceiling joist or a heavy-duty brace bar that spans between two joists. If you are replacing an existing light fixture, do not assume the current box is safe for a fan.
Always verify that the box is marked as “fan-rated” or “for fan support” to avoid structural failure or dangerous vibrations. The electrical code mandates this because, unlike a static light fixture, a fan exerts constant, oscillating force on the mounting point, which can fatigue standard plastic or thin-gauge metal boxes over time.
Real-World Context: Matching Mounts to Room Conditions
In a typical home, the decision of how to mount a fan is driven by the physical constraints of the room. A common scenario involves a master bedroom with a standard eight-foot ceiling. Here, a hugger-style mount is often preferred to keep the blades at a safe distance from the floor, typically maintaining at least seven feet of clearance. If you install a downrod-style fan in a room with a low ceiling, you risk creating a cramped environment that feels physically imposing.
Conversely, in a great room with a vaulted ceiling, the mounting strategy changes entirely. You would use a longer downrod to bring the fan into the “living zone” of the room. If the fan is mounted too high in a large, open space, the air circulation will be ineffective, as the blades will simply churn the stagnant air trapped near the peak of the ceiling.
In these cases, the mounting bracket must be paired with a sloped ceiling canopy kit to ensure the downrod hangs perfectly vertical. This ensures the fan remains balanced, which is vital for preventing the premature wear of motor bearings. When selecting a downrod length, consider that the goal is to position the blades roughly 8 to 9 feet above the floor for maximum comfort and safety.
Why Mounting Precision Matters
The way a ceiling fan is mounted directly impacts its longevity and your comfort. A fan that is not mounted securely will inevitably develop a wobble. While many people assume a wobble is caused by uneven blades, it is frequently a symptom of a loose mounting bracket or a junction box that lacks sufficient rigidity. When the connection to the ceiling is not rock-solid, the energy from the motor is transferred into the ceiling structure rather than being contained within the fan assembly. This leads to noise, vibration, and eventually, the loosening of screws throughout the unit.
Furthermore, safety is the primary reason to follow manufacturer mounting instructions to the letter. A ceiling fan is a heavy, moving object. If the mounting hardware is not properly tightened or if the wrong type of bracket is used for the ceiling material, the risk of the unit detaching over time increases.
By prioritizing a secure, code-compliant mount, you ensure that the fan operates as intended, providing consistent airflow without the distraction of rattling or the concern of mechanical instability. Always double-check the torque specifications provided by the manufacturer for the mounting screws; over-tightening can strip the threads, while under-tightening can lead to the very vibration you are trying to avoid.
Common Misconceptions About Fan Mounting
One of the most frequent mistakes is the belief that any ceiling box can support a fan if it is screwed into a stud. This is inaccurate. Even if a box is attached to a joist, it must be specifically rated for the weight and vibration of a fan. A standard plastic or light-gauge metal box can crack or deform under the constant stress of a spinning motor, even if it holds the weight initially. Always look for the UL or ETL listing on the box that explicitly states it is suitable for ceiling fan support.
Another common misunderstanding is that all mounting brackets are universal. While some manufacturers design their brackets to be compatible with multiple models within their own product line, they are rarely interchangeable across different brands. Attempting to force a bracket from an old fan onto a new motor housing is a recipe for an unstable installation.
Always use the specific mounting hardware provided in the box, as it is engineered to match the weight distribution and mounting points of that specific motor design. Additionally, consider the impact of ceiling texture; if you are mounting to a popcorn or heavily textured ceiling, ensure the canopy sits flush against the surface to prevent gaps that can amplify motor noise through resonance.
Advanced Mounting Considerations for Older Homes
When retrofitting a ceiling fan into an older home, you may encounter unique structural challenges. Older homes often feature lath-and-plaster ceilings, which are significantly heavier and more brittle than modern drywall. When installing a fan-rated junction box in these environments, take care to avoid cracking the surrounding plaster. It is often necessary to use a “pancake” style fan-rated box or a brace bar that can be installed through a small hole in the ceiling, minimizing the need for extensive drywall or plaster repair.
Always verify that the joists are sound; if the wood is dry-rotted or compromised, the mounting hardware will not hold, regardless of the quality of the box. In such cases, professional reinforcement of the ceiling structure is a prerequisite for a safe installation.
The Importance of the Canopy and Trim
The canopy is not merely a decorative element; it serves as a critical component in the mounting assembly. It hides the wiring connections and the mounting bracket, but it also provides a protective cover that prevents dust and debris from entering the motor housing. When mounting, ensure the canopy is properly aligned with the bracket. If the canopy is forced or misaligned, it can rub against the downrod or the ceiling, creating an annoying clicking or scraping sound every time the fan rotates.
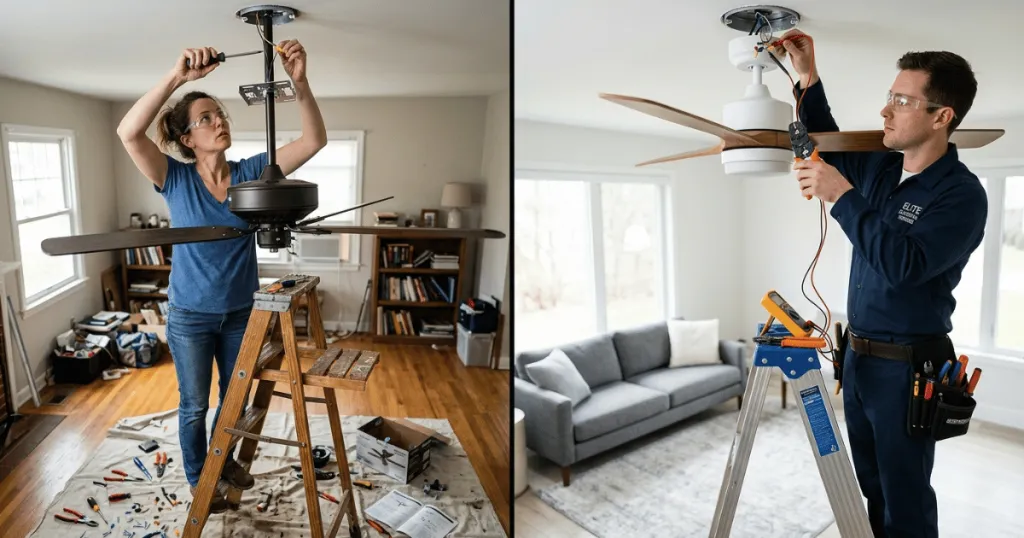
Proper mounting involves ensuring the canopy is secured with the provided set screws, which should be tightened until the canopy is firm against the ceiling, yet not so tight that it warps the metal. This attention to detail during the final stages of mounting is what separates a professional-grade installation from a DIY attempt that may require future maintenance.
FAQ
Can I install a ceiling fan on a sloped ceiling?
Yes, but you must use a mounting bracket designed for sloped ceilings. These brackets allow the downrod to hang vertically, ensuring the fan remains balanced and does not wobble.
How do I know if my junction box is fan-rated?
A fan-rated junction box will be clearly marked with a stamp or label stating it is suitable for fan support. If you cannot find this marking, or if the box is made of thin plastic, you should replace it with a heavy-duty, fan-rated box before installation.
What is the minimum ceiling height for a downrod fan?
Most safety standards recommend that the blades of a ceiling fan be at least seven feet above the floor. If your ceiling is lower than eight feet, a flush-mount or hugger fan is usually the safer and more practical choice.
Why does my fan wobble even though it is mounted securely?
While a secure mount is the foundation, wobbling can also be caused by uneven blade weight or a bent blade bracket. Check that all blade screws are tight and that the blades are balanced before assuming the issue is with the ceiling mount.