Quick Answer: To install an outdoor ceiling fan safely, start by ensuring you have a fan-rated junction box, as standard boxes cannot support the dynamic load of a fan. Verify the fan’s weather rating (damp vs. wet) matches your installation site, turn off the power at the breaker, secure the mounting bracket to a joist, connect the wiring with moisture-resistant techniques, and ensure all seals are flush to prevent water intrusion.
Installing an outdoor ceiling fan is a project that transforms a stagnant porch or patio into a comfortable living space. By following the correct sequence, you ensure that your fan remains secure against wind and moisture while operating quietly for years to come. The safest way to begin is by confirming your electrical box is rated for ceiling fan support, as standard light fixture boxes cannot handle the weight or the constant vibration of a spinning fan. Learning how to install outdoor ceiling fan units correctly is the first step toward a successful project.
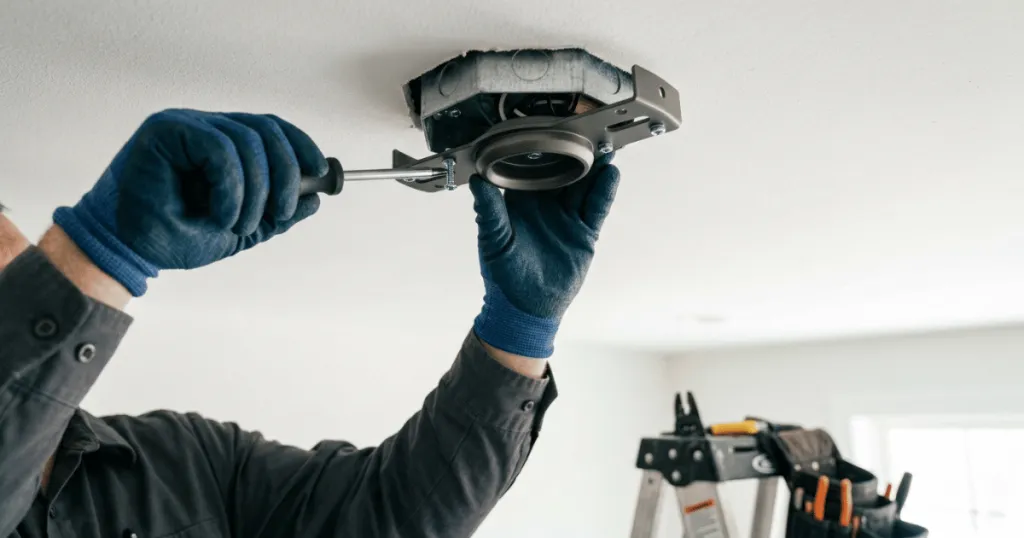
Before you begin, verify that your chosen location has a dedicated fan-rated junction box. If you are replacing an existing light fixture, do not assume the current box is sufficient. A fan-rated box is typically marked as such and is engineered to support the weight of the motor and the torque generated during operation. If you cannot confirm the rating, you must replace the box with one specifically designed for ceiling fans to prevent the unit from loosening over time.
Preparation and Safety Prerequisites
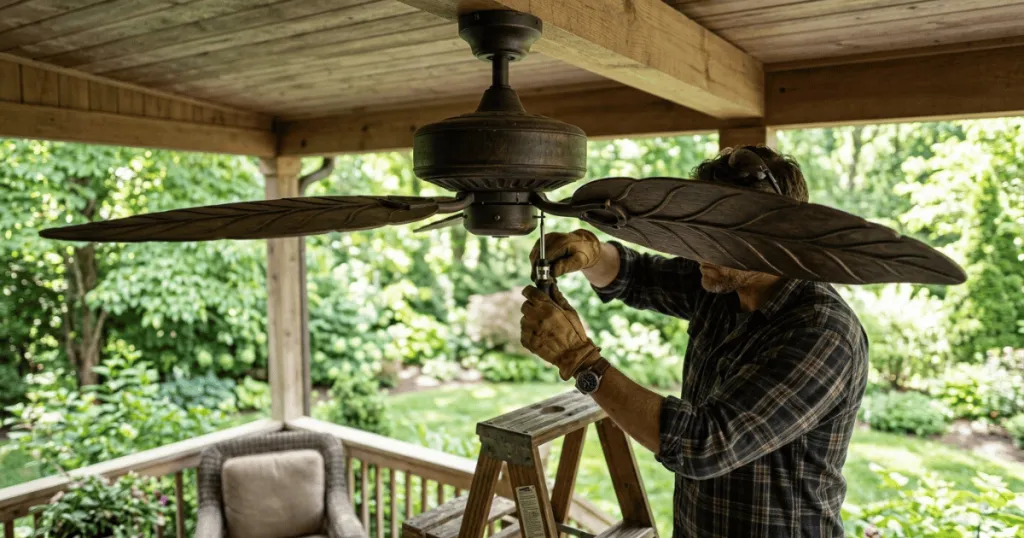
Before you open the box, clear your workspace and gather the necessary tools. You will need a sturdy ladder, a voltage tester, wire strippers, a screwdriver set, and a pair of needle-nose pliers. Never rely on the wall switch to turn off power; always flip the breaker at the main electrical panel to ensure the circuit is completely dead before touching any wires.
Check the weather rating of your fan. Outdoor fans are categorized as either damp-rated or wet-rated. Damp-rated fans are suitable for covered porches where the unit will not be directly exposed to rain or snow. Wet-rated fans are essential for open pergolas or exposed decks where water can hit the motor housing directly. Installing a damp-rated fan in a fully exposed area will lead to premature motor failure and electrical hazards.
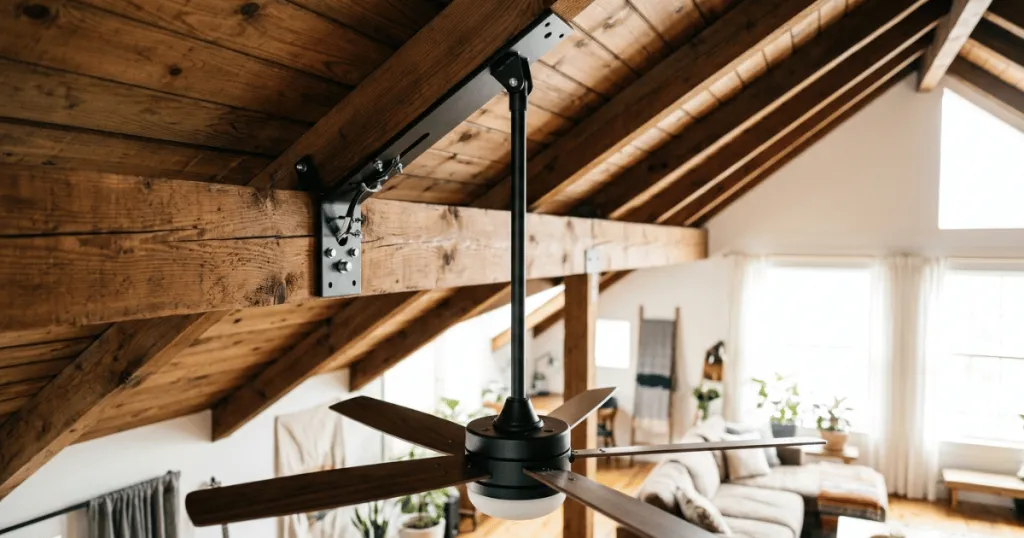
Inspect the ceiling surface for stability. If you are mounting to a wooden beam, ensure the wood is solid and free of rot. If you are mounting to a finished ceiling, you must ensure the junction box is securely anchored to a joist. A loose box will cause the fan to wobble, which creates noise and puts unnecessary stress on the mounting hardware. If the ceiling is sloped, confirm that your fan includes a canopy that supports angled mounting, or purchase a separate adapter kit before you start.
Step-by-Step Installation Process
1. Secure the Mounting Bracket
Attach the mounting bracket to the junction box using the provided screws and lock washers. Ensure the bracket is perfectly level. If the bracket is crooked, the entire fan will hang unevenly, leading to balance issues that are difficult to correct later. Tighten the screws firmly, but avoid over-torquing, which can strip the threads in the junction box. Verify that the bracket is flush against the ceiling surface to prevent vibration transfer.
2. Assemble the Motor and Downrod
If your fan uses a downrod, feed the wires through the rod and attach it to the motor housing according to the manufacturer’s instructions. Secure the set screws tightly; these prevent the motor from rotating independently of the rod. If you are using a flush-mount configuration, skip the downrod and attach the canopy directly to the motor housing, ensuring the rubber gaskets are seated correctly to keep moisture out. For outdoor installations, ensure the downrod is rated for exterior use to prevent corrosion.
3. Hang the Motor
Lift the motor assembly and hook it onto the mounting bracket. Most modern fans feature a ball-and-socket joint that allows the motor to hang hands-free while you perform the wiring. Ensure the ball is seated properly in the bracket groove, which prevents the fan from rotating during operation. This mechanical connection is critical for safety; if the ball is not seated, the fan may shift during high-speed operation.
4. Connect the Wiring
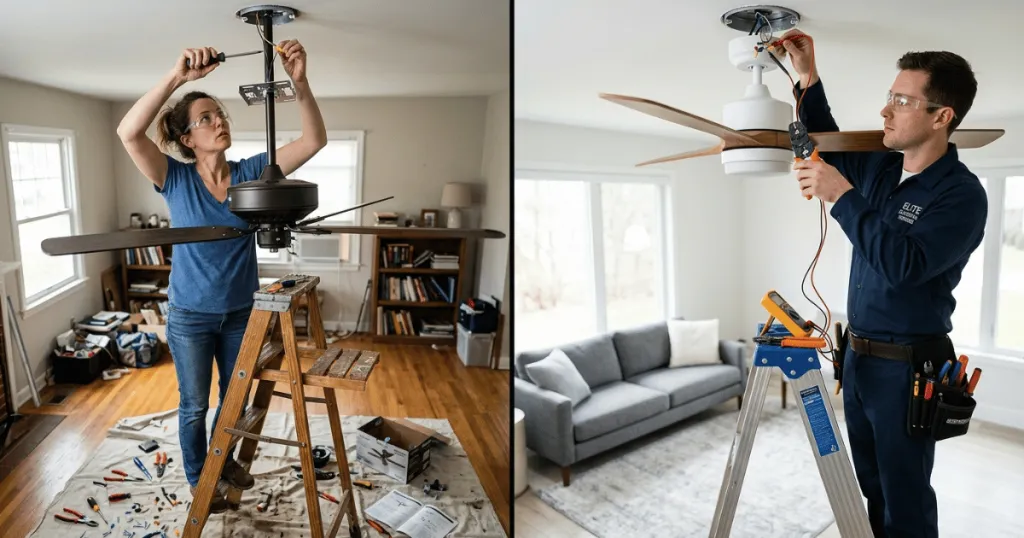
Connect the wires by matching colors: black to black (power), white to white (neutral), and green or bare copper to the ground wire. Use wire nuts to secure each connection, then wrap each wire nut with electrical tape for an extra layer of moisture protection. If your fan includes a remote receiver, tuck it neatly into the canopy space, ensuring it does not pinch any wires against the metal housing. Proper outdoor ceiling fan wiring requires careful attention to moisture-resistant connections to prevent short circuits.
5. Attach Blades and Housing
Once the wiring is tucked away, slide the canopy up to cover the bracket and secure it with the provided screws. Attach the blade brackets to the motor, then fasten the blades to the brackets. Always tighten blade screws in a star pattern to ensure even pressure. Finally, install the light kit or the bottom cover plate, making sure all rubber seals are properly aligned to protect the internal components from humidity.
Advanced Considerations for Outdoor Environments
Beyond the basic installation, consider the environmental impact on your fan. Salt air in coastal regions can accelerate corrosion on metal components. If you live near the ocean, look for fans with marine-grade finishes or stainless steel hardware. Additionally, consider the height of your ceiling. For ceilings higher than nine feet, you will need a longer downrod to ensure the fan is positioned at an effective height for air circulation. Conversely, for low-clearance areas, a hugger or flush-mount fan is necessary to maintain safety codes regarding blade height from the floor.
When dealing with outdoor ceiling fan wiring, always use GFCI-protected circuits if required by local building codes. This adds a layer of safety by cutting power instantly if a ground fault is detected, which is particularly important in damp or wet environments where moisture can compromise electrical integrity. Always consult your local electrical code requirements before finalizing your installation plan.
Common Installation Mistakes
The most frequent error is failing to use a fan-rated junction box. Standard boxes are designed for static loads and will eventually pull away from the ceiling under the dynamic load of a spinning fan. Another common mistake is neglecting to balance the fan blades. Even a slight weight discrepancy between blades causes a rhythmic ceiling fan wobble that can loosen mounting screws over time. Always use a balancing kit if you notice uneven movement after installation.
Many DIYers also overlook the importance of weatherproofing. While the fan is designed for outdoor use, you should ensure that the canopy is flush against the ceiling. If there is a gap, moisture can seep into the electrical box and cause corrosion. Using a bead of exterior-grade silicone sealant around the top of the canopy can provide an extra barrier against wind-driven rain. This simple step significantly improves the longevity of the motor housing and internal wiring.
Troubleshooting Your Outdoor Fan
If your fan makes a clicking or humming noise, check the blade screws first. Loose blades are the primary cause of noise. If the sound persists, ensure the motor housing is not rubbing against the canopy. A slight adjustment to the downrod or the canopy position often resolves this friction. If the fan continues to hum, it may be an issue with the speed controller or an incompatible dimmer switch; ensure you are using a fan-rated control.
If the fan fails to start, verify that the wall switch is on and the circuit breaker has not tripped. If you are using a remote control, ensure the batteries are fresh and the receiver is properly synced. If the fan spins but the light does not work, check the light kit wiring connections inside the housing. Sometimes a wire nut may have vibrated loose during final assembly, preventing the circuit from completing. Always turn off the power before opening the housing to inspect connections.
Maintenance Tips for Long-Term Performance
To keep your outdoor fan running smoothly, perform a seasonal inspection. Check the mounting hardware for tightness, as temperature fluctuations can cause metal to expand and contract, potentially loosening screws. Clean the blades regularly with a damp cloth to prevent dust and debris buildup, which can affect the balance and performance of the fan. If you live in an area with harsh winters, consider covering the fan or removing the blades if the manufacturer recommends it to prevent damage from heavy snow or ice accumulation.
FAQ
- Can I install an indoor ceiling fan on my patio?
No. Indoor fans lack the moisture-resistant components and sealed motors required to withstand humidity and temperature fluctuations, which leads to rust, electrical shorts, and motor failure. - How do I know if my junction box is fan-rated?
A fan-rated box will be clearly stamped with a weight rating, typically stating it is suitable for ceiling fan support. If you cannot find this marking, you must replace the box with one specifically designed for fans. - Do I need to use a special sealant for outdoor fans?
While not always required by the manufacturer, applying a thin bead of exterior-grade silicone around the top edge of the canopy can help prevent moisture from entering the junction box in exposed outdoor areas. - What is the difference between damp-rated and wet-rated?
Damp-rated fans are designed for covered areas like screened porches where moisture is present but direct rain is not. Wet-rated fans are built to withstand direct exposure to rain and water, making them suitable for open pergolas. - Why is my fan wobbling after installation?
Wobbling is usually caused by an uneven blade, a loose mounting bracket, or a junction box that is not securely anchored to the ceiling joist. Check all hardware connections first.