At a Glance: To change a ceiling fan capacitor, turn off power at the breaker, remove the switch housing cover, take a reference photo of the existing wiring, disconnect the old component, and wire the new capacitor matching the exact microfarad and voltage ratings.
When you follow the proper steps on how to change capacitor in ceiling fan motors, you can expect to restore normal operating speeds, eliminate frustrating humming noises, and bring your ceiling fan back to full airflow capacity. A failing ceiling fan capacitor usually manifests as a fan that only spins on high, fails to turn at all while humming quietly, or takes several minutes to wind up to a sluggish crawl. Replacing this inexpensive internal component takes less than an hour and saves you from buying an entirely new fixture.
Many homeowners assume a sluggish motor means the entire unit is burned out and needs replacement. In reality, the motor windings are often completely fine, and the issue lies entirely in the small electronic component responsible for sending phase-shifted voltage to the motor coils. Understanding how to tackle this repair safely lets you extend the life of your ceiling fan with basic hand tools and a replacement part matched to your exact motor specifications.
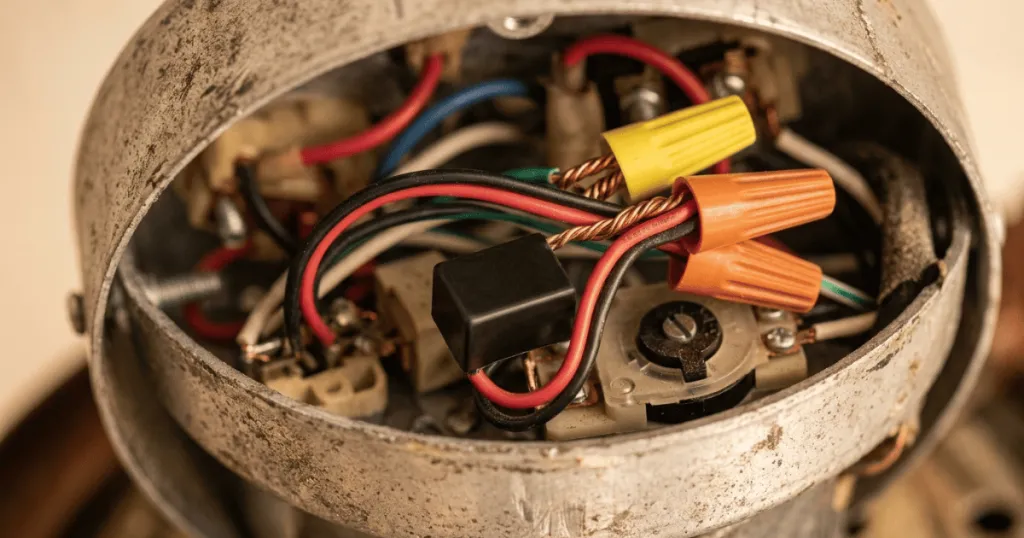
Before You Start: Assessing the Problem and Safety
Before you climb a ladder to open the housing, you need to confirm that the capacitor is actually the culprit behind your fan troubles. A ceiling fan relies on a dual or triple capacitor to provide the necessary electrical kick to start the motor and maintain specific speeds. When this component degrades from age or heat exposure, it loses its microfarad rating, dropping the voltage supplied to the pull chain switch and motor windings.
Safety is the single most important factor during this project because you will be working near household AC power and electrical wiring. Always shut off power at the main circuit breaker panel, not just at the wall switch or remote receiver. Test the wires with a non-contact voltage tester before touching any metal components or wire nuts inside the switch housing.
Another critical preparation step involves inspecting the pull chain switch and wire connections. Sometimes a loose wire nut or a faulty switch mimics the exact symptoms of a dead capacitor. Tug gently on each wire inside the housing to ensure solid connections before condemning the capacitor itself. If everything looks tight and the fan still lacks speed control, you are ready to source the correct replacement part.
It is also helpful to understand how environmental conditions affect these electrical components over time. Ceiling fans operating in humid environments, such as covered porches or kitchens, experience accelerated wear on internal plastic housings and solder joints. When moisture mixes with dust accumulation inside the switch housing, it can create microscopic conductive paths that degrade the capacitor prematurely. Performing a visual check for corrosion during your initial inspection ensures you do not overlook a secondary issue that could ruin your new part shortly after installation.
Tools, Context, and Prerequisites
Gathering the right tools before you begin prevents frustrating interruptions while you are balancing on a ladder. You will need a sturdy stepladder, a set of standard screwdrivers, wire strippers, wire connectors, and a digital multimeter that can measure microfarads if you want to test the old part.
The most crucial prerequisite is matching the exact specifications of your existing capacitor. Ceiling fan capacitors are typically plastic block or metallic cylinder shapes with anywhere from two to five wires emerging from a single plastic housing. You must match the microfarad (uF) ratings and voltage tolerance ratings printed on the side of the original unit. For example, a common specification might read 4.5uF plus 6uF plus 5uF at 250 volts for a three-speed reversible fan.
Do not attempt to install a replacement capacitor with mismatched microfarad ratings just because it physically fits inside the canopy. Using an incorrect rating will cause the motor to run too hot, hum loudly, or fail to spin at all, and it can eventually damage the internal copper windings. Take a clear photograph of the existing wiring harness before disconnecting anything so you have a reliable reference during reassembly.
When sourcing your replacement part, pay close attention to the physical mounting style as well as the electrical values. Some capacitors use wire leads, while others feature quick-connect spade terminals that push directly onto switch tabs. If you purchase a unit with wire leads when your fan requires spade connectors, you will need to cut and splice appropriately, adding extra work and potential points of failure to the repair. Taking time to verify these physical connection details beforehand ensures a seamless installation process.
Step-by-Step Instructions: How to Change Capacitor in Ceiling Fan
Step 1: Shut Off Power and Access the Switch Housing
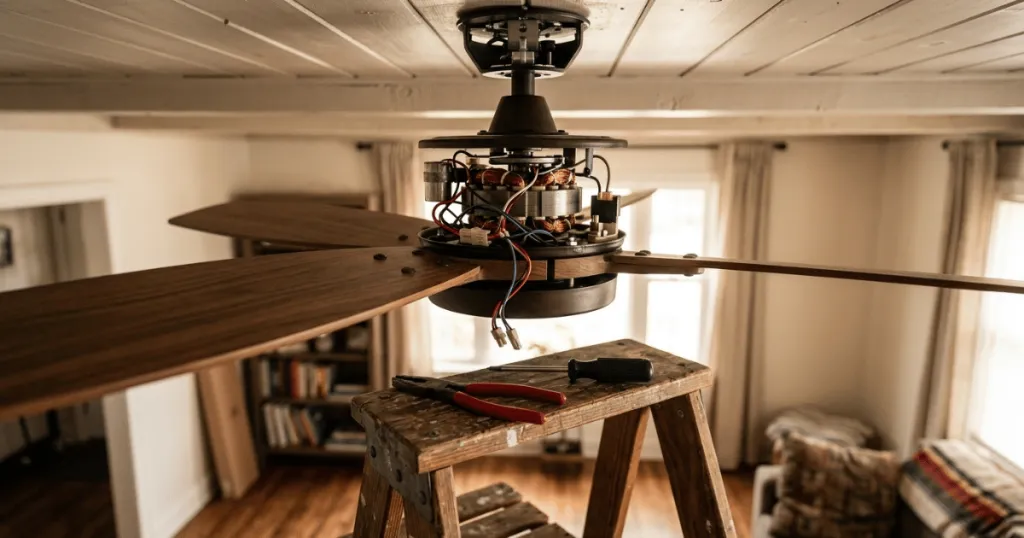
Turn off the power supply at your main electrical breaker box and confirm the circuit is dead using a non-contact voltage tester. Remove the screws holding the switch housing cover or decorative bowl in place beneath the motor. Carefully lower the cover, letting it hang by its grounding wire if applicable, or set it aside in a safe spot.
Step 2: Locate and Inspect the Capacitor
Look inside the upper canopy or lower switch housing for a rectangular plastic block or small cylinder connected to the wiring harness. Inspect the casing for signs of physical damage, such as a bulging side, a melted plastic shell, or an oily residue leaking from the seams. These visual clues confirm that the component has failed internally.
Step 3: Document the Existing Wiring Connections
Take a close-up photograph of the wire colors and where they connect to the pull chain switch and incoming power leads. Ceiling fan capacitors often feature a common wire (frequently black or brown) alongside specific speed wires (such as red, grey, or purple) that route directly to the speed switch contacts.
Step 4: Disconnect the Old Capacitor
Clip the wires leading into the old capacitor close to the wire nuts or terminal blocks, or twist off the wire connectors to free the stripped ends. If the capacitor is secured to the housing with a mounting screw or adhesive pad, release it now and remove the old component completely from the fixture.
Step 5: Install and Wire the New Capacitor
Mount the new capacitor in the same position using its mounting bracket or double-sided tape. Strip a fresh half-inch of insulation from the wire ends if necessary, and connect the new wires to the corresponding leads using approved wire connectors. Match every wire color precisely to your reference photograph to maintain proper electrical phase shifting for each fan speed.
Step 6: Secure Housing and Test Operation
Tuck all wires neatly back into the housing cavity, making sure no bare copper is exposed and no wires are pinched by the cover plate. Reattach the housing screws securely, restore power at the main breaker panel, and test every pull chain speed setting to verify that the fan operates correctly across all levels.
Common Mistakes to Avoid
A frequent error during this repair is ignoring the voltage rating printed on the capacitor label. While matching the microfarad rating is essential, you must also ensure the replacement capacitor is rated for at least the same AC voltage as the original, usually 250V or 350V. Using a component with a lower voltage rating creates a severe fire hazard and can cause the plastic housing to rupture.
Another common mistake is mixing up the speed wires during reconnection. If your fan runs on high speed when you select low, or if the reverse switch no longer functions properly, you likely swapped the speed-specific wires coming from the capacitor. Always double-check your color-coded wiring diagram against your reference photo before closing up the housing.
Rushing the wire connection process by failing to use proper wire nuts or electrical tape leads to intermittent contact and sparking. Every splice must be mechanically secure and fully insulated inside a twist-on connector. Taking an extra moment to test each connection prevents having to take the housing apart a second time.
Overlooking the physical security of the capacitor inside the housing is another pitfall that leads to recurring headaches. If the replacement unit is left loose inside the canopy, the constant vibration generated by the rotating motor will cause internal wire fatigue and premature disconnection. Always secure the component firmly using its designated mounting bracket, zip tie, or high-temperature adhesive pad to absorb operational vibrations.
Troubleshooting Ceiling Fan Performance After Replacement
If you have completed the installation but the ceiling fan still refuses to spin, the problem may extend beyond the capacitor. Listen closely to the motor housing when you pull the chain to a speed setting. A quiet hum indicates that power is reaching the motor windings, but the rotor may be mechanically seized due to dry bearings or lack of lubrication.
If the fan spins freely by hand when the power is off but struggles to turn under power, verify that you connected the common wire correctly. A miswired common lead prevents the capacitor from completing the circuit, resulting in zero motor torque. Recheck your wiring map against the manufacturer specifications printed on the motor label.
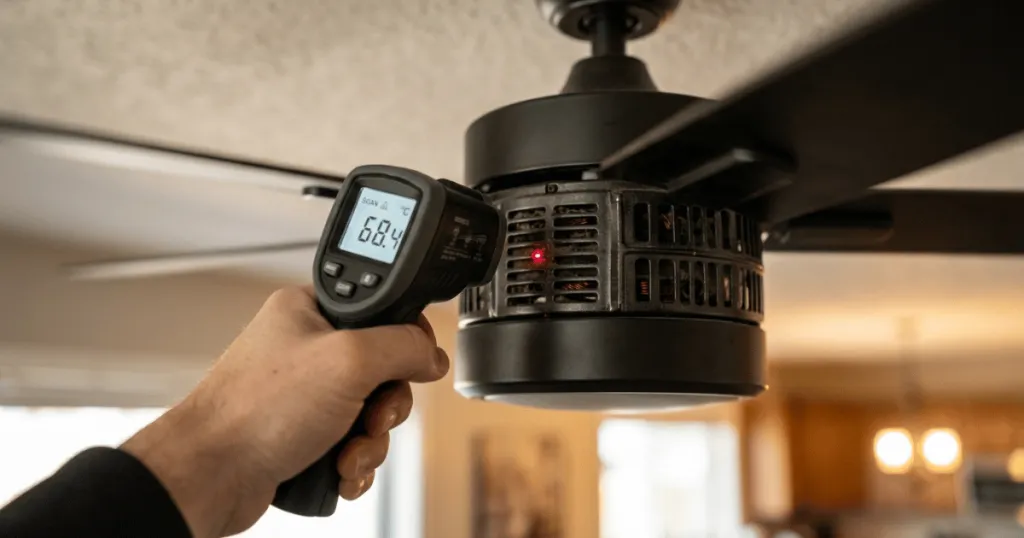
Should the new capacitor become extremely hot within minutes of operation, turn off the power immediately. Excessive heat generation is a clear indicator of either a short circuit in the wiring harness, an incorrect microfarad rating, or an internal winding failure within the ceiling fan motor itself. If the motor windings are shorted, replacing the capacitor will not solve the underlying issue, and the entire fan fixture must be replaced.
In scenarios where speeds operate normally on high and medium but low speed fails completely, the issue often traces back to the specific capacitance leg dedicated to that lower speed tier. If you used a multi-value replacement capacitor where one of the microfarad ratings was slightly mismatched from factory specifications, the lowest speed may lack sufficient torque to overcome initial static friction. Replacing the component with a correctly matched multi-value part resolves this specific speed imbalance.
FAQ
Can I use a capacitor with a higher microfarad rating?
No. You should always match the microfarad rating specified by the manufacturer. Using a higher rating pushes excess voltage through the motor windings, causing overheating, erratic speeds, and premature motor failure.
How do I know if my ceiling fan has a single or multi-value capacitor?
Look at the number of wires exiting the capacitor body. A single-value capacitor typically has two wires, while dual or triple-value capacitors used in multi-speed fans have three, four, or five wires feeding into the speed switch.
Why does my ceiling fan hum but not spin after replacing the capacitor?
A humming motor with no movement usually points to incorrect wiring, a seized motor bearing, or a bad pull chain switch rather than a faulty capacitor.