At a Glance: To fix a ceiling fan safely, always turn off power at the circuit breaker first. Inspect and tighten all loose hardware, clean and balance the blades if wobbling occurs, replace standard dimmers with fan-rated controls to stop motor hums, and check wire connections and batteries for control issues.
Dealing with a wobbling, humming, or completely unresponsive overhead fixture can disrupt the comfort of an entire room. Knowing how to fix a ceiling fan safely saves you from unnecessary replacement costs and restores smooth, quiet airflow to your living space. Before reaching for tools or climbing a ladder, the safest starting point is to locate the correct circuit breaker and cut off all electrical power to the fixture at the main service panel.
Whether you are chasing a rhythmic clicking sound or trying to stabilize a shaking canopy, a methodical approach ensures you fix the root cause rather than just masking the symptoms. Taking the time to inspect mounting brackets, blade irons, and internal hardware protects your investment and ensures safe daily operation.
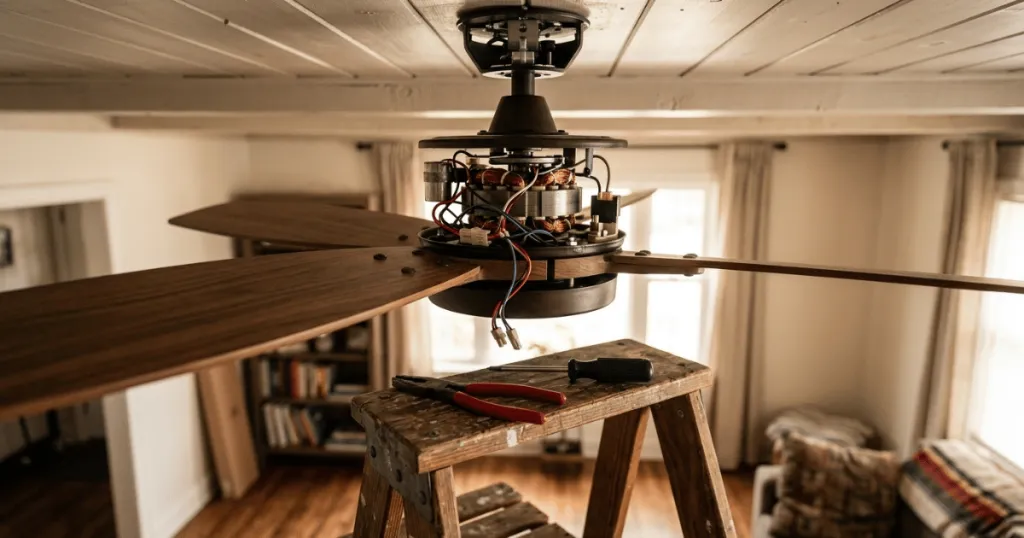
Before You Start: Preparation and Safety Checks
Working overhead on electrical appliances requires strict adherence to safety protocols. Before touching any part of the fixture, verify that the power is completely off using a non-contact voltage tester. Never rely solely on the wall switch, as power may still be active at the junction box. Furthermore, take time to evaluate the physical layout of the room. Clear away fragile furniture, tables, and decorative items directly below the fixture drop zone. This precaution prevents accidental damage if a hand tool or piece of hardware slips during the repair process.
Set up a sturdy, stable stepladder on a level floor surface. Avoid balancing on chairs or makeshift platforms. Clear the room of furniture underneath the work area to prevent accidental damage or tripping hazards. Gather your tools beforehand so you are not climbing up and down with loose hardware in your pockets.
Inspect the rated ceiling box in the ceiling if you suspect structural movement. Standard light boxes cannot support the dynamic weight and torque of a spinning motor. A heavy-duty brace rated specifically for fan support must be anchored directly to the framing members to prevent dangerous sagging or detachment over time. When dealing with older homes, check whether the original junction box was nailed directly to a joist or mounted via a span bar. Sagging joist boxes often require retrofitting with modern steel brace systems designed to absorb heavy vibrational forces.
Review the manufacturer documentation if available. Different drive motor designs, such as standard AC motors and modern DC motors, have distinct internal components and control modules. Knowing your specific model helps you interpret troubleshooting guides accurately and avoids improper adjustments to sensitive electronic receiver units. Pay close attention to whether your unit features a flush mount installation or a downrod configuration, as the clearance distance from the ceiling significantly influences how you access the upper canopy hardware.
Homeowners must also evaluate environmental conditions in the room before starting any repair work. High ambient humidity in spaces like covered outdoor patios or steamy bathrooms can warp wooden blades and corrode internal fasteners much faster than in climate-controlled bedrooms or living rooms. If you notice signs of moisture damage, such as swollen wood grain or rusted screw threads, prepare to replace the compromised components entirely rather than attempting temporary fixes that will fail under normal rotational stress.
Tools and Materials Required for Fan Repairs
Having the correct equipment on hand makes troubleshooting efficient and prevents stripped screw heads or damaged wiring. A basic toolkit handles most common mechanical and electrical adjustments needed for residential overhead fixtures.
- Non-contact voltage tester to verify zero electrical energy
- Standard and Phillips screwdrivers in various lengths
- Socket set or adjustable wrench for canopy and downrod bolts
- Plastic blade balancing clip and self-adhesive lead weights
- Step ladder that reaches the hanging height comfortably
- Clean microfiber cloth for dust removal and wiping components
Keep a small magnetic tray or bowl on top of your ladder platform to hold tiny set screws, washers, and wire connectors securely. Dropping small hardware from high ceilings creates an unnecessary hazard and stalls your repair progress.
Step-by-Step Instructions: How to Fix a Ceiling Fan
Addressing overhead fixture issues follows a logical sequence from simple mechanical stabilization to electrical troubleshooting. Work through these steps in order to isolate and resolve the problem efficiently.
Step 1: Tighten Loose Hardware and Canopy Connections
Vibration from continuous motor rotation naturally loosens screws over time. Turn off the power at the breaker, remove the decorative canopy cover, and check every visible fastener.
Tighten the screws securing the blade irons to the motor flywheel. Next, check the screws attaching the actual wooden or plastic blades to the blade irons. A single loose blade iron will throw off the rotational symmetry and cause a noticeable wobble.
Examine the hanger bracket secured to the ceiling electrical box. Ensure the mounting bolts holding the downrod ball or hanging bracket are fully torqued down. Loose hanging hardware allows the entire assembly to sway excessively during high-speed operation. Inspect the canopy screws as well, ensuring they do not rub against the inner downrod, which generates a metallic screeching sound during oscillation.
Beyond the primary fasteners, inspect the light kit fitter screws if your fixture includes integrated illumination. Glass shades held loosely by thumb screws will rattle violently at high speeds, often tricking homeowners into thinking the internal motor is failing. Ensure each thumb screw is hand tightened evenly so the glass shade is held securely without being cracked by excessive pressure.
Step 2: Balance the Blades to Eliminate Wobble
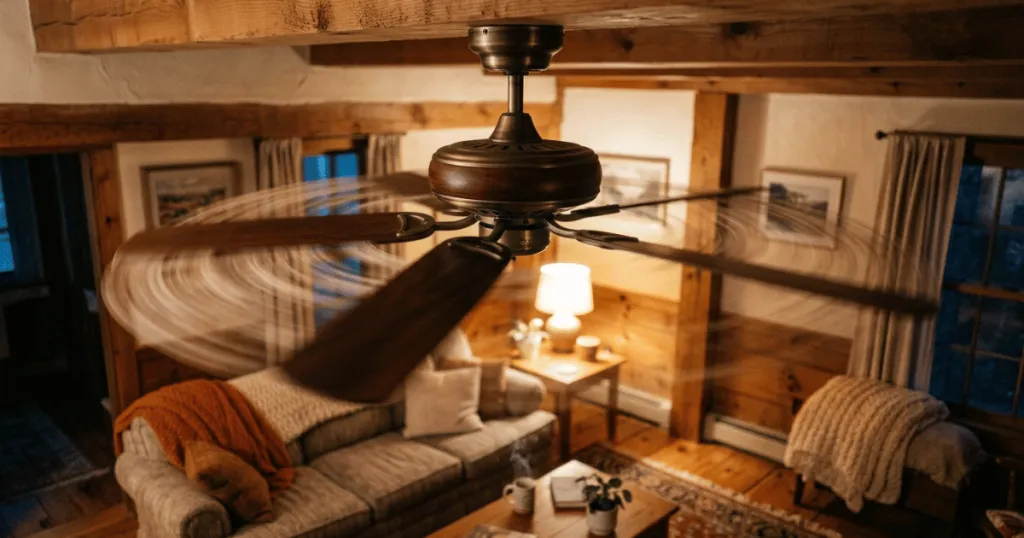
If tightening fasteners does not stop the shaking, aerodynamic imbalance is likely the culprit. Use a plastic balancing clip from a standard balancing kit to test individual blades.
Attach the clip to the center edge of the first blade and turn the power back on. Run the fan on its highest speed setting to observe if the wobble improves or worsens. Move the clip sequentially to each blade, noting which position yields the smoothest operation.
Once you identify the problematic blade, slide the clip closer to the blade tip or inward toward the motor to find the exact sweet spot. Peel the backing off a self-adhesive balancing weight and press it onto the top center of the blade directly in line with the clip.
Keep in mind that thick dust accumulation on one side of a blade can alter its aerodynamic profile and weight distribution enough to cause a persistent shake. Before applying any balancing weights, wipe down every blade thoroughly with a damp microfiber cloth to remove stubborn grease and particulate buildup. Many apparent balancing problems disappear entirely once all blades are cleaned to uniform weight.
Step 3: Diagnose and Silence Motor Noises
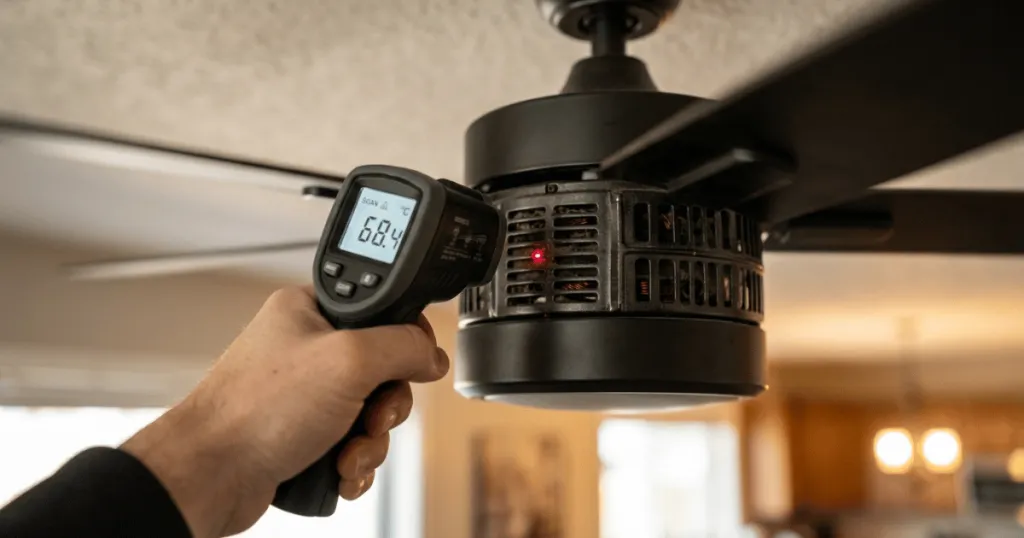
A humming or buzzing sound usually points to electrical interference or loose internal laminations within the AC motor. If the hum occurs only when using a wall dimmer switch, replace the standard dimmer with a fan-rated speed control designed for inductive loads.
Check for debris or packaging materials trapped inside the upper motor housing or switch housing cup. Foreign objects rubbing against internal wiring harnesses create rattling sounds that mimic major mechanical failures.
Lubricate older models that feature an oil hole on top of the motor housing. Use only SAE 10 non-detergent motor oil as specified by the manufacturer, taking care not to overfill or let oil drip onto the blades or light kit.
When dealing with modern reversible motors, make sure the reversing switch is fully engaged. If a household member bumped the switch into a middle resting point, the motor will receive partial electrical current without being able to establish a magnetic field for rotation, resulting in an intense and potentially damaging electrical hum.
Step 4: Restore Control and Lighting Functions
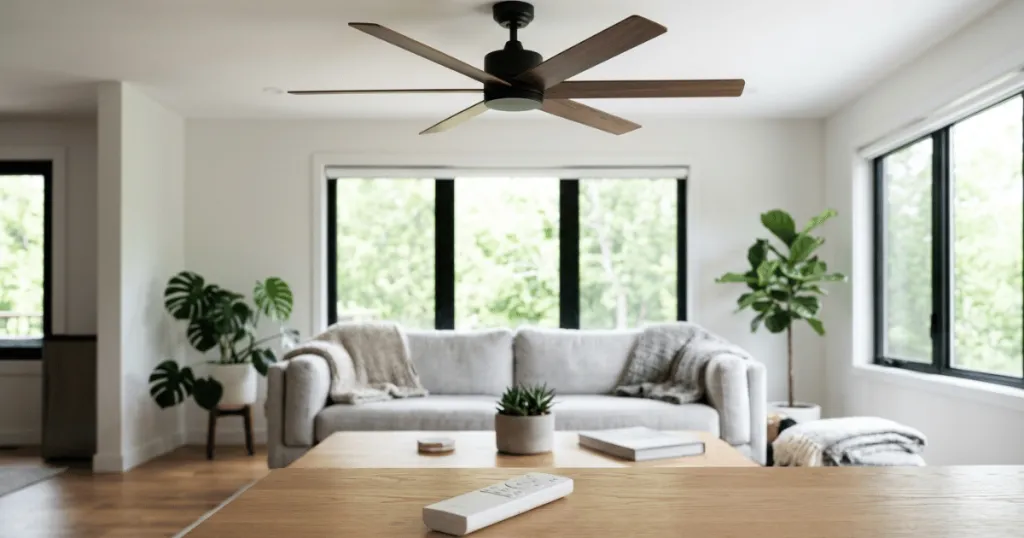
If the remote control fails to communicate with the receiver, check the battery compartment first. Weak batteries cause intermittent signal loss or complete unresponsiveness.
Verify that the manual reversing switch located on the side of the motor housing is pushed completely into position. If the switch is caught midway between forward and reverse, the motor may hum without spinning.
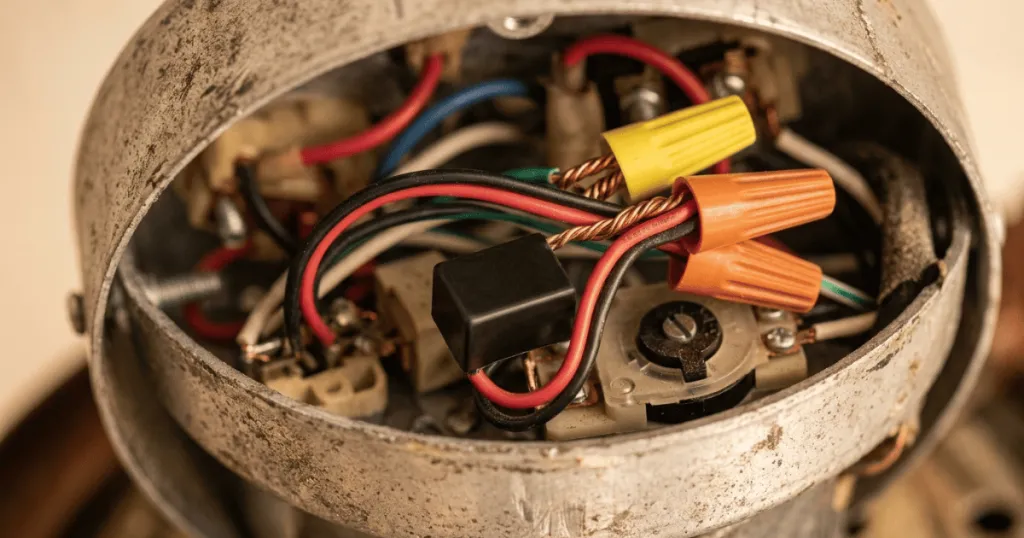
Inspect wire connections inside the switch housing if the light kit fails to illuminate. Ensure wire nuts are tightly twisted and no bare copper conductor is exposed against grounded metal parts.
Common Mistakes to Avoid During Repairs
Rushing through overhead maintenance often leads to avoidable damage or ongoing performance issues. Skipping foundational safety checks or using improper replacement parts compromises the stability of the entire assembly.
A frequent error is ignoring slight blade warpage caused by high humidity or moisture exposure in damp locations. Mixing blades from different packaging sets or matching old blades with new replacements ruins the weight distribution and prevents proper balancing.
Another mistake is over-tightening screws into soft metal motor housings or plastic blade components. Stripping the threads makes it impossible to secure the hardware properly, requiring replacement parts or larger fasteners to achieve a secure grip.
Failing to verify wire integrity before restoring power creates serious electrical risks. Always ensure wire connectors are rated for household voltage and that ground wires are securely fastened to both the mounting bracket and the grounding conductor from the ceiling box.
Homeowners should also avoid bypassing the canopy grounding wire during reassembly. Even if the fan appears to function normally without a dedicated ground connection, failing to secure the ground wire leaves the metal housing vulnerable to stray voltage in the event of an internal short circuit.
Troubleshooting Persistent Performance Issues
When standard maintenance steps fail to resolve an issue, deeper systemic problems may be present. Persistent electrical hums that resist dimmer replacement often indicate worn-out motor bearings.
If the motor shaft feels stiff or grinds when rotated manually with the power off, the sealed bearings have likely failed. While some older industrial models allow bearing replacement, most modern residential fixtures require replacing the entire motor assembly.
Intermittent speed changes or flickering integrated LED light modules suggest a failing remote control receiver unit. Check the wiring harness leading into the receiver for pinched insulation or heat damage caused by overcrowding inside the canopy.
If your troubleshooting efforts do not yield results, or if you encounter frayed wiring, damaged ceiling boxes, or sparks when turning the breaker back on, stop immediately and contact a licensed electrician to inspect the circuit.
Another advanced consideration involves voltage drop over long electrical runs, which can cause DC motors to stutter or drop out of synchronization. If multiple high-draw appliances share the same circuit as your overhead fixture, consult an electrician to determine if a dedicated line is needed to stabilize the voltage supply.
FAQ
Why does my ceiling fan wobble even after tightening the blade screws?
A wobble often persists due to aerodynamic imbalance rather than loose hardware. Use a blade balancing kit with plastic clips and adhesive weights to find the uneven blade and correct its weight distribution.
What causes a ceiling fan motor to hum loudly?
A loud humming noise is typically caused by an incompatible standard wall dimmer switch acting on an inductive motor load, or by loose internal motor laminations. Switch to a fan-rated speed control to eliminate the hum.
Can I install a ceiling fan on a standard plastic light box?
No. Standard light boxes cannot support the continuous dynamic weight and rotational torque of a ceiling fan. You must use a heavy-duty electrical box rated for fan support and anchored directly to structural framing.