When you flip the wall switch or pull the chain and find your ceiling fan not spinning or won’t start, the immediate frustration is understandable. A non-responsive fan often feels like a major electrical failure, but in many residential settings, the cause is surprisingly simple. Before assuming the motor has burned out or calling for professional help, you can perform a few logical checks to isolate the issue.
Most ceiling fan problems stem from loose connections, remote control synchronization errors, or basic power supply interruptions. By systematically checking the power path from the breaker box to the motor housing, you can often identify the culprit without needing specialized tools. Understanding how these components interact helps you determine whether you are dealing with a minor fix or a situation that requires a qualified electrician.
Troubleshooting a ceiling fan is a methodical process that prioritizes safety and logical deduction. Because these units are suspended from the ceiling and often operate in high-traffic areas, they are subject to unique stresses that floor-based appliances do not face. By narrowing down the variables, you can save time and avoid unnecessary replacement costs.
Common Reasons Why a Ceiling Fan Not Spinning or Won’t Start
The most frequent cause for a silent, stationary fan is a simple lack of power. Before inspecting the fan itself, confirm that the circuit breaker hasn’t tripped. It is common for a single breaker to control multiple outlets and lighting fixtures in a room, so check if other lights or devices on the same circuit are also dead. If the breaker is fine, move to the wall switch. If you have a dimmer switch installed, it may be incompatible with the fan motor, causing it to hum or refuse to start entirely.
Remote Control and Receiver Issues
Many modern ceiling fans rely on a remote control receiver tucked inside the canopy. If the battery in your remote is weak, the signal might not reach the receiver, leaving the fan unresponsive. Additionally, if the power was recently cut to the room, the receiver may have lost its synchronization with the remote. Try resetting the system by turning the power off at the wall switch for thirty seconds and then turning it back on, which often forces the receiver to re-establish its connection.
In some cases, the receiver itself may be the point of failure. If you have verified that the wall switch is providing power to the canopy but the fan remains unresponsive, the receiver might have suffered an internal short or component burnout. This is particularly common in areas with frequent power surges or lightning activity. Before replacing the receiver, ensure that the dip switches on the remote and the receiver match exactly. Even a slight mismatch in these frequency settings will prevent the fan from receiving the start command.
Capacitor Failure
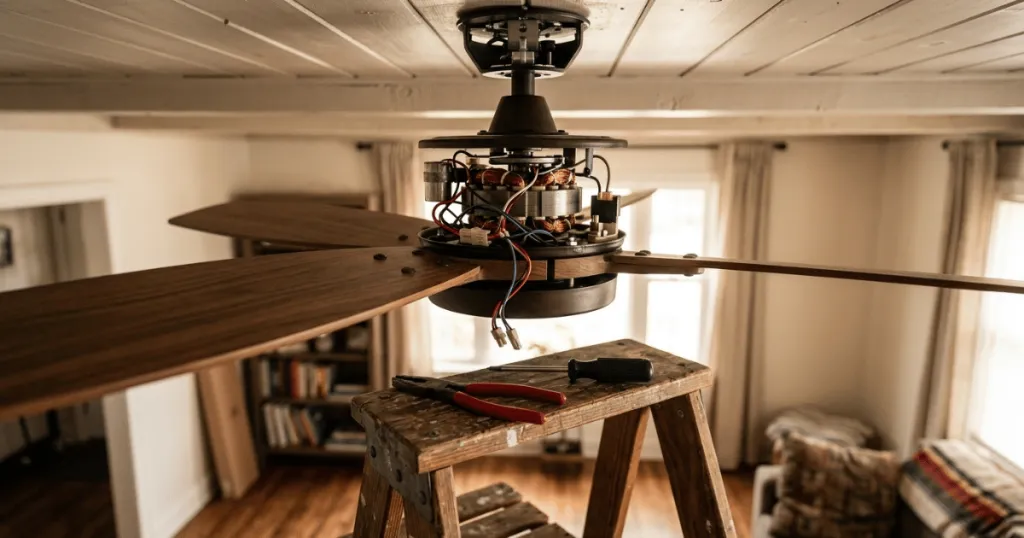
The capacitor is a small component inside the fan housing that provides the initial jolt of energy required to get the motor turning. If your fan hums but does not spin, or if it only starts after you give it a gentle manual push, the capacitor is likely failing. This is a common wear-and-tear item, particularly in fans that run for many hours daily. While replacing a capacitor is a standard repair, it requires accessing the interior of the motor housing, which should only be done after ensuring all power is completely disconnected.
When selecting a replacement capacitor, you must match the microfarad rating and the voltage rating exactly. Using a capacitor with a different rating can cause the motor to run hot, vibrate excessively, or fail to start altogether. If you are unsure about the electrical specifications, consult the manual or the label on the existing capacitor. Always discharge the old capacitor before handling it, as it can hold a residual electrical charge even after the power is cut.
Real-World Context for Homeowners
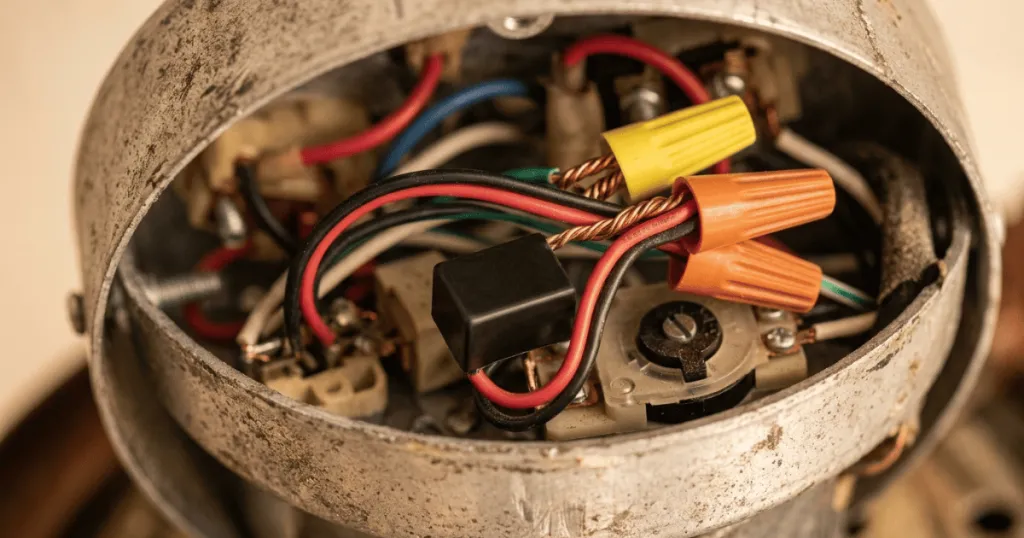
In a typical bedroom or living room, ceiling fans are often installed on standard junction boxes that may not be rated for the weight or vibration of the unit. Over time, this vibration can loosen wire nuts inside the canopy. If a wire has wiggled loose, the fan will lose its electrical path. This is especially prevalent in homes where fans are used year-round, as the constant thermal expansion and contraction of wires can cause connections to slacken.
Consider the environment of the room as well. If the fan is located in a kitchen or a high-humidity bathroom, dust and grease accumulation can settle into the motor bearings. While this usually leads to a sluggish fan rather than a total failure to start, excessive friction can eventually prevent the motor from overcoming its own resistance. If you notice the fan is physically difficult to turn by hand when the power is off, you are likely dealing with a mechanical obstruction or bearing failure rather than an electrical one.
Another common scenario involves dual-switch setups. If your room has two wall switches, one might control the light kit while the other controls the motor. It is surprisingly easy to accidentally leave the motor switch in the off position while toggling the light switch, leading to the mistaken belief that the fan is broken. Always verify that both switches are in the correct position before assuming there is a mechanical fault.
Homeowners should also be aware of the impact of seasonal changes. Many fans have a small reversing switch on the side of the motor housing. If this switch is stuck between the forward and reverse positions, the motor may not engage at all. Ensure the switch is fully clicked into either the summer or winter position. If the switch feels loose or damaged, it may be preventing the internal electrical contact necessary for the motor to start.
Why Troubleshooting Matters for Your Home
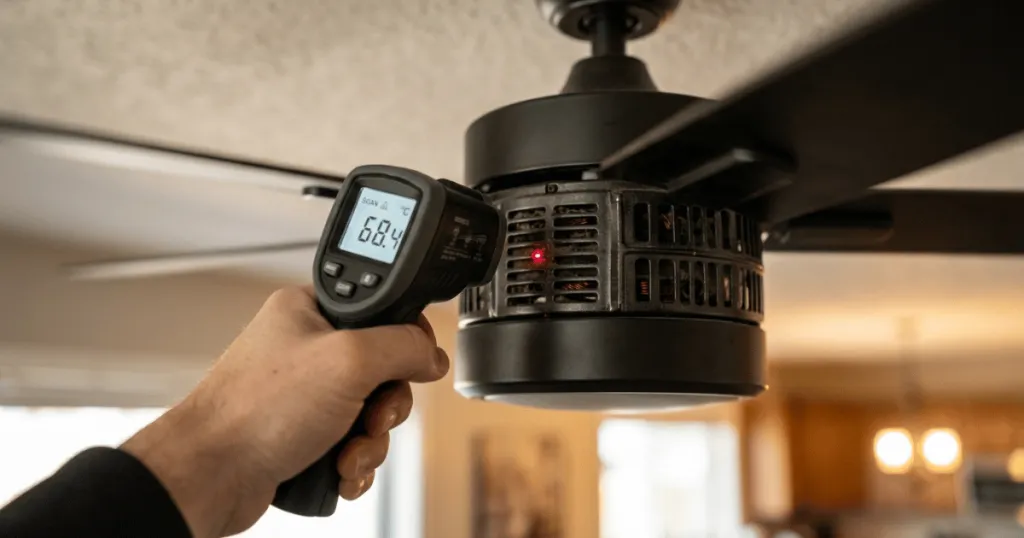
Addressing a ceiling fan that refuses to operate is about more than just comfort. A fan that hums but does not spin is drawing electricity without performing work, which creates heat within the motor windings. If left in this state, the motor can overheat, potentially damaging the internal wiring or the receiver. Identifying the issue early prevents minor electrical problems from escalating into fire hazards or requiring a full unit replacement.
Furthermore, understanding your fan’s operation empowers you to maintain your home infrastructure more effectively. When you know how to reset a remote receiver or tighten a loose wire nut, you save time and avoid the costs associated with service calls for minor issues. It also helps you distinguish between a simple DIY fix and a genuine electrical fault that requires a professional. Safety remains the priority, and knowing when to stop and call an electrician is a critical part of being a responsible homeowner.
Regular maintenance, such as dusting the blades and cleaning the motor housing, can prevent many of the issues that lead to a fan not starting. Dust buildup can act as an insulator, trapping heat inside the motor, while debris in the bearings increases the torque required to start the fan. By keeping the unit clean, you reduce the strain on the capacitor and the motor windings, extending the life of the entire assembly.
Common Misconceptions About Fan Repairs
A frequent misconception is that a fan that won’t start must have a dead motor. In reality, motor failure is relatively rare compared to capacitor, switch, or receiver issues. Most fans are built with robust induction motors that can last for decades if properly maintained. If your fan stops working, do not immediately assume the entire unit is trash. Most components are modular and can be replaced individually if you have the correct model information.
Another misunderstanding is that all fans are compatible with universal remote kits. While many are, some proprietary systems require specific receivers from the manufacturer. Attempting to force a generic remote onto a fan with a specialized motor control system can lead to permanent damage. Always check the manufacturer documentation or the label on the fan housing before purchasing replacement parts to ensure compatibility.
Finally, many people believe that if the light works, the fan must be receiving power. This is not always true. Many fans are wired with separate power leads for the motor and the light. A loose wire or a faulty receiver can cut power to the motor while leaving the lighting circuit perfectly functional. Never use the light kit as a definitive test for the health of the entire fan unit.
Advanced Diagnostic Steps for Persistent Issues
If you have checked the power, the remote, and the capacitor, and the fan still refuses to start, you may need to look at the internal wiring harness. Over time, the constant movement of the fan can cause wires to fray or disconnect at the point where they enter the motor housing. Inspect these connections for signs of burning or melting, which could indicate a short circuit. If you find damaged wiring, it is usually safer to replace the wiring harness or the entire fan rather than attempting to splice wires inside the motor assembly.
Another edge case involves the pull chain switch. If your fan uses a manual pull chain to control speeds, the internal contacts within that switch can wear out or become oxidized. If the fan works on high but not on low, or if it won’t start at all, the switch itself might be the failure point. These switches are inexpensive and relatively easy to replace if you are comfortable working with small electrical components. Always document the wiring configuration before disconnecting the old switch to ensure the new one is installed correctly.
Lastly, consider the ceiling mount. If the mounting bracket is loose, the fan may be tilting, which can cause the internal components to rub against the housing. This creates a mechanical drag that prevents the motor from reaching the necessary startup torque. Ensure that the mounting bracket is securely fastened to the junction box and that the downrod is properly seated. A stable, level fan is essential for both performance and longevity.
FAQ
Why does my ceiling fan hum but not spin?
A humming sound usually indicates that the motor is receiving power but cannot overcome the initial resistance to start. This is most often caused by a failing capacitor or a mechanical obstruction in the bearings.
Can I replace the capacitor on my own?
Yes, replacing a capacitor is a common DIY repair, but it requires basic electrical knowledge. You must turn off the power at the breaker, access the motor housing, and use a capacitor with the exact same microfarad rating as the original.
What should I do if my ceiling fan is stuck and won’t turn by hand?
If the fan blades are physically stiff or stuck, there is likely a mechanical issue such as debris in the housing or failed bearings. This is a mechanical problem that may require professional service or a complete motor replacement.
Is it dangerous to leave a fan that won’t start turned on?
Yes, it is best to turn the fan off at the wall switch. A stalled motor that is receiving power can overheat, which may damage the internal windings or present a fire risk.