Few things are more frustrating on a warm afternoon than turning on your overhead fixture and realizing your ceiling fan running slowly is doing almost nothing to cool the room. Instead of a steady, refreshing breeze, you get a sluggish rotation that barely stirs the air. This common household annoyance usually signals an electrical, mechanical, or maintenance issue that needs attention.
Understanding why this happens helps you decide whether you can fix the problem yourself or if you need to call in professional help. We will break down the most frequent culprits behind sluggish blade rotation, ranging from simple dust accumulation to failing internal components, so you can diagnose your specific situation safely and effectively.
Core Mechanical and Maintenance Factors Behind a Sluggish Motor
When a motor loses its pep, the root cause is often physical resistance or a lack of basic upkeep. Over years of continuous operation, internal lubricants dry up, dust cakes onto the housing, and moving parts face unnecessary friction that robs the motor of its rotational force.
Dust and Debris Accumulation on Blades
It sounds almost too simple, but heavy dust buildup on the blades is a primary culprit for reduced performance. When a thick layer of dust cakes the leading edge of each blade, it alters the aerodynamic profile and adds noticeable drag. The motor has to work much harder to push through the air resistance, which naturally slows down the revolutions per minute. Regular cleaning with a damp microfiber cloth keeps the aerodynamic load balanced and prevents unnecessary strain on the motor bearings. In humid climates, this dust often turns into a sticky film that is even heavier, creating a significant imbalance that can lead to wobbling alongside the loss of speed.
Bearing Friction and Lubrication Failure
Inside the motor housing, sealed ball bearings allow the rotor to spin smoothly around the stationary stator. If these bearings lose their factory lubrication or accumulate microscopic dirt over time, metal-on-metal friction increases. You might even hear a faint squeaking or humming noise when the unit is powered on. While some older models feature oil ports where you can add a few drops of non-detergent electric motor oil, most modern units use sealed bearings that require complete replacement if they seize up. If you notice the fan feels stiff when you try to rotate it by hand while the power is off, the bearings are likely the primary point of failure.
Blade Pitch and Structural Alignment
Sometimes the issue is not the motor itself, but the physical orientation of the blades. If the blade brackets have been bent, perhaps due to accidental impact or improper cleaning, the blade pitch changes. When blades are not perfectly aligned, they create uneven wind resistance. This uneven load forces the motor to compensate for the drag, which can manifest as a ceiling fan running slowly. Inspecting the distance from each blade tip to the ceiling can help you identify if a bracket is bent and needs to be gently nudged back into its original position.
Electrical and Wiring Issues Impacting Motor Speed
If physical maintenance checks out fine, the slowdown is usually rooted in the electrical supply or internal circuitry. Ceiling fan motors rely on precise voltage and capacitance to maintain their designed speeds across different settings.
Failing Capacitors and Voltage Drops
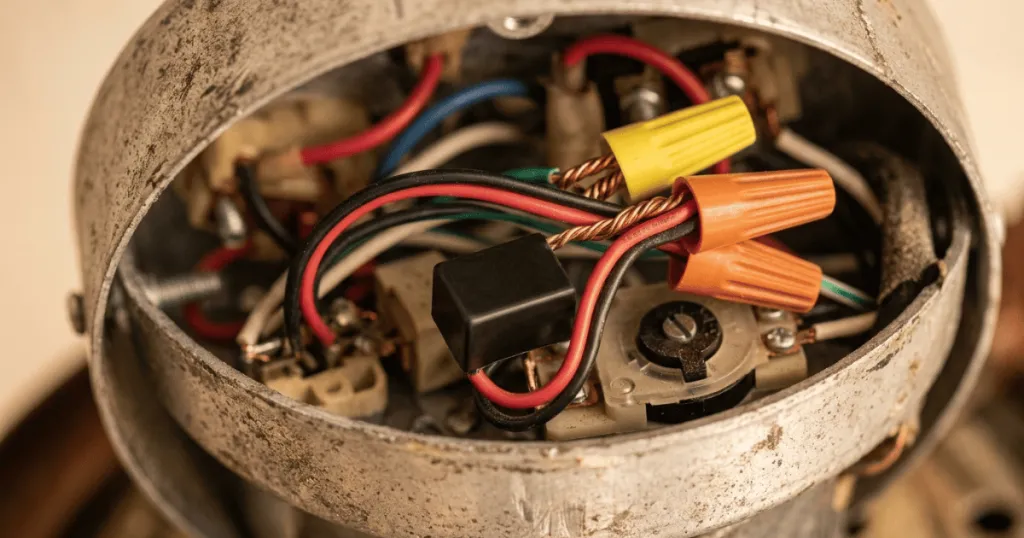
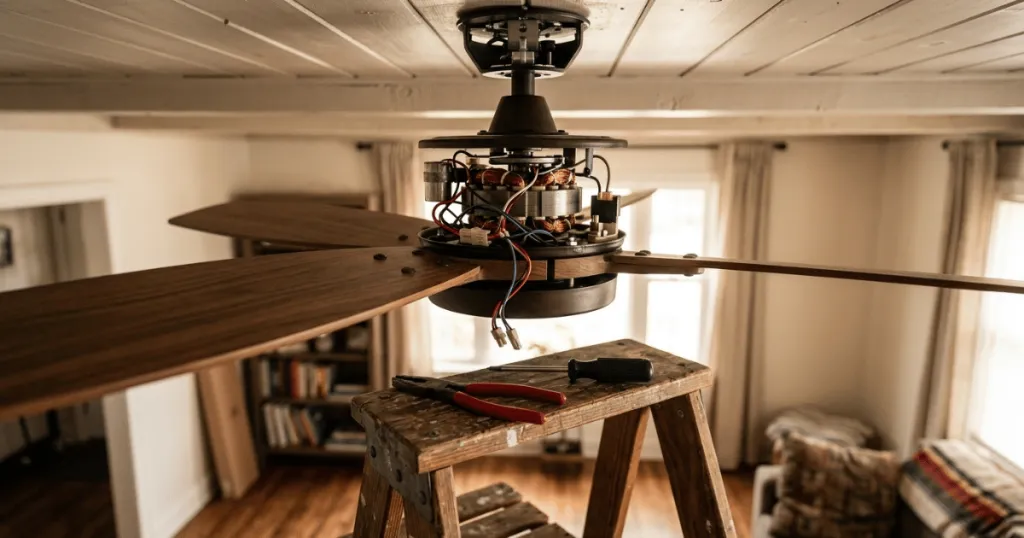
The pull-chain capacitor regulates the electrical current sent to the motor windings. When a capacitor begins to degrade or fail entirely, it cannot store and release the proper electrical charge required for higher speeds. In many cases, a bad capacitor will allow the unit to run fine on high speed for a few minutes before dropping to a crawl, or it will prevent the medium and high settings from working altogether. Replacing a worn capacitor is a standard electrical repair for anyone comfortable with basic wiring and safety precautions. Always ensure the power is cut at the breaker before opening the canopy to inspect this component.
Improper Wall Dimmer Switches
Wiring a standard lighting dimmer switch to an overhead paddle fan is a classic mistake that restricts electrical current. Dimmers chop the AC sine wave to reduce light output, which starves the motor of the steady voltage it needs to turn properly. This restriction causes the motor to run slowly, overheat, and eventually burn out its internal windings. Our recommendation is to always use a dedicated ceiling fan speed control that is rated specifically for inductive loads. If you have recently installed a new wall control, verify that it is compatible with the specific motor type of your fan, as some DC motor fans require proprietary wall controls that are not interchangeable with standard AC fan controls.
Remote Control and Speed Setting Discrepancies
Modern fixtures often rely on remote controls, wall receivers, and modular wiring harnesses rather than simple pull chains. These advanced control systems introduce unique points of failure that can mimic a dying motor.
Receiver Signal Interference and Voltage Loss
Canopy-mounted remote receivers process signals and route power to the motor based on your transmitter inputs. If a receiver gets damaged by power surges or begins to fail internally, it may fail to send full voltage to the motor windings even when set to maximum speed. Furthermore, mismatched aftermarket universal remotes can send improper frequency signals that disrupt the intended operational speed of proprietary motor assemblies. If your fan is suddenly sluggish, try resetting the remote and receiver by cutting power to the fan for thirty seconds, then restoring it and re-pairing the remote according to the manufacturer instructions.
Reversing Switch Misalignment
Every standard unit features a reversing switch to change the blade direction between downdraft and updraft modes. If this toggle switch gets bumped into a half-engaged position or develops internal corrosion, electrical contact becomes partial and erratic. The motor receives reduced voltage, resulting in a sluggish spin regardless of which wall control or remote button you press. Toggling this switch firmly back and forth a few times often restores full contact if dirt or minor misalignment is the issue. If the switch feels loose or does not click firmly into place, the internal contacts may be worn out, which would necessitate a switch replacement to restore full speed.
Real-World Context and Troubleshooting Scenarios
To understand how these factors play out in everyday homes, consider a few common scenarios. In a living room where a fixture runs continuously for hours every day, bearing wear and capacitor degradation are much more likely after five or six years of heavy use. Conversely, in a guest bedroom where the fixture is rarely used, a slow startup is frequently caused by a stuck reversing switch or heavy seasonal dust accumulation rather than internal hardware failure.
Another common real-world situation involves newly installed fixtures that run slowly right out of the box. This almost always points to an installation error, such as a pinched wire in the canopy, an incompatible wall dimmer switch, or a loose wire nut connection in the junction box. Before assuming the motor is defective, check the wiring diagrams in the manufacturer manual and verify that no standard lighting dimmers are sharing the circuit. It is also worth checking if the canopy is pressing against the ceiling mount, which can sometimes create enough friction to impede the rotation of the downrod or motor housing.
Noise level is another vital diagnostic clue in practical troubleshooting. A silent, slow rotation usually points toward a failing capacitor or voltage supply restriction from a dimmer switch. A slow rotation accompanied by a loud humming, buzzing, or grinding sound strongly indicates mechanical resistance, such as failing bearings, a warped flywheel, or blade brackets that are rubbing against the motor housing. If you hear a rhythmic clicking, check for loose screws on the blade irons or the motor housing itself, as these can vibrate and create drag that slows the motor down.
Why Addressing a Slow-Moving Motor Matters
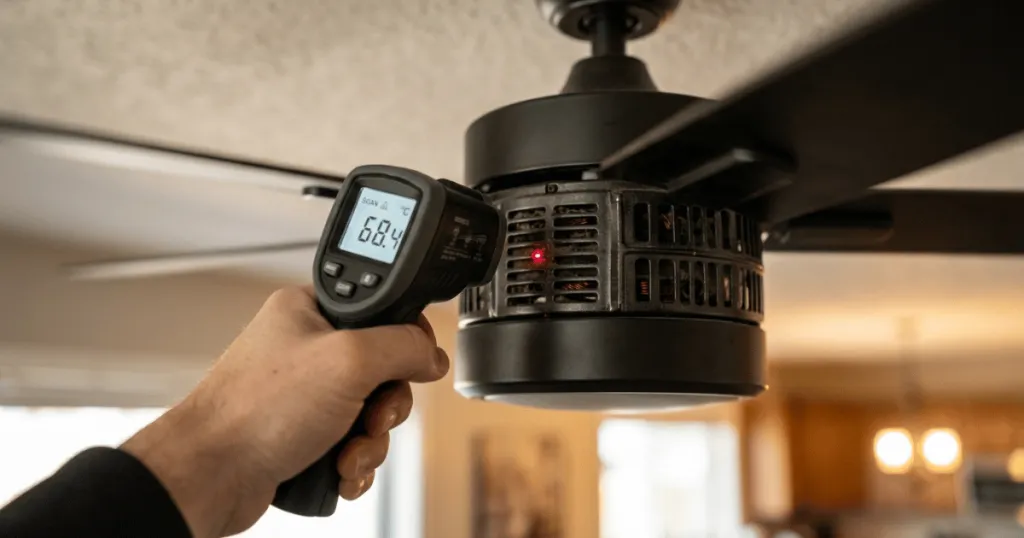
Ignoring a sluggish fixture can lead to much larger problems than just a lack of airflow in your living space. When an electric motor struggles to turn at its intended speed, the electrical energy that cannot convert into mechanical rotation turns into excess heat within the copper windings.
This prolonged overheating breaks down the protective enamel insulation around the copper wires, leading to internal shorts and potential motor burnout. In worst-case scenarios, an overheating motor can pose a genuine fire hazard if thermal overload protection is absent or fails to trip. Addressing the root cause early on saves you from the expense of a complete fixture replacement and ensures safe, reliable operation for years to come. Furthermore, a fan that is not spinning at its rated speed is consuming electricity without providing the expected comfort, making it an inefficient use of energy in your home.
Common Misconceptions About Sluggish Fan Speeds
Many homeowners assume that a slow-running motor simply needs a good manual push to get it going, treating it like a stubborn lawnmower engine. While giving the blades a spin by hand might start the rotation, it does nothing to solve the underlying electrical or mechanical failure that caused the stall in the first place. If the fan requires a manual push to start, it is a classic symptom of a failing start capacitor, which is a relatively inexpensive part to replace compared to the cost of a new fan.
Another widespread myth is that all slow speeds are caused by cheap manufacturing and cannot be repaired. In reality, most high-quality fixtures are engineered with serviceable components like capacitors and bearings. Instead of discarding a sluggish unit, a targeted repair often restores factory performance at a fraction of the replacement cost. It is also important to note that not all slow speeds are defects. Some fans are designed with very quiet, low-speed settings that may seem slow to the user but are operating exactly as intended. Always refer to your user manual to understand the expected performance range of your specific model before assuming there is a mechanical fault.
FAQ
Can a bad capacitor cause a ceiling fan to run slowly?
Yes, a degrading capacitor fails to supply the correct electrical charge to the motor windings, which often results in a sluggish rotation or failure to reach higher speeds.
Will cleaning the blades fix a slow ceiling fan?
Cleaning heavy dust accumulation off the blades can significantly improve speed if aerodynamic drag is causing the motor to strain.
Can I use a dimmer switch on a ceiling fan?
No, standard lighting dimmer switches restrict the AC voltage going to the motor, causing it to run slowly, overheat, and potentially burn out.
Why does my fan need a push to start spinning?
If a fan requires a manual push to start, it is a strong indicator that the start capacitor is failing and needs to be replaced to restore proper motor torque.