The Short Version: To fix a noisy ceiling fan, start by tightening all visible hardware, including blade screws and the canopy. Clean the blades to remove dust that causes imbalance, and use a balancing kit if the fan wobbles. If the noise persists, check for incompatible dimmer switches or signs of motor bearing failure.
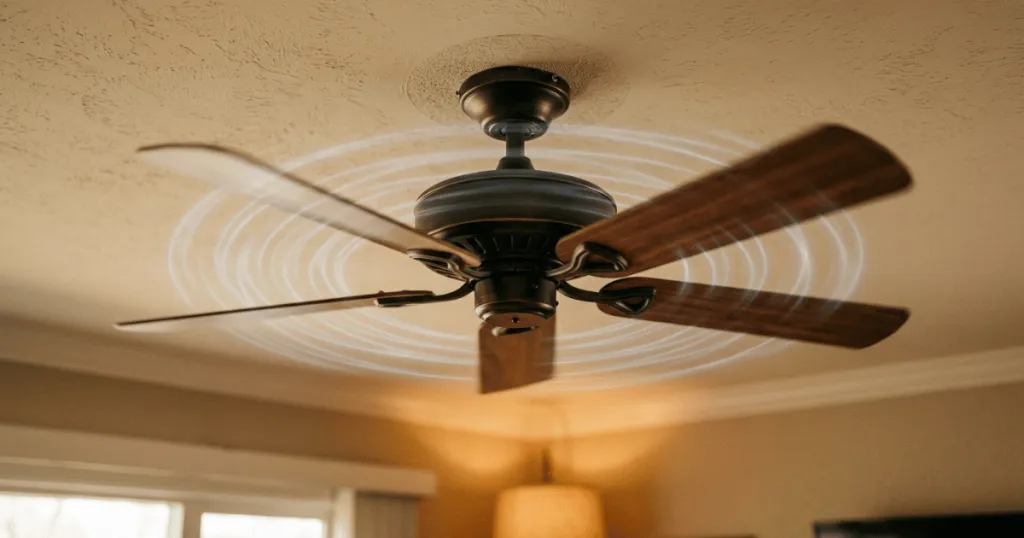
A ceiling fan should be a subtle, reliable presence in your home, providing comfort without drawing attention to itself through mechanical clatter or rhythmic humming. When that familiar breeze is replaced by grinding, clicking, or wobbling, it is time to intervene. Learning how to fix a noisy ceiling fan is often a straightforward process that involves tightening hardware, balancing blades, or addressing minor electrical vibrations rather than replacing the entire unit.
Before you commit to a full afternoon of troubleshooting, perform a quick readiness check. If the fan is making a high-pitched electrical buzzing sound, it may be an issue with the wall control or the internal capacitor. If the noise is a mechanical clicking or scraping, the issue is likely physical. If you hear a loud grinding sound, the motor bearings may be failing, which often signals that the fan has reached the end of its functional life. Knowing the source of the sound helps you decide whether to grab your screwdriver or contact a professional.
By following a methodical approach, you will be able to determine if the noise is a simple fix or a sign of deeper mechanical wear. Most homeowners find that the majority of fan noises are caused by loose components that have shifted over time due to natural vibration. This guide will help you isolate these issues so you can restore the quiet performance of your cooling system.
Before You Start: Assessing the Source
The most important step in silencing a fan is correctly identifying the noise. Not all sounds are created equal, and misdiagnosing the problem leads to wasted effort. Start by turning the fan off and allowing it to come to a complete stop. Observe the blade alignment from a distance. Are they drooping? Is the distance between the blade tip and the ceiling consistent for every blade? A visual inspection often reveals the culprit before you even climb a ladder.
Next, consider the environment. Is the fan mounted on a sloped ceiling? If so, ensure the mounting bracket is specifically designed for that angle. If the fan is mounted to a standard electrical box rather than a fan-rated box, the box itself might be vibrating against the ceiling joists. This creates a resonant hum that no amount of blade balancing will fix. If the noise only occurs at certain speeds, it is almost certainly a vibration or balance issue. If the noise is constant regardless of speed, look for loose mounting hardware or internal motor friction.
Safety is non-negotiable. Always cut power to the fan at the wall switch and, if you are planning to touch any wiring, at the circuit breaker. Never assume a switch is enough to protect you from a live circuit. Ensure your ladder is stable and positioned on a level surface. If you are working over a bed or furniture, move it aside to give yourself a clear, safe workspace. Having a helper to hold the ladder or hand you tools is always safer than working alone.
When assessing the noise, pay close attention to the timing of the sound. Does it occur only when the fan is at high speed, or is it present even at low settings? A sound that increases in intensity as the fan spins faster usually points to an aerodynamic issue or a loose component that is reacting to increased centrifugal force. Conversely, a sound that remains steady regardless of speed often suggests an electrical issue or a stationary part rubbing against a moving one. By narrowing down these variables, you save yourself from unnecessary disassembly of the motor housing.
Prerequisites and Tools for the Job
You do not need a specialized toolkit to resolve most ceiling fan noises. A standard set of tools is usually sufficient for the vast majority of common issues. Gather a sturdy stepladder, a set of screwdrivers (both Phillips and flathead), a pair of needle-nose pliers, and a soft cloth for cleaning. If you suspect the fan is out of balance, a ceiling fan balancing kit is an inexpensive, highly effective tool that includes a plastic clip and adhesive weights.
Beyond physical tools, you need a basic understanding of the fan’s anatomy. The canopy is the decorative cover at the ceiling that hides the mounting bracket and electrical connections. The downrod is the metal pipe connecting the motor housing to the canopy. The blade irons are the brackets that attach the wooden or plastic blades to the motor. Each of these connection points is a potential site for vibration. If you find that a screw is stripped or a bracket is bent, do not try to force it. Replacing a small, inexpensive part is always better than risking a permanent failure of the fan assembly.
It is also helpful to have a small flashlight or headlamp on hand. Many ceiling fans have recessed screws or dark mounting areas where visibility is poor. Having a bright light allows you to inspect the condition of rubber gaskets or washers that may have dried out or cracked over time. These small components are often the unsung heroes of a quiet fan, as they are designed to absorb the micro-vibrations that occur during normal operation. If you find a cracked washer, replacing it with a new rubber or silicone equivalent can often eliminate a persistent, low-level rattle that has been bothering you for months.
Step-by-Step Instructions: How to Fix a Noisy Ceiling Fan
Follow these steps in order to systematically eliminate the source of the noise. By starting with the easiest fixes, you often solve the problem without needing to disassemble the entire unit.
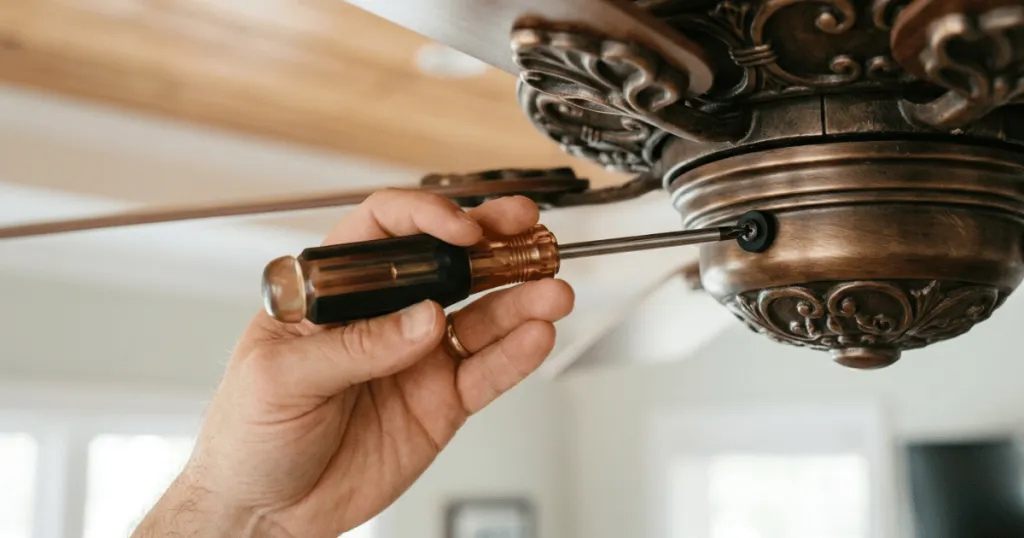
- Tighten All Visible Hardware: Start with the blade screws. Over time, the constant motion of the fan causes these screws to loosen. Check the connection between the blade and the blade iron, and then check the connection between the blade iron and the motor housing. Use a screwdriver to ensure every screw is snug, but do not overtighten, as this can strip the threads.
- Inspect the Canopy and Mounting Bracket: The canopy often vibrates against the ceiling or the mounting bracket. Ensure the screws holding the canopy in place are tight. If the canopy is loose, it will rattle against the ceiling surface. If the mounting bracket itself is loose, tighten the bolts that secure it to the electrical box.
- Check the Blade Balance: If the fan wobbles, it creates a persistent clicking or thumping sound. Use a balancing kit by attaching the plastic clip to the center of one blade. Turn the fan on and observe if the wobble improves. Move the clip to each blade one by one until you find the one that reduces the wobble. Once identified, apply the adhesive weight to the top of that blade, directly opposite the clip’s position.
- Clean the Blades and Motor Housing: Dust buildup is a common, overlooked cause of noise. A heavy layer of dust on one side of a blade changes its weight and aerodynamics, leading to imbalance. Use a damp cloth to clean the top and bottom of each blade. While you are there, use a vacuum with a soft brush attachment to clear dust from the motor housing vents.
- Check the Light Kit: If your fan has a light kit, the glass shades or bulbs can rattle. Ensure the glass shades are securely tightened by the fitter screws. If the bulbs are loose in their sockets, tighten them gently. Sometimes, a small piece of felt or a rubber washer placed between the glass and the metal fitter can dampen vibrations.
If you have completed these steps and the fan still makes noise, consider the possibility of a loose downrod connection. The downrod is held in place by a pin and a clip. If these have become loose, the entire fan assembly may shift slightly during rotation. Gently wiggle the downrod to see if there is any play in the connection. If there is, you may need to remove the canopy to access the pin and ensure it is fully seated. This is a common area for wear in fans that have been running for many years, and a simple adjustment of the pin can often restore the structural integrity of the entire unit.
Common Mistakes to Avoid
One of the most frequent mistakes is assuming the motor is broken when the issue is actually a loose connection. Homeowners often rush to replace a fan because of a rattling sound that could have been fixed by tightening a single screw. Always exhaust the mechanical checks before considering a motor replacement. Another common error is using the wrong type of screws. If you lose a screw, replace it with one of the exact same size and length. Using a screw that is too long can damage internal motor components or prevent the blade iron from seating correctly.
Ignoring the electrical box rating is another critical mistake. Ceiling fans are heavy and generate significant torque. If a fan is installed on a standard light fixture box, the box will eventually pull away from the joist or crack, leading to dangerous wobbling and noise. If you notice the entire fan assembly moves when the fan is running, stop using it immediately and verify that the electrical box is a fan-rated junction box. This is a safety issue that goes beyond simple noise.
Finally, avoid the temptation to lubricate the motor unless the manufacturer explicitly states the fan requires it. Most modern ceiling fans are permanently lubricated at the factory and are considered maintenance-free. Adding oil to a sealed motor can actually attract dust and cause the internal components to seize, turning a minor noise into a permanent mechanical failure. If you are unsure about your specific model, check the manual or the manufacturer website for maintenance guidelines. Most residential fans built in the last two decades do not require any internal lubrication, and attempting to add oil can void your warranty or cause electrical shorts.
Troubleshooting Persistent Issues
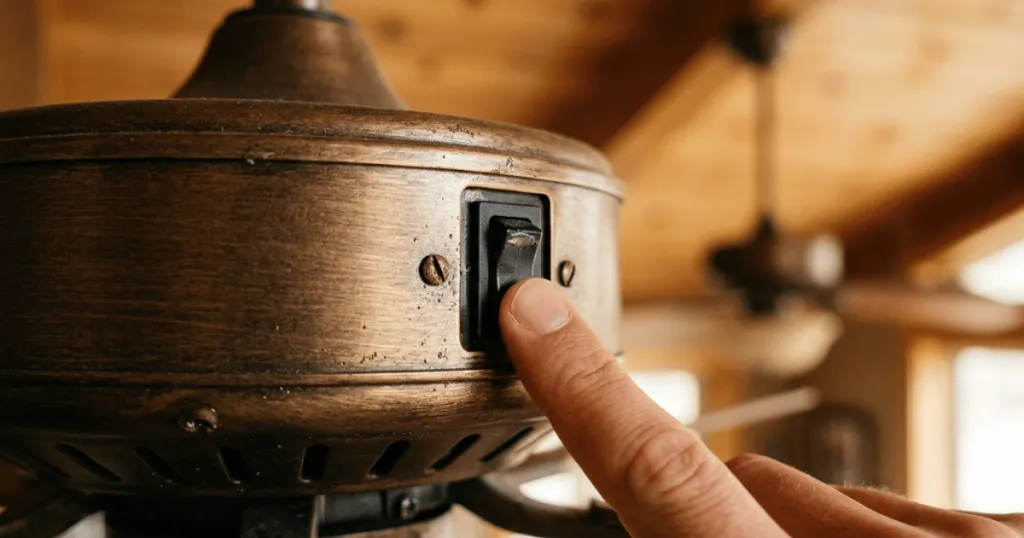
If you have tightened everything and balanced the blades but the noise persists, look closer at the electrical components. A hum or buzz is often caused by a dimmer switch that is not compatible with the fan’s motor. Even if the fan is not a light-dimming model, the speed control switch can interfere with the power delivery to the motor. Try bypassing the wall control to see if the noise stops. If it does, the switch is the problem, not the fan.
If the noise is a rhythmic clicking that occurs only during rotation, check for debris inside the motor housing. A stray wire or a piece of packing material might be rubbing against the internal rotor. If you feel comfortable, remove the motor housing cover to inspect the interior. If you see signs of burning, frayed wires, or excessive black dust, the motor is likely failing. At this stage, professional repair or replacement is the most sensible path forward.
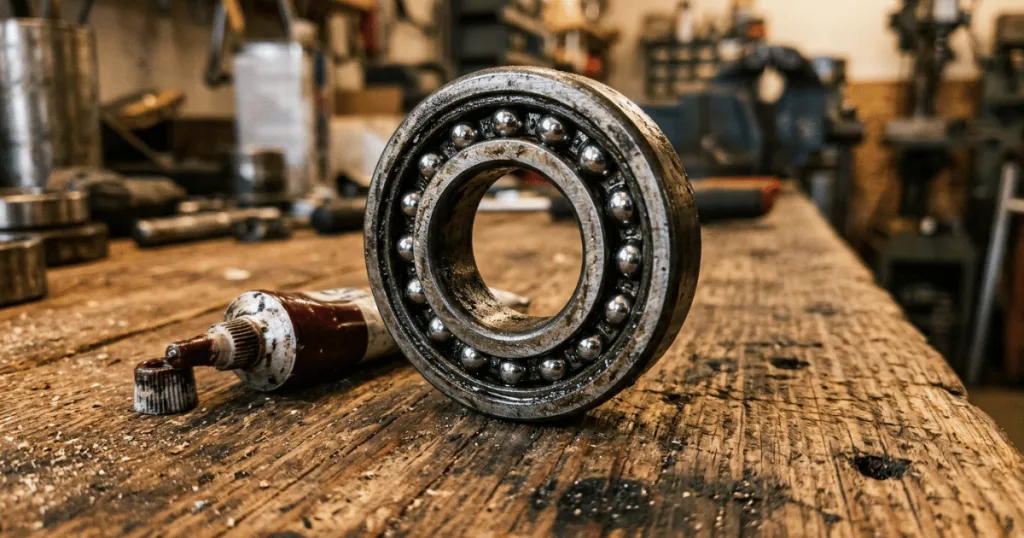
If the fan makes a grinding noise, this is a clear sign of bearing failure. Bearings are the internal components that allow the motor to spin smoothly. Once they wear out, they create a metallic grinding sound that will only get louder over time. Because replacing motor bearings is a complex, specialized task that requires disassembling the motor, it is rarely cost-effective for the average homeowner. If you have confirmed the noise is coming from the motor bearings, it is time to plan for a replacement fan.
Another subtle issue involves the ceiling itself. If the fan is mounted to a ceiling that is not perfectly flat, or if the mounting bracket was installed over a textured surface, the canopy may not sit flush. This creates a gap that allows sound to escape and amplify. In some cases, applying a thin strip of weather stripping or foam tape around the edge of the canopy can provide a buffer that prevents the metal from vibrating against the drywall. This is a simple, inexpensive fix that can make a significant difference in the perceived noise level of the fan, especially in rooms with high ceilings where sound tends to travel and echo.
FAQ
Why does my ceiling fan make a clicking noise?
A clicking noise is usually caused by loose hardware, such as blade screws or light kit attachments, that rattles as the fan rotates. It can also be caused by a blade that is slightly out of alignment or hitting a piece of debris.
Can a dimmer switch cause a ceiling fan to buzz?
Yes, using a standard light dimmer switch to control a ceiling fan often causes a persistent electrical buzzing or humming sound. Ceiling fans require specific speed controls designed to handle the inductive load of the motor.
How do I know if my ceiling fan motor is failing?
A failing motor typically produces a loud, persistent grinding or growling sound that does not change when you tighten the exterior hardware. This indicates that the internal bearings are worn out and are no longer spinning smoothly.
Is it safe to use a ceiling fan that wobbles?
No, you should not use a wobbling fan. Excessive wobbling puts stress on the mounting hardware and the electrical box, which can lead to the fan falling or damaging the ceiling. Always balance the blades or check the mounting bracket before continued use.