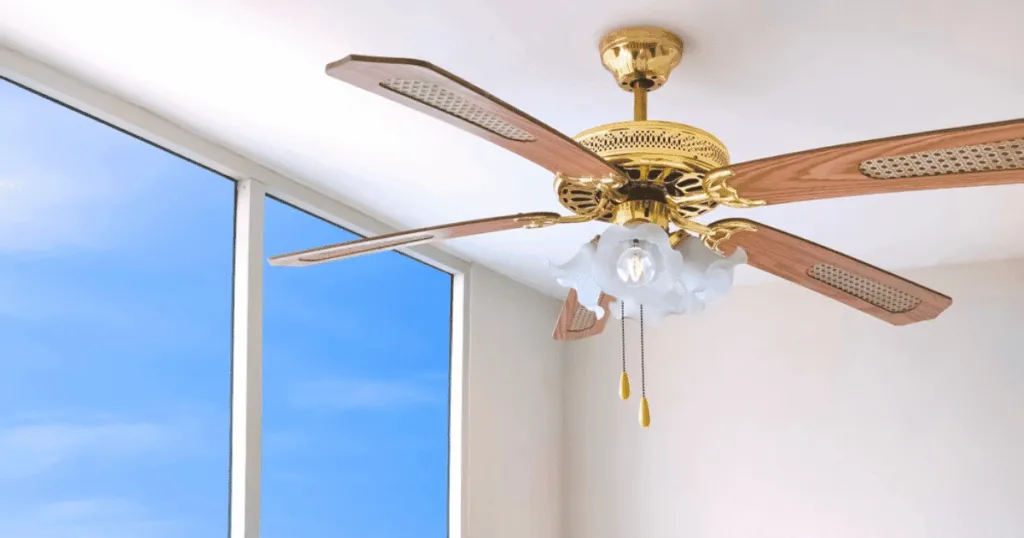
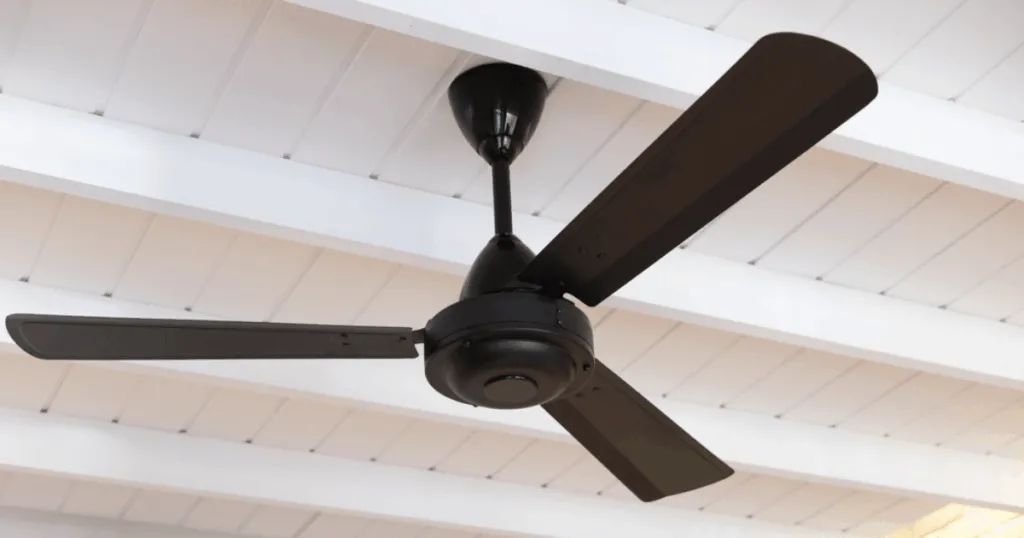
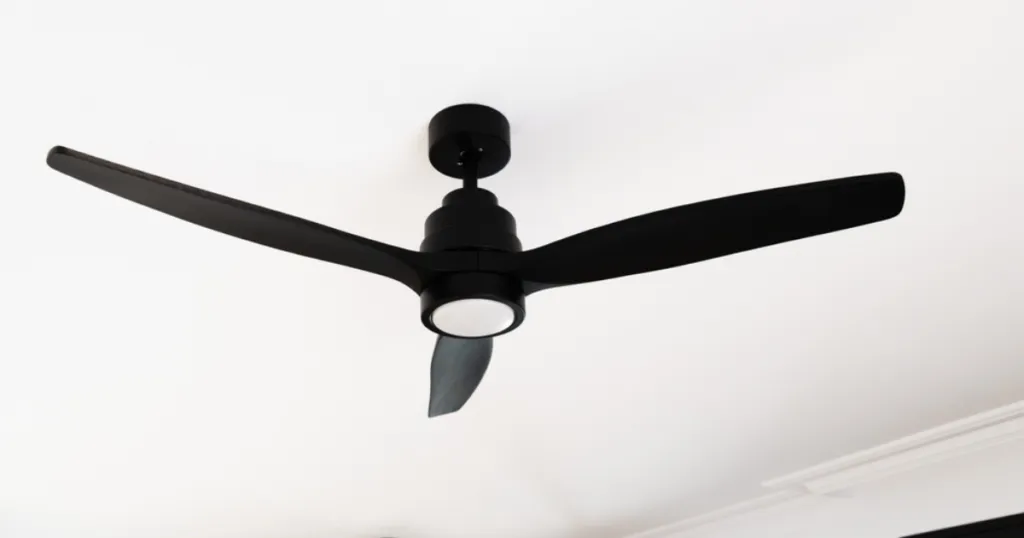
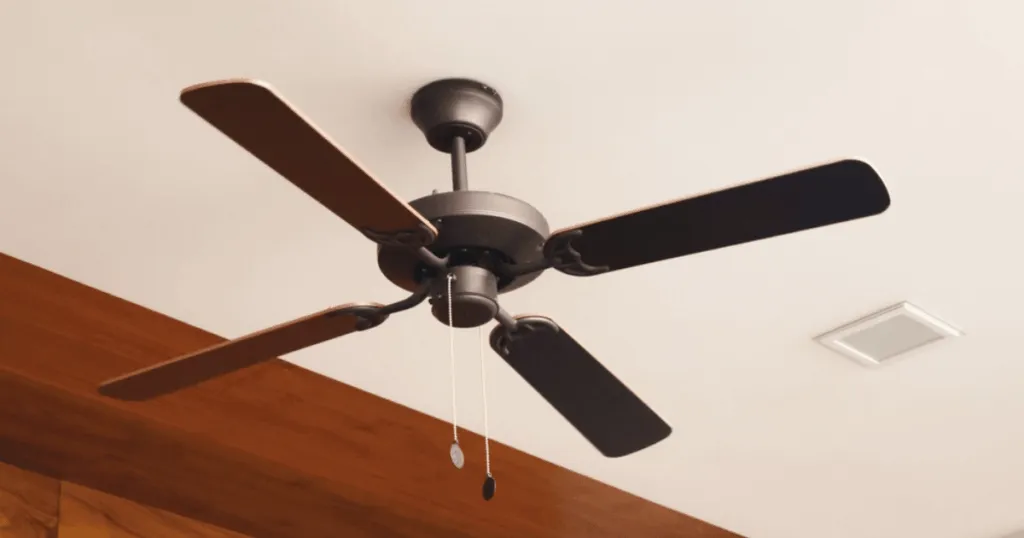
Many homeowners assume that a ceiling fan is simply a motor housing and a set of blades, but the reality of ceiling fan anatomy is far more nuanced. Understanding the individual parts that make up your fan is not just an academic exercise; it is the most effective way to troubleshoot performance issues, identify when a part is failing, and ensure your installation remains safe over the long term. By breaking down the assembly into its primary functional zones, you can better appreciate how each piece contributes to air movement and structural stability.
At its most basic level, a ceiling fan is an electromechanical system designed to convert electrical energy into rotational kinetic energy. While styles and finishes vary significantly, the underlying engineering remains consistent across almost all residential models. Recognizing these components helps you distinguish between a simple balance issue and a more complex motor failure, allowing you to make informed decisions about repairs or replacements.

Primary Structural and Mechanical Elements
The structural integrity of a ceiling fan relies on a specific sequence of components that bridge the gap between your ceiling joists and the air-moving blades. Each part serves a distinct purpose, and understanding their interaction is key to maintaining a quiet, wobble-free fan.
The Mounting System and Canopy
The foundation of any fan is the mounting bracket, which is securely fastened to the electrical junction box in your ceiling. This bracket supports the entire weight of the unit and must be rated specifically for fan use to handle the dynamic loads created by the spinning motor. The canopy, a decorative cover, hides this bracket and the wiring connections, providing a clean aesthetic finish while protecting the electrical components from dust and debris.
In practice, the connection between the downrod and the mounting bracket is where most movement occurs. Many modern fans use a ball-and-socket joint here, which allows the fan to hang plumb even on slightly uneven ceilings. If you notice your fan swaying excessively, the issue often originates at this junction rather than with the blades themselves.
Also Check: History & Evolution of the Ceiling Fan
The Motor Housing and Internal Drive
The motor housing is the central hub of the fan, containing the stator and rotor assembly. This is the heart of the machine. Most residential fans utilize AC (alternating current) induction motors or more efficient DC (direct current) motors. The motor housing also serves as a heat sink, dissipating the thermal energy generated during operation.
Inside this housing, you will find the capacitor, which provides the necessary torque to start the motor and maintain consistent speed. A common point of failure in older fans is the capacitor; if your fan hums but refuses to spin or struggles to reach full speed, the capacitor is usually the first component to inspect. Understanding that this is a replaceable part can save you from replacing the entire unit.
Blade Assembly and Airflow Dynamics
The blades, or paddles, are the most visible part of the Ceiling Fan Anatomy, yet their function is often misunderstood. They are not merely decorative; they are engineered to move specific volumes of air based on their pitch, shape, and material composition.
Blade Irons and Attachment Points
Blade irons, or brackets, connect the blades to the motor housing. These are critical for maintaining the correct blade pitch-the angle at which the blade cuts through the air. Even a slight bend in a blade iron can cause the fan to wobble, as it disrupts the aerodynamic balance of the entire assembly. When cleaning or dusting your fan, avoid applying heavy pressure to these irons to prevent accidental misalignment.
The Role of Blade Pitch
Blade pitch is typically measured in degrees, with most residential fans falling between 12 and 15 degrees. A steeper pitch moves more air but requires a more powerful motor to maintain speed. If you are looking for maximum airflow in a large room, the relationship between the blade pitch and motor torque is the most important factor to consider. A fan with a high-pitch blade but a weak motor will often struggle to move air effectively, leading to disappointing performance regardless of the fan’s size.
Deep Dive: Control Systems and Wiring
Beyond the mechanical parts, the control system is a vital component of modern ceiling fan anatomy. Whether your fan is operated by a wall switch, a pull chain, or a remote control, the internal receiver acts as the brain of the device. In many modern installations, the receiver is tucked into the canopy, which can make for a tight fit during installation. Understanding that this receiver is a distinct component helps when troubleshooting unresponsive fans; if the fan doesn’t respond to the remote, the issue might not be the motor, but rather the signal receiver or the batteries in the transmitter.
Wiring integrity is another often-overlooked aspect. The wires running through the downrod are subject to constant, albeit slight, vibration. Over time, wire nuts can loosen, or insulation can fray if the wires were pinched during the initial install. When performing performance maintenance, checking these connections ensures that the electrical current remains consistent, preventing the flickering lights or intermittent motor speeds that often plague older units.
The Importance of the Downrod and Extension
The downrod is the vertical pipe that connects the motor housing to the mounting bracket. While it may seem like a simple piece of metal, its length is a critical factor in airflow efficiency. The downrod determines the distance between the blades and the ceiling. If the blades are too close to the ceiling, the fan will struggle to draw air from above, creating a “dead zone” of air circulation.
Conversely, a downrod that is too long can make the fan look disproportionate and potentially cause it to hang too low for safety in high-traffic areas. For optimal performance, most manufacturers recommend that the blades be at least 8 to 10 feet above the floor, with the motor housing positioned to allow for adequate air intake.
Why Understanding Anatomy Matters for Homeowners
When you know how your fan is constructed, you move from being a passive user to an informed owner. This knowledge allows you to perform routine maintenance, such as tightening loose screws on the blade irons or clearing dust from the motor vents, which directly extends the lifespan of the appliance. It also helps you communicate more effectively with professionals if you need to call for a repair, as you can accurately describe which section of the fan is exhibiting issues.
Furthermore, understanding the anatomy of your fan helps you manage expectations regarding noise and stability. Many people assume that a noisy fan is always a broken fan, but often, the noise is simply a result of a loose canopy screw or an unbalanced blade assembly. By checking these specific components, you can often resolve issues without needing specialized tools or expensive service calls. This practical approach to maintenance ensures that your home remains comfortable and your equipment operates efficiently for years to come.
Common Misconceptions About Fan Construction
A frequent misconception is that more blades always equal more airflow. In reality, adding more blades increases the drag on the motor, which can actually decrease the speed and efficiency of the fan unless the motor is specifically designed to handle that load. Most high-performance fans use three to five blades because this configuration provides an optimal balance between air movement and energy consumption.
Another common error is ignoring the importance of the downrod length. Many homeowners choose a downrod based solely on aesthetics, but the distance between the blades and the ceiling is critical for air circulation. If a fan is mounted too close to the ceiling, it cannot pull enough air from above, leading to reduced efficiency. Conversely, a fan mounted too low in a small room can create an uncomfortable, localized draft. Always consider the ceiling height and the intended use of the room when evaluating the total vertical profile of your fan’s anatomy.
Advanced Considerations: Motor Types and Thermal Management
The distinction between AC and DC motors is a major part of modern ceiling fan anatomy. AC motors are the traditional standard, using a capacitor to create the phase shift needed to turn the rotor. They are generally heavier and more robust but can be less energy-efficient. DC motors, by contrast, use a transformer to convert AC power to DC, allowing for much finer control over speed and direction.
DC motors are typically lighter, run cooler, and are significantly more energy-efficient. Understanding which type of motor your fan uses is essential for long-term care; for instance, DC motors often require specific proprietary controllers, whereas AC motors are generally more “universal” in their electrical requirements.
Thermal management is also a hidden aspect of fan anatomy. The motor housing is designed to dissipate heat. If you install a fan in a room with poor ventilation or allow the motor vents to become clogged with dust, the motor will run hotter than intended. This heat buildup can degrade the internal wiring insulation and shorten the lifespan of the capacitor. Regularly cleaning the motor housing is not just about aesthetics; it is a vital part of protecting the internal electromechanical system from premature failure.
FAQ
What is the most common cause of a wobbling ceiling fan?
A wobbling fan is most frequently caused by uneven blade weight or a bent blade iron. Over time, dust buildup or accidental physical pressure can misalign the blade brackets, throwing the assembly out of balance. Checking that all blade screws are tight and that each blade iron is perfectly level is the best first step in troubleshooting.
Does the number of blades affect how much air a fan moves?
Not necessarily. While adding more blades can make a fan look more substantial, it also increases drag on the motor. A well-engineered three-blade fan can often move more air than a poorly designed five-blade fan. The effectiveness of the fan is determined more by the motor’s torque and the pitch of the blades than by the blade count alone.
Why does my fan hum when it is running?
A humming sound often indicates an electrical issue, such as a failing capacitor, or a mechanical issue like a loose component within the motor housing. If the hum is accompanied by a lack of speed or difficulty starting, the capacitor likely needs replacement. If the hum is purely mechanical, check for loose screws on the canopy or light kit.