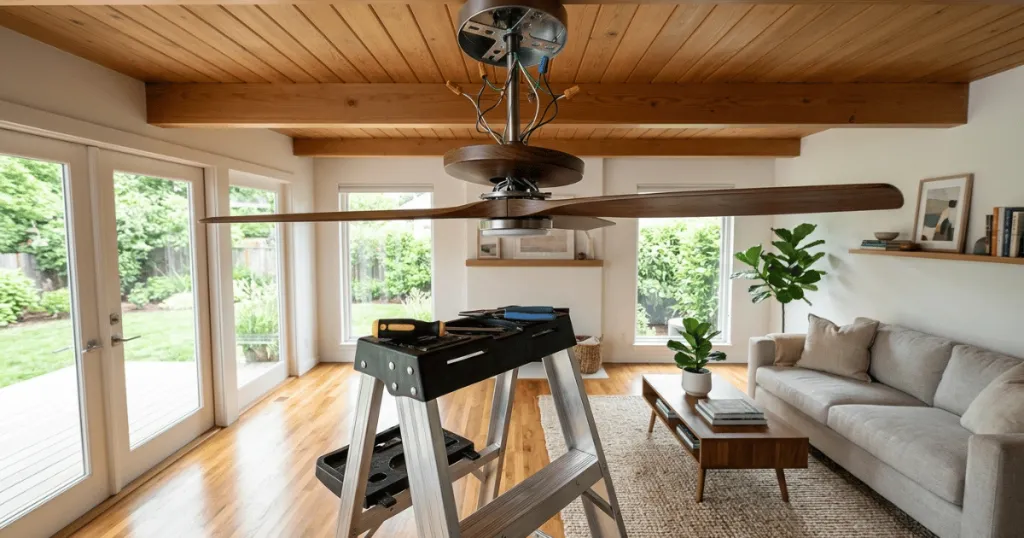
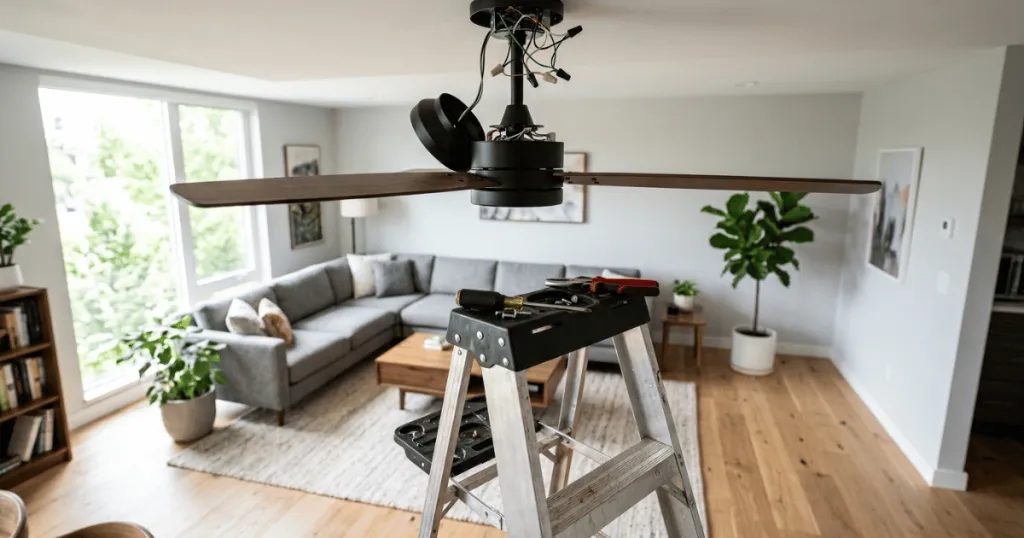
Quick Answer: To program your remote, turn off the power to the fan at the wall switch or circuit breaker for at least 30 seconds. Restore power, and within 30 seconds, press and hold the Learn or Fan Off button on your remote for 5 to 10 seconds until the fan light flashes or the motor engages.
Restoring control over your ceiling fan is a straightforward process, yet many homeowners encounter frustration by skipping the most critical step: the initial power cycle. If you are struggling with a non-responsive fan, the easiest way to get this wrong is to attempt the pairing sequence without first ensuring the fan has been completely disconnected from its power source. Learning how to program harbor breeze ceiling fan remote units requires patience and a specific sequence of actions to ensure the receiver inside the canopy recognizes the signal from your handheld controller.
This guide walks you through the precise steps to sync your remote, covering everything from physical dip switch adjustments to the digital pairing process used in newer models. By following this systematic approach, you can avoid common pitfalls and restore your fan to full functionality without needing professional assistance.
Before You Start: Preparation and Safety
Before you climb a ladder or touch any wiring, you must verify the type of remote system your fan uses. Harbor Breeze fans typically utilize one of two technologies: physical dip switches or digital pairing. Dip switches are small sets of binary toggles found inside the battery compartment of the remote and often under the canopy cover of the fan. Digital systems, conversely, rely on a specific timing sequence where you press buttons in a particular order to establish a handshake between the transmitter and the receiver.
Check your user manual or the back of your remote for a model number. If you see a series of small switches labeled 1 through 4 or similar, you are dealing with a manual frequency setting. If there are no switches, you are working with a digital pairing system. Regardless of the type, your first priority is safety. Ensure the wall switch controlling the fan is turned off. If the fan is hardwired to a circuit breaker, consider flipping the breaker to the off position to prevent accidental power surges while you are working near the receiver.
Gather a sturdy ladder, a screwdriver, and fresh batteries. It is a common mistake to assume old batteries still hold enough charge for the pairing process. Even if the light on the remote flickers, the signal strength might be too weak to complete the handshake. Always use high-quality alkaline batteries to ensure the signal is strong enough to reach the receiver, especially if the fan is mounted on a high ceiling.
Tools and Prerequisites for Successful Pairing
To successfully complete the programming, you need a clear workspace and the right environment. Ensure you have access to the wall switch or the circuit breaker, as you will need to toggle the power on and off during the synchronization phase. If you are working with a dip switch model, keep a small flat-head screwdriver or a toothpick handy to adjust the tiny toggles. These switches are delicate, so avoid using excessive force that could snap the plastic components.
Verify that the receiver is properly installed inside the fan canopy. If you recently installed the fan, ensure the antenna wire is not pinched or buried under metal housing. The antenna needs a clear path to receive the radio frequency signal. If the fan is old, check the receiver for signs of heat damage or loose connections. If the receiver itself is faulty, no amount of programming will resolve the issue. In such cases, replacing the receiver unit is the only practical solution, as these components are not typically user-repairable.
Consider the physical environment of the room. Large metal objects, such as metal ceiling joists or nearby HVAC ductwork, can sometimes create a Faraday cage effect that dampens radio frequency signals. If your fan is mounted in a room with significant metal infrastructure, you may find that the remote only works when you are standing directly beneath the fan. This is a limitation of the hardware rather than a programming error, but it is worth noting if you experience intermittent control after successful pairing.
Step-by-Step Instructions: How to Program Harbor Breeze Ceiling Fan Remote
Follow these steps carefully. The timing of the power cycle is the most important factor in the success of the operation.
- Power Down: Turn off the power to the ceiling fan at the wall switch or the circuit breaker. Wait at least 30 seconds to allow the capacitor in the receiver to fully discharge. This step is non-negotiable for digital systems.
- Set the Frequency (Dip Switch Models): If your remote has switches, open the battery cover and set them to a random pattern. Then, remove the canopy cover on the fan and locate the matching switches on the receiver. Set the receiver switches to match the exact pattern on your remote. If they do not match, the fan will not respond.
- Restore Power: Turn the power back on at the wall switch or breaker. You usually have a 30-second window to initiate the pairing process after power is restored.
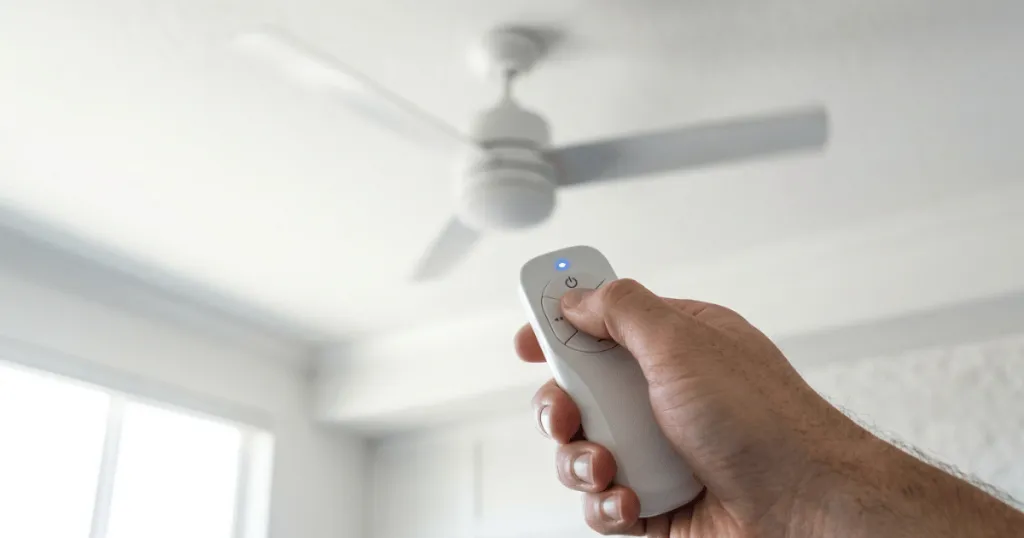
- Initiate Pairing (Digital Models): With the power on, immediately press and hold the Learn button or the Fan Off button on the remote for 5 to 10 seconds. On some models, you may need to press the light button and fan speed button simultaneously. Watch for the fan light to flash or the fan motor to hum, which indicates the receiver has accepted the new signal.
- Test the Functions: Once the pairing is confirmed, test the light and speed settings. If the fan responds, you have successfully programmed the unit. If it does not, return to step one and ensure you wait the full 30 seconds before restoring power.
Deep Dive: Understanding Receiver and Transmitter Communication
The communication between your remote and the fan is not instantaneous. When you press a button, the transmitter sends a coded radio frequency signal. The receiver, which is the small box hidden inside the fan canopy, must be in a listening mode to accept this signal. This is why the power cycle is so vital. When you cut power and wait, you are forcing the receiver to clear its volatile memory. When power is restored, the receiver enters a brief discovery mode, which is the window of opportunity for the remote to introduce itself.
In older models that use dip switches, the communication is static. The receiver is hard-coded to listen only to the specific frequency defined by the switch positions. If you move into a home where a neighbor has a fan on the same frequency, you might find that your remote accidentally controls their fan or vice versa. In this scenario, simply changing the dip switch pattern to a unique combination will resolve the conflict. For digital remotes, the pairing process creates a unique digital signature, making it highly unlikely that your remote will interfere with other nearby fans.
Common Mistakes During Setup
The most frequent error is rushing the power cycle. Many users flip the switch off and on within a second, which does not give the receiver enough time to reset its internal memory. If the receiver does not fully power down, it remains stuck in its previous state and will ignore new pairing commands. Always be patient during the power-off phase.
Another common mistake is neglecting the antenna. If the receiver is tucked deep inside a metal housing, the signal may be blocked. Ensure the antenna is hanging outside the canopy or at least positioned away from large metal objects. Additionally, using mismatched batteries or batteries with varying charge levels can lead to intermittent signal loss. Always replace all batteries at the same time to ensure consistent voltage.
Do not overlook the physical installation of the receiver. If the receiver was installed with the wires pulled too tight, it may be vibrating against the metal mounting bracket. Over time, this vibration can cause internal solder joints to crack, leading to a receiver that works intermittently or not at all. If you have completed the pairing process multiple times without success, inspect the wiring connections for any signs of fraying or loose wire nuts.
Troubleshooting Your Connection
If your remote still fails to control the fan after following the steps, check for external interference. Other wireless devices, such as garage door openers or smart home hubs, can sometimes operate on similar frequencies. If you have recently added new wireless technology to your home, this could be the culprit. Try turning off other nearby wireless devices to see if the fan begins to respond.
If the fan light works but the motor does not, the issue might be a faulty capacitor within the fan motor housing rather than a remote programming issue. If you have verified the remote is working and the receiver is powered, but the motor remains silent, it is time to consult a professional electrician. Do not attempt to open the motor housing yourself, as this can voiding as this can void warranties and create significant safety hazards.
Consider the age of the remote. Remotes are subject to wear and tear, especially the rubberized buttons. If a button feels mushy or does not provide tactile feedback, the internal contact pad may be worn out. In such cases, the remote may be sending a signal for the light but failing to send the signal for the fan motor. If you suspect the remote is physically damaged, testing it with a second identical remote or a known compatible replacement is the only way to confirm if the issue lies with the transmitter or the receiver.
Advanced Considerations for Ceiling Fan Control
For homeowners managing multiple fans in a single room, programming can become more complex. If you have two fans on the same circuit, turning the power on will put both receivers into discovery mode simultaneously. This often results in both fans pairing to the same remote. To avoid this, you must isolate the power to each fan individually. You can do this by disconnecting the power to one fan at the wall switch or by using a temporary wire nut to disconnect the power lead to the receiver of the fan you are not currently programming. Once the first fan is paired, you can move on to the second.
If you are dealing with a wall-mounted remote control, the programming steps remain largely the same, but you must ensure the wall unit has a clear line of sight to the fan if it uses infrared technology. Most Harbor Breeze remotes use radio frequency, which does not require a line of sight, but if your wall control is wired directly into the wall box, ensure the wiring is secure and that the wall switch is not a dimmer switch. Dimmer switches can interfere with the power supply to the receiver, causing the fan to hum or the remote to lose its connection entirely.
Conclusion
Understanding how to program harbor breeze ceiling fan remote systems is a manageable task if you respect the timing requirements of the receiver. By ensuring a complete power reset and checking your dip switch alignment or digital pairing sequence, you can resolve most connectivity issues. If you follow these steps, your fan should return to reliable operation, providing the comfort you expect in your home.
FAQ
Can I use a universal remote with my Harbor Breeze fan?
While some universal remotes are compatible, it is generally recommended to use a remote specifically designed for your Harbor Breeze model to ensure all features, such as light dimming and reverse functions, work correctly.
Why does my fan light flash but the motor won’t start?
This often indicates that the remote is paired to the light kit but not the motor, or there is a loose connection in the receiver wiring. Check that all wires are securely connected and the receiver is properly seated.
How do I know if my receiver is broken?
If you have replaced the batteries, performed a full power cycle, and verified the dip switch settings, but the fan still does not respond, the receiver may have failed and will likely need to be replaced.