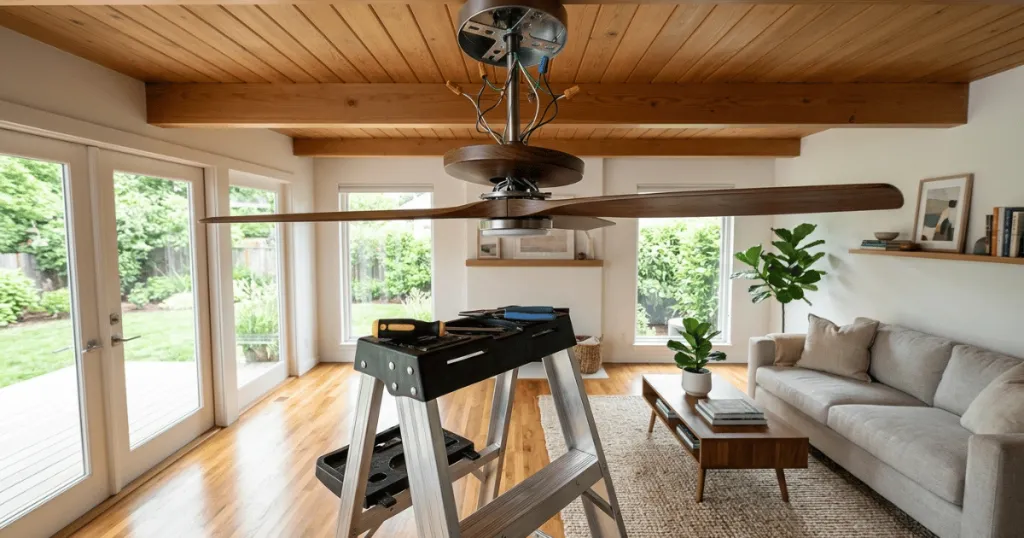
The Short Version: To remove a Hampton Bay ceiling fan, start by turning off the power at the circuit breaker. Remove the fan blades to reduce weight, then lower the canopy to access the wiring. Disconnect the wires, lift the motor assembly out of the mounting bracket, and finally unscrew the bracket from the ceiling junction box.
Successfully taking down a ceiling fan allows you to upgrade your room’s lighting, install a more efficient model, or simply clear space for a different fixture. If you are looking for instructions on how to remove hampton bay ceiling fan hardware, you will find that the process is straightforward provided you follow a logical sequence of electrical and mechanical steps. By the end of this process, you will have the unit safely detached from your ceiling junction box without damaging your drywall or electrical wiring.
The key to a successful removal is maintaining control over the fan’s weight while protecting the ceiling surface. Hampton Bay fans often use a specific slide-on mounting bracket system, which makes the final detachment relatively simple once the canopy and downrod are managed. Whether you are replacing an older model or troubleshooting a persistent wobble, these steps will guide you through the process from start to finish.
Before you begin, consider the specific configuration of your fan. Hampton Bay units vary between hugger styles, which sit flush against the ceiling, and downrod models, which hang several inches below. While the electrical disconnection remains consistent, the mechanical removal of the motor housing differs significantly. Hugger fans require you to support the entire weight of the motor while unscrewing it directly from the mounting bracket, whereas downrod models allow you to lift the ball-and-socket joint out of the bracket after the canopy is lowered. Understanding your specific mounting type before you climb the ladder will save you time and prevent unnecessary strain.
Before You Start: Preparation and Safety
Before you touch any tools, you must address the electrical supply. Never assume a wall switch controls the power to the fan. Go to your home’s main electrical panel and turn off the specific breaker that serves the room where the fan is installed. Verify the power is off by attempting to turn on the fan or its light kit using the wall switch. If the fan does not respond, use a non-contact voltage tester on the wires inside the canopy once you have lowered it to confirm there is no current present.
Gathering the right tools is essential for efficiency. You will need a sturdy stepladder, a set of screwdrivers (both Phillips and flat-head), a pair of insulated wire cutters or pliers, and wire nuts. If you are working alone, consider using a piece of heavy-duty rope or a bungee cord to temporarily support the motor housing while you disconnect the wiring. This prevents the heavy motor from hanging by the wires, which could damage the ceiling junction box or the wiring connections.
Clear the area underneath the fan. Move furniture or place a drop cloth on the floor to catch any falling dust or small screws. Having a clear workspace allows you to maneuver the ladder safely and provides a place to set down components as you remove them. If your fan is mounted on a high ceiling, ensure your ladder is stable and that you have a helper to spot you, as the motor assembly can be surprisingly heavy and awkward to handle alone.
Tools and Prerequisites
To complete this project, you need to ensure your physical environment is ready. A stable, non-slip ladder is the most important piece of equipment. Do not attempt to stand on chairs or tables, as you will need to reach above your head to manipulate the canopy and mounting screws. Having a dedicated tray or small box for the screws and hardware you remove will save you significant time during reinstallation or cleanup.
Check the condition of your ceiling junction box if you plan to install a new fan in the same spot. While removing the old fan, look for signs of rust, loose mounting screws, or damage to the electrical box. If the box appears to be a standard plastic light fixture box rather than a fan-rated metal box, you should plan to replace it before installing any new heavy ceiling fan. This is a critical safety step that ensures your ceiling structure can support the dynamic weight and vibration of a fan.
Furthermore, assess the ceiling material surrounding the junction box. Over time, the vibration of a ceiling fan can cause the drywall or plaster around the box to crack or crumble. If you notice significant degradation, you may need to patch the area before installing a new fixture. Having a small amount of spackle or joint compound on hand is a proactive way to address these minor cosmetic issues while the fan is down, ensuring a clean look for your next installation.
Step-by-Step Instructions: How to Remove Hampton Bay Ceiling Fan
Follow these steps in order to ensure you do not drop the fan or damage your ceiling wiring.
1. Remove the Blades
Start by removing the fan blades. While some people try to remove the entire motor with the blades attached, this makes the assembly much heavier and harder to balance. Use a screwdriver to unscrew the blade brackets from the motor housing. Keep the screws organized, as they are often specific to the blade attachment points. If your fan has decorative blade covers or hidden screws, take a moment to inspect the underside of the blade iron to locate the release mechanism.
2. Lower the Canopy
Locate the screws holding the canopy against the ceiling. Most Hampton Bay models have two or four screws on the side of the canopy. Loosen these, but do not necessarily remove them completely if the canopy has a slot-and-keyhole design. Slide the canopy down the downrod to expose the mounting bracket and the wiring connections. If the canopy is stuck due to paint, use a thin utility knife to carefully score the edge where the canopy meets the ceiling to prevent peeling the paint.
3. Disconnect the Wiring
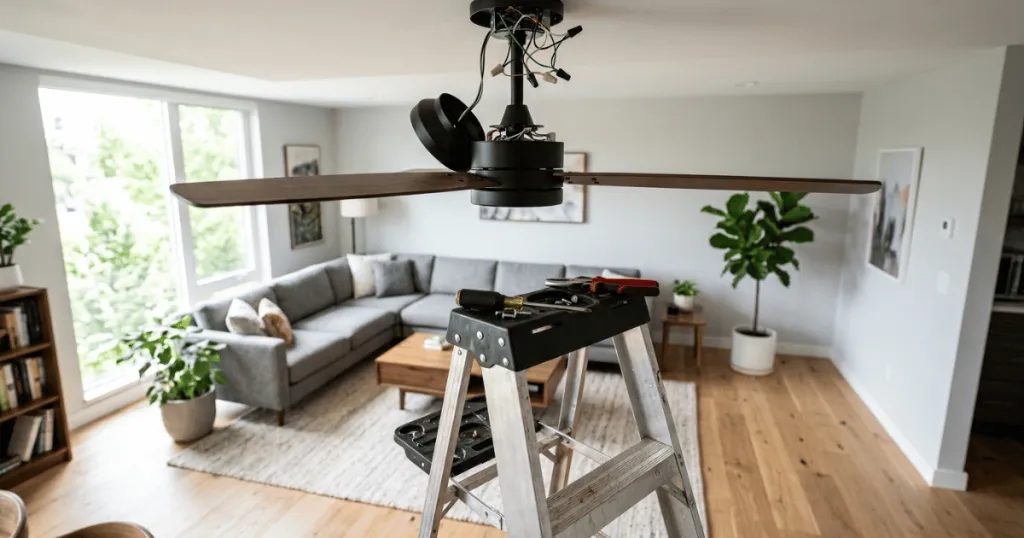
Once the canopy is lowered, you will see the wire nuts connecting the house wires to the fan wires. Carefully unscrew the wire nuts and separate the wires. Ensure you do not let the bare ends of the house wires touch each other. If you are not immediately installing a new fan, place wire nuts back onto the exposed house wires to keep them insulated and safe. Take a photo of the wiring configuration before disconnecting, as this can serve as a helpful reference if you are installing a similar model later.
4. Detach the Motor Housing
With the wires disconnected, you can now lift the motor assembly slightly to clear the mounting bracket. Most Hampton Bay fans use a ball-and-socket joint. Lift the motor, rotate the ball to align the groove with the tab on the bracket, and lift the entire assembly out of the bracket. If the fan is heavy, have a helper support the motor weight while you guide the downrod out of the bracket. For hugger models, you will need to unscrew the motor housing directly from the mounting bracket while supporting the weight from below.
5. Remove the Mounting Bracket
Finally, unscrew the mounting bracket from the ceiling junction box. Inspect the box for any debris or loose wires. If you are not installing a new fan, you may need to install a ceiling plate or cover to hide the junction box, depending on your aesthetic preferences.
Common Mistakes to Avoid
One of the most common mistakes is failing to support the motor housing properly. Many DIYers assume they can hold the motor with one hand while unscrewing the bracket with the other. This often leads to the motor slipping, which can pull the wires out of the ceiling or cause the fan to fall. Always use a helper or a temporary support strap to hold the motor weight.
Another frequent error is losing track of hardware. Because Hampton Bay fans use specific screw sizes for the blades, light kits, and canopy, mixing these up can make reassembly frustrating. Use labeled plastic bags for each set of screws. Additionally, do not force a screw if it feels stuck. If a screw is painted over, use a utility knife to score the paint around the head before attempting to turn it to avoid stripping the threads.
Ignoring the state of the junction box is a safety oversight. Many older homes have light-duty boxes that are not rated for the weight of a ceiling fan. If you notice the box moving or flexing when you pull on the fan, it is not safe to hang a fan from it. Take the time to upgrade to a fan-rated box while the fan is down. Also, avoid reusing old wire nuts if they appear cracked or brittle, as these are essential for maintaining a secure electrical connection.
Troubleshooting During Removal
If the canopy screws are stuck due to years of dust and paint buildup, do not force them with excessive torque. Use a penetrating oil like WD-40 on the screw heads and let it sit for ten minutes. This often loosens the bond enough to allow for easy removal without stripping the screw head.
If the downrod is stuck in the mounting bracket, it is usually because the weight of the fan is pressing the ball-and-socket joint firmly into the bracket. Have someone lift the motor assembly upward to relieve the pressure while you gently guide the ball out of the socket. Never use a hammer or pry bar, as this can damage the ceiling drywall or the bracket itself.
If you encounter wiring that is too short to comfortably reach, do not pull on the wires coming from the ceiling. This can damage the connections inside the junction box. If you need more slack, you may need to loosen the wire clamps inside the box, but only do this if you are comfortable working with electrical boxes. If you are unsure, stop and consult a professional electrician. Sometimes, the wires are simply tangled with the mounting bracket, and a gentle repositioning is all that is required to gain the necessary length.
Managing Complex Installations
Some Hampton Bay fans feature integrated light kits or remote control receivers tucked inside the canopy. These components add extra layers of complexity to the removal process. When dealing with a remote receiver, you will find it sits between the ceiling wires and the fan wires. Carefully disconnect the receiver wires from the house wiring first. Keep the receiver and its associated wiring harness intact if you plan to reuse it, as these components are often proprietary to the specific fan model. If the receiver is faulty, this is the perfect time to remove it entirely and simplify your wiring setup.
If you are removing a fan with a heavy glass light shade, remove the glass first. Glass shades are fragile and add significant weight to the bottom of the fan. By removing the shade and the light bulbs before you even touch the blade brackets, you reduce the risk of accidental breakage and make the motor assembly much lighter to handle. Always place glass components on a soft surface like a rug or a towel to prevent chips or cracks during the removal process.
Final Considerations for Ceiling Integrity
Once the fan is removed, take a moment to inspect the ceiling surface. You might find indentations or discoloration where the canopy was previously installed. If you are installing a new fan with a different canopy size, these marks might be visible. Consider having a small amount of touch-up paint available to address these spots. This attention to detail ensures that the transition from the old fan to the new one looks professional and seamless. If the junction box is recessed too far into the ceiling, you may need to use a ceiling medallion to bridge the gap and provide a clean aesthetic finish for your new fixture.
FAQ
Do I need to remove the blades before taking down the motor?
Yes, removing the blades significantly reduces the weight and bulk of the motor assembly, making it much safer and easier to handle while you are on a ladder.
Can I reuse the mounting bracket for a new fan?
It is generally recommended to use the new mounting bracket provided with your new fan. Different brands and even different models within the Hampton Bay line may have slight variations in the bracket design that could affect stability.
What should I do if the ceiling box is not fan-rated?
If the junction box is not rated for a ceiling fan, you must replace it with a fan-rated box before installing a new fan. Using a standard light fixture box for a heavy fan is a significant safety hazard.
How do I ensure the power is truly off?
After turning off the circuit breaker, use a non-contact voltage tester on the wires inside the canopy. If the tester does not light up or beep when placed near the wires, the power is safely disconnected.