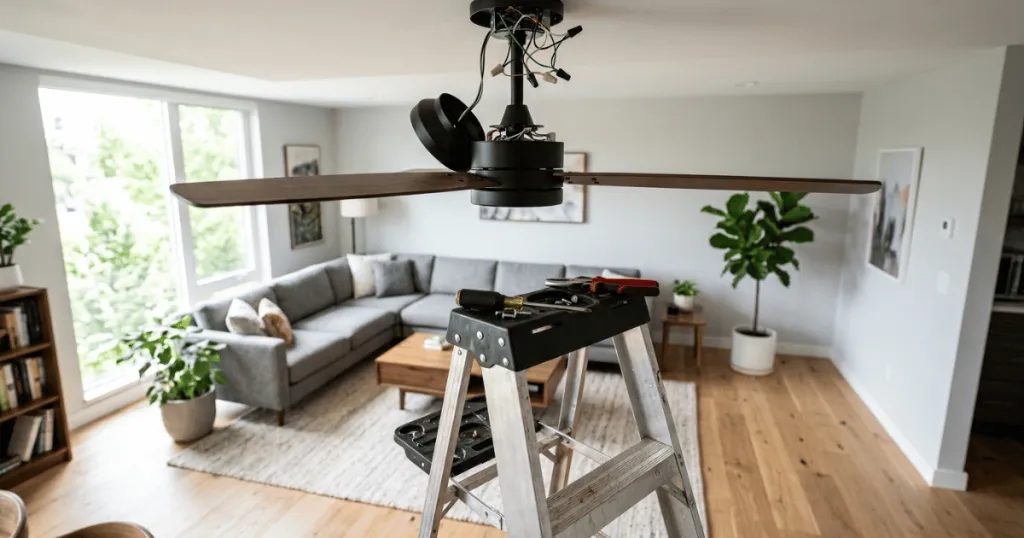
Key Takeaway: To remove a Hunter ceiling fan safely, first turn off the power at the breaker panel and verify the circuit is dead with a voltage tester. Remove the light kit and fan blades to reduce weight, then lower the canopy to disconnect the wiring. Finally, lift the motor assembly from the mounting bracket with the help of an assistant.
Before you commit to dismantling your ceiling fixture, take a quick moment to check your readiness for this project. If you have a sturdy stepladder, basic hand tools, an hour of uninterrupted time, and a helper to manage the heavy motor assembly, you are fully prepared to begin. Knowing how to remove a hunter ceiling fan safely prevents accidental electrical shocks, ceiling damage, and dropped hardware.
Older Hunter models often feature heavy cast-iron housings or complex proprietary mounting brackets. Recognizing these components before you climb the ladder saves you from unexpected wrestling matches with a fifty-pound motor. This guide walks you through every phase of the teardown process, ensuring you can remove the unit cleanly whether you are upgrading to a modern DC motor fan or simply taking it down for repairs.
Taking the time to assess your ceiling environment is a critical pre-removal step. If your fan is installed on a vaulted ceiling, ensure your ladder is positioned on a level surface or utilize a ladder stabilizer to prevent shifting. If you are working in a room with high ceilings, consider the logistics of lowering the motor assembly safely. Having a clear plan for where the motor will be placed once it is disconnected prevents frantic maneuvering while holding a heavy, live-weight object.
Before You Start: Preparation and Safety Checks
The single most important rule when dealing with any overhead electrical fixture is ensuring the circuit is completely dead. Turning off the wall switch is never enough because wiring mistakes or mislabeled breakers can leave live current at the ceiling box. Head to your main electrical panel, locate the breaker that controls the room, and switch it off.
Verify the power is truly cut by testing the wall switch and using a non-contact voltage tester on the wires inside the ceiling box once you expose them. If you skip this verification step, you risk a severe shock or an accidental short circuit that could damage your home electrical system. Take your time with this verification because rushing electrical work introduces avoidable hazards. When dealing with older homes, breaker labeling is notoriously unreliable, which means you should always double-check the exact room circuit with a secondary lamp or helper stationed at the wall switch.
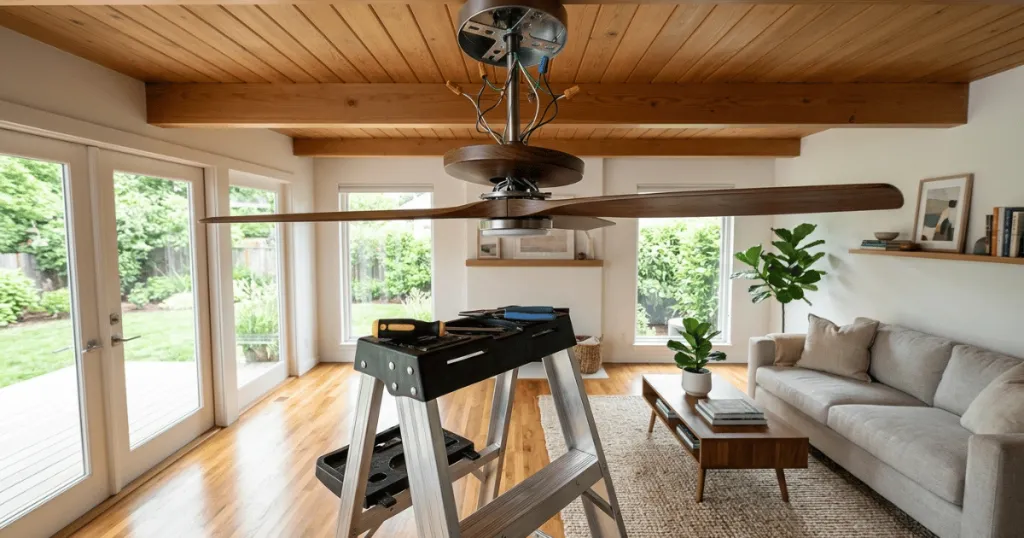
Next, clear the furniture out from directly beneath the installation area. Move heavy coffee tables, delicate lamps, and fragile decor items out of the drop zone. Set up a stable stepladder on firm, level flooring. Never balance a ladder on thick carpet without a solid base or on an uneven rug. Having a second person present is strongly advised, especially when the time comes to lift the heavy motor assembly out of the mounting bracket. A stable work zone eliminates tripping hazards and allows you to maintain your balance while handling tools overhead.
Tools, Context, and Prerequisites
Gathering the right tools before you climb the ladder prevents frustrating interruptions halfway through the job. You will need a standard flathead screwdriver, a Phillips-head screwdriver, wire strippers, electrical tape, and a pair of insulated pliers. A cordless drill can speed up screw removal, but use it carefully on low torque settings to avoid stripping old hardware.
You should also have several small plastic zip-top bags or containers ready on your workspace table. Ceiling fans contain dozens of small screws, lock washers, and decorative nuts that vanish instantly if dropped on the floor. Grouping your hardware by component as you disassemble the unit makes reinstalling a replacement fixture much easier later. Keeping a magnetic tray on the top step of your ladder is another great way to secure small fasteners so they do not roll off and become hazards.
Check the mounting style of your Hunter fan before starting. Most standard models use a hanging ball and canopy system, but low-profile flush-mount models bolt directly to the ceiling joist bracket. Knowing your specific mounting type dictates the order in which you will loosen the canopy screws and access the wire nuts. Low-profile models, often referred to as hugger fans, require you to support the entire motor weight immediately upon unbolting because they lack a hanging ball assembly that rests in a support bracket.
Understanding the age of your fixture is also helpful. Vintage Hunter fans often utilize heavy-duty cast iron housings that are significantly denser than modern stamped steel versions. If you are dealing with an older, heavy unit, ensure your helper is physically prepared to take the weight of the motor once the final mounting screws are removed. Do not assume that because the fan looks small, it is light. Internal motor components and the flywheel assembly add substantial weight that can surprise you during the final detachment phase.
Step-by-Step Instructions: How to Remove a Hunter Ceiling Fan
Working methodically from the bottom of the fixture upward keeps the weight balanced and prevents loose parts from tumbling down unexpectedly. Follow these structured steps to complete the removal safely.
Step 1: Remove the Glass Globe and Light Kit
Start by removing any decorative glass bowls, shades, or globes attached to the bottom of the light fixture. Loosen the thumb screws holding the glass gently while supporting the weight with one hand. Set the fragile glassware aside on a padded surface well away from foot traffic.
If your Hunter fan has an integrated LED light kit or a traditional bulb cluster, disconnect any internal plug connectors running from the switch housing. Unscrew the mounting hardware holding the light kit pan to the bottom of the motor housing and set those parts aside. Taking off these lighter modular components first significantly reduces the total hanging weight and makes the subsequent steps much safer for a single person working with an assistant.
Step 2: Detach the Fan Blades
Unscrew the blade irons from the motor flywheel one by one while your assistant supports the weight of the blades. Leaving the blades attached while trying to lower the entire heavy motor housing creates an unwieldy and unbalanced load that is difficult to manage.
Place the detached blades flat on a table or inside their original storage boxes to prevent warping. If you plan to reuse the blades on a new compatible Hunter fan, keep their mounting screws threaded loosely into the blade brackets so they do not get lost. Wooden and composite blades can easily warp if left leaning vertically against a wall for an extended period during a renovation project.
Step 3: Lower the Canopy and Access the Wiring
Locate the decorative ceiling canopy pressed up against the drywall or plaster ceiling. Loosen the screws holding the canopy against the hanging bracket and slide the canopy downward along the downrod to expose the electrical junction box.
Take your non-contact voltage tester and hold it against the black supply wires, white neutral wires, and bare ground wires. Confirm that the voltage indicator shows zero electrical activity before touching any exposed metal. If the tester lights up or buzzes, stop immediately and return to your main electrical panel to find the correct breaker because residual current means the circuit is still active.
Step 4: Disconnect the Electrical Wires
Unscrew the plastic wire connectors, also known as wire nuts, joining the household wires to the fan wires. Separate the black hot wire, white neutral wire, and green or bare copper ground wire.
Wrap the ends of the exposed household supply wires with a small piece of electrical tape to keep them tidy and prevent accidental contact. Tuck those live ceiling wires neatly inside the electrical junction box out of the way. If your fan was wired with a remote control receiver tucked inside the canopy, slide the receiver out and disconnect its wiring harnesses as well before handling the motor housing.
Step 5: Lift the Motor Assembly Off the Bracket
Support the heavy motor housing firmly with both hands while your assistant helps guide the downrod. Lift the motor assembly slightly to clear the hanging ball slot from the mounting bracket.
Carefully lower the entire motor assembly down from the ceiling. If your Hunter model uses a hook safety feature on the mounting bracket, hang the motor temporarily while you double-check that all wires are free before lowering it to the floor. Take your time during this descent because older cast iron motors are remarkably heavy and can easily strain your back or arms if you attempt to rush the movement.
Once the motor is on the ground, inspect the mounting bracket left on the ceiling. If you are replacing the fan with a new model, you may need to remove the old bracket as well. Some older Hunter brackets are not compatible with newer universal mounting systems. If the bracket is firmly attached to the ceiling box, ensure you have the appropriate screwdriver to back out the mounting screws without damaging the junction box threads. If the box itself appears loose or damaged, this is the perfect time to secure it or replace it with a fan-rated box before installing your new fixture.
Common Mistakes to Avoid
One of the most frequent errors homeowners make is attempting to unbolt the entire fan from the ceiling without removing the blades and light kit first. A fully assembled ceiling fan weighs anywhere from twenty to fifty pounds, making it dangerously heavy and awkward to handle overhead. Stripping out old ceiling box screws by using an overly aggressive power drill torque setting is another common pitfall that damages the structural support.
Failing to label the wires before disconnecting them causes major confusion if you are installing a new fixture with a remote receiver or dual-switch wall control. Always take a clear digital photo of the wiring configuration with your smartphone before twisting off the wire nuts. Ignoring the manufacturer weight rating of the electrical box is also risky; ensure your ceiling box is rated for heavy fan support before putting up a replacement unit later. Another frequent misstep involves pulling too hard on the downrod while wires are still attached, which can pull house wiring out of the ceiling cavity and damage drywall tape around the box.
Another common mistake is neglecting to check the condition of the ceiling junction box once the fan is removed. Many older homes have standard light fixture boxes that were never intended to support the weight and vibration of a ceiling fan. If you notice the box is made of plastic or is not securely fastened to a ceiling joist, you must address this before installing a new fan. A loose or non-rated box can lead to wobbling, noise, and potential safety hazards in the future. Taking the time to verify the integrity of the box now saves you from having to take the new fan down later to perform structural repairs.
Troubleshooting Ceiling Fan Removal Issues
Sometimes older hardware presents unexpected roadblocks that slow down the teardown process. If a painted-over canopy or rusted screw refuses to turn, do not force it with excessive raw muscle power because you might strip the screw head or crack the plaster ceiling.
Apply a small amount of penetrating oil to stubborn, rusted screws and let it sit for ten minutes before trying to back them out with a properly sized screwdriver. If a screw head strips out entirely, use a pair of locking pliers to grip the outside rim of the screw head and turn it counterclockwise to break it free.
If you encounter outdated knob-and-tube wiring or an ungrounded metal junction box during the removal process, stop and evaluate your safety options. Consult a licensed electrician if you notice frayed insulation or damaged house wiring inside the ceiling cavity before attempting any new fixture installation. Dealing with deteriorated electrical wiring requires professional intervention to bring the ceiling junction box up to current safety codes.
If you find that the downrod is stuck inside the motor housing due to years of dust and oxidation, do not use excessive force. Gently tapping the side of the downrod with a rubber mallet can sometimes break the seal of the accumulated debris. If the downrod remains seized, you may need to remove the entire motor assembly and work on it on a workbench where you have more leverage. Remember that patience is your best tool when dealing with vintage fixtures that have been mounted in the same position for decades.
FAQ
Do I need a helper to take down a Hunter ceiling fan?
Having a helper is strongly recommended because the motor housing can be heavy and awkward to manage while working on a ladder.
Can I leave the blades attached when removing the fan?
No, you should always remove the blades and light kit first to reduce weight and prevent dropping an unbalanced load.