Key Takeaway: To fix a ceiling fan light, start by replacing the bulb and checking the socket tab for proper contact. If the issue persists, inspect the pull chain switch, wall dimmer compatibility, and internal wiring connections for looseness. For remote-controlled fans, check the receiver and dip switch settings. Always disconnect power at the breaker before performing any repairs.
When a ceiling fan light suddenly stops working, the immediate assumption is often that the bulb has burned out. While this is frequently the case, the issue can sometimes stem from deeper electrical or mechanical faults within the fixture itself. Understanding how do you fix a ceiling fan light requires a methodical approach that starts with the simplest potential culprits and moves toward more complex diagnostic steps.
By systematically checking your connections, power supply, and internal components, you can often restore functionality without needing professional intervention. This guide focuses on the practical steps every homeowner should take to identify why their light has failed and how to safely address the underlying cause.
The key distinction to keep in mind is the difference between a simple load failure, such as a dead bulb, and a control failure, such as a faulty receiver or switch. Most homeowners find that once they isolate whether the problem lies within the bulb, the socket, or the control circuitry, the repair path becomes significantly clearer.
Identifying the Source of the Problem
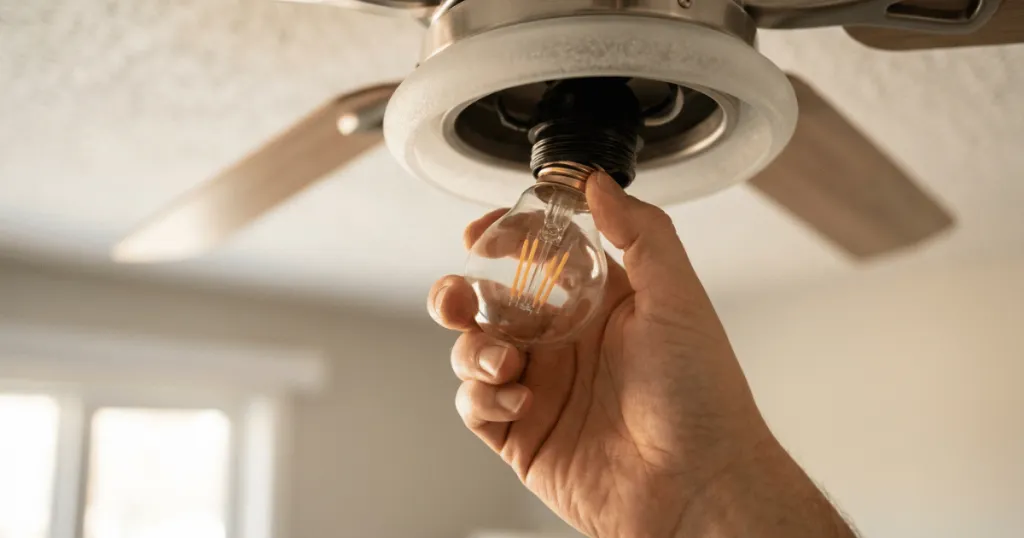
Before you begin any repairs, it is vital to understand that ceiling fan lights are part of a larger electrical system. The light kit is typically wired into the fan housing, which means a failure could be isolated to the bulb, the socket, the switch, or the wiring connections inside the canopy. The most common point of failure is the light bulb itself, especially if you are using older incandescent or halogen bulbs that have reached the end of their lifespan.
If replacing the bulb does not solve the problem, the next most likely area to inspect is the socket. Over time, the small metal tab at the base of the socket can become flattened, preventing a solid electrical connection with the bulb. With the power turned off at the wall switch and the breaker, you can gently pry this tab upward with a small, insulated screwdriver to ensure it makes proper contact. This simple adjustment often resolves intermittent flickering or complete failure.
When inspecting the socket, also look for signs of heat damage or discoloration. If the plastic housing of the socket appears melted or brittle, it indicates that the fixture may have been subjected to wattage levels higher than what the socket was designed to handle. Always check the label on your light kit for the maximum allowable wattage. Using bulbs that exceed this limit can cause premature failure of the socket and poses a fire hazard.
Checking the Pull Chain and Wall Switches
Many ceiling fans rely on a physical pull chain to toggle the light kit. These mechanical switches are prone to wear and tear after years of use. If the pull chain feels loose or does not provide the characteristic click when pulled, the internal switch mechanism may have failed. Replacing a pull chain switch is a standard repair, but it requires access to the internal wiring of the light kit.
Wall-mounted controls can also be the source of your frustration. If your fan is wired to a wall dimmer, ensure the dimmer is compatible with the bulbs you are using. Modern LED bulbs often struggle with older incandescent dimmers, leading to buzzing, flickering, or total failure to light. If you have recently upgraded your bulbs to LED, the dimmer switch might be the component that needs to be replaced with an LED-compatible version.
It is also worth noting that some wall controls have a small toggle switch on the side that controls the light independently of the fan speed. If this switch is accidentally bumped or partially engaged, it can cause the light to remain off even if the fan motor is running. Always verify that your wall control settings are fully engaged before assuming a mechanical failure.
Real-World Troubleshooting Scenarios
In practice, the environment in which the fan operates plays a significant role in component longevity. Fans installed in high-humidity areas, such as bathrooms or covered patios, are more susceptible to corrosion on electrical contacts. If you notice a greenish or white residue on the bulb base or inside the socket, this is a sign of oxidation. You can sometimes clean these contacts with a specialized electrical contact cleaner, but if the corrosion is severe, the socket assembly may need to be replaced entirely.
Another common scenario involves remote-controlled fans. If your fan uses a remote receiver, the light signal might be blocked or the receiver itself could be malfunctioning. A quick way to test this is to bypass the receiver temporarily or check if the fan motor still responds to the remote. If the fan motor works but the light does not, the issue is likely within the light kit wiring or the receiver’s light-control relay. Many manufacturers offer replacement receivers that are designed to fit into the existing canopy, making this a manageable DIY task.
When dealing with remote receivers, consider the dip switch settings. If your remote and receiver have lost their synchronization, the light function may be the first to stop responding. Resetting the dip switches on both the remote and the receiver to match can often restore full functionality. This is a common issue after a power surge or a prolonged power outage.
When Internal Wiring Becomes the Focus
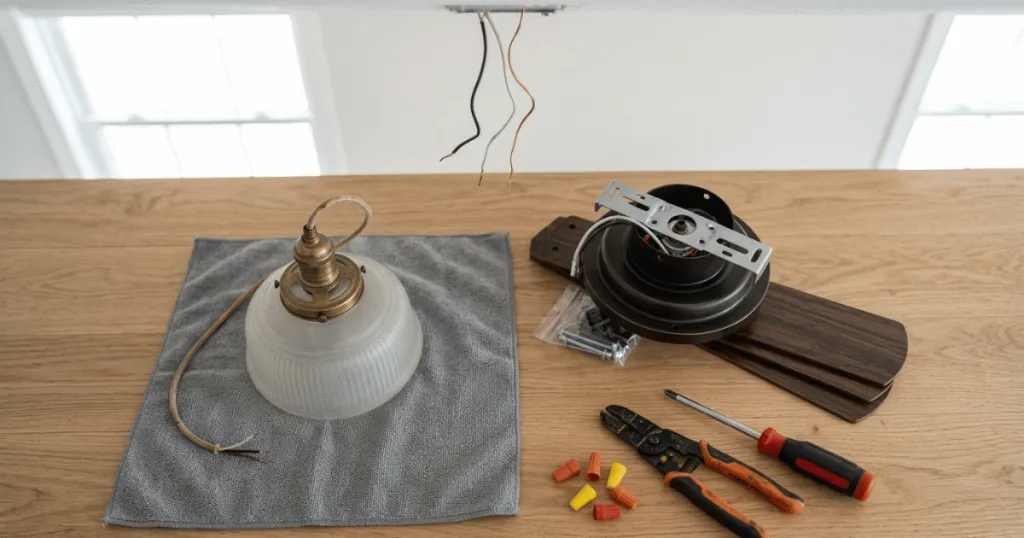
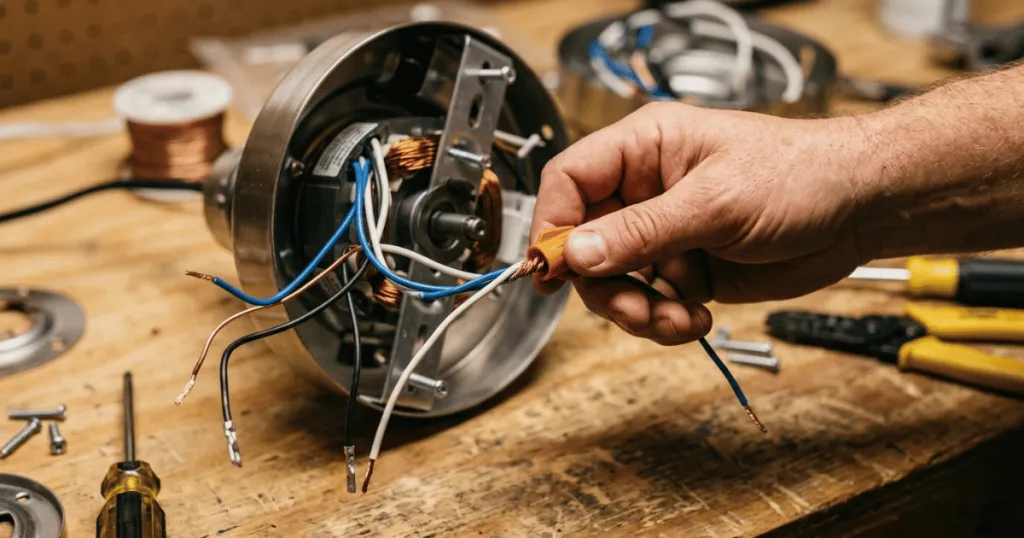
If the bulb, socket, and switch are all functional, you must inspect the wiring connections. Inside the light kit housing, there are typically wire nuts connecting the light kit leads to the fan’s internal wiring. Vibrations from the fan motor can loosen these wire nuts over time, causing a break in the circuit. Ensure all wire nuts are tight and that no wires have been pinched or frayed during previous installations or cleaning.
When checking these connections, look for signs of loose wires that may have pulled out of their connectors. If you find a loose wire, strip back a small portion of the insulation to expose fresh copper, then re-secure it with a new wire nut. It is also helpful to wrap the wire nut and the wires with electrical tape to prevent future loosening caused by the constant vibration of the fan motor.
If you suspect a break in the wiring that is not visible, you may need a multimeter to test for continuity. By setting your multimeter to the continuity setting, you can check if electricity is flowing from the switch to the light socket. This diagnostic step is highly effective for isolating hidden breaks in the wiring harness that are not obvious to the naked eye.
Deep Dive: The Role of the Capacitor
For fans that feature integrated light kits with dimming capabilities, the capacitor is a critical component. A failing capacitor is a frequent cause of lights that will not turn on or lights that flicker constantly. The capacitor acts as a reservoir for electrical energy, and when it degrades, it can no longer provide the steady voltage required by the light source.
Replacing a capacitor is a more advanced repair that involves identifying the specific microfarad rating of the original part. You must source an exact replacement, as using a capacitor with the wrong rating can damage the fan motor or the light kit. If you are comfortable with basic soldering or wire splicing, this is a viable way to save a fan that would otherwise be discarded. However, if the capacitor is embedded in a sealed control module, you may need to replace the entire module.
Why Addressing Light Issues Matters
Maintaining a functional ceiling fan light is about more than just convenience. These fixtures serve as primary or secondary light sources in many rooms, and their failure can disrupt the utility of your living space. Furthermore, ignoring a flickering or failing light can sometimes mask a more serious electrical issue, such as a loose neutral wire or an overheating component that could pose a safety risk if left unaddressed.
By taking the time to troubleshoot and fix these issues yourself, you extend the life of the appliance and avoid unnecessary replacement costs. It also gives you the opportunity to inspect the fan’s overall condition, ensuring that the mounting hardware remains secure and the motor housing is free of debris. Regular maintenance keeps your home environment comfortable and safe.
Consider the long-term benefits of proactive care. By cleaning the light kit housing and checking for dust buildup, you prevent heat from trapping inside the fixture. Heat is the primary enemy of electronic components, including LED drivers and capacitors. A clean, well-ventilated light kit will consistently perform better and last significantly longer than one that is neglected.
Common Misconceptions About Fan Repairs
A frequent misconception is that all ceiling fan lights are universal. In reality, light kits are often proprietary to the specific fan model or brand. If you determine that a part needs replacement, you must identify the exact model number of your fan to ensure compatibility. Attempting to force a generic light kit onto a fan that was not designed for it can lead to electrical shorts or mechanical instability.
Another common mistake is assuming that all flickering is caused by a bad bulb. While bulbs are the first thing to check, persistent flickering across multiple bulbs is a strong indicator of a loose connection or a failing capacitor within the fan’s housing. Do not assume the problem is always the simplest one if the symptoms persist after basic troubleshooting. Always prioritize safety by cutting power before opening the fan housing, and do not hesitate to consult a professional if you feel uncomfortable working with electrical wiring.
Finally, do not overlook the importance of UL standards and ETL certification. When replacing parts, always ensure that the components you purchase meet these safety standards. Using uncertified or low-quality replacement parts can introduce fire risks into your ceiling fan, which is a significant safety concern given the proximity of the fan to your living space.
FAQ
Why does my ceiling fan light flicker?
Flickering is often caused by a loose bulb, an incompatible dimmer switch, or a loose wire connection inside the fan housing. Start by tightening the bulb and checking if your dimmer switch is rated for your specific bulb type, such as LED.
Can I replace just the light kit on my ceiling fan?
Yes, many fans allow for light kit replacement, but you must use a kit compatible with your specific fan model. Check the manufacturer’s documentation for compatible parts to ensure the wiring and mounting points align correctly.
Is it dangerous to fix a ceiling fan light myself?
It is safe if you follow proper safety protocols, specifically turning off the power at the circuit breaker before touching any wiring. If you are unsure about electrical work or if you see signs of burnt wires, it is best to consult a licensed electrician.