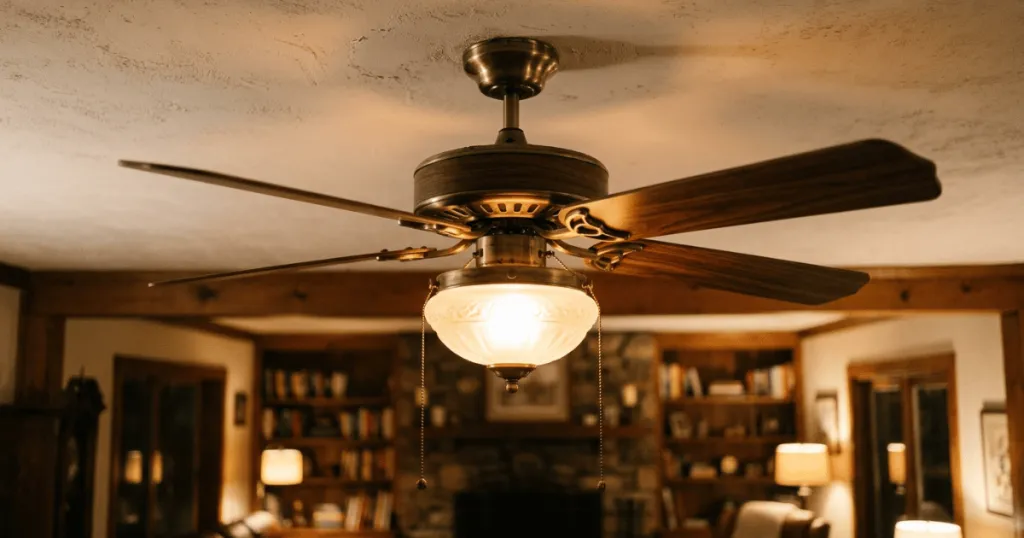
When you flip the switch and find your ceiling fan light not working, it is usually a sign of a minor electrical or hardware issue rather than a total fixture failure. Most homeowners can identify the root cause by systematically checking the most common points of failure, such as the light bulb itself, the socket connection, or the remote receiver. Understanding how these components interact allows you to resolve the problem without needing to replace the entire unit.
Before you begin any troubleshooting, it is essential to prioritize safety by cutting power to the fan at the wall switch or the circuit breaker. Dealing with a ceiling fan light not working often involves accessing the light kit, which may require a ladder and careful handling of glass shades. By following a logical diagnostic process, you can save time and avoid unnecessary service calls for issues that often stem from simple loose connections or burned-out components.
It is worth noting that modern ceiling fans are complex electromechanical devices. When the light fails, the issue might be localized to the light kit or systemic to the fan’s control architecture. By isolating the light circuit from the motor circuit, you can determine if the problem is a simple bulb replacement or a more involved electrical repair.
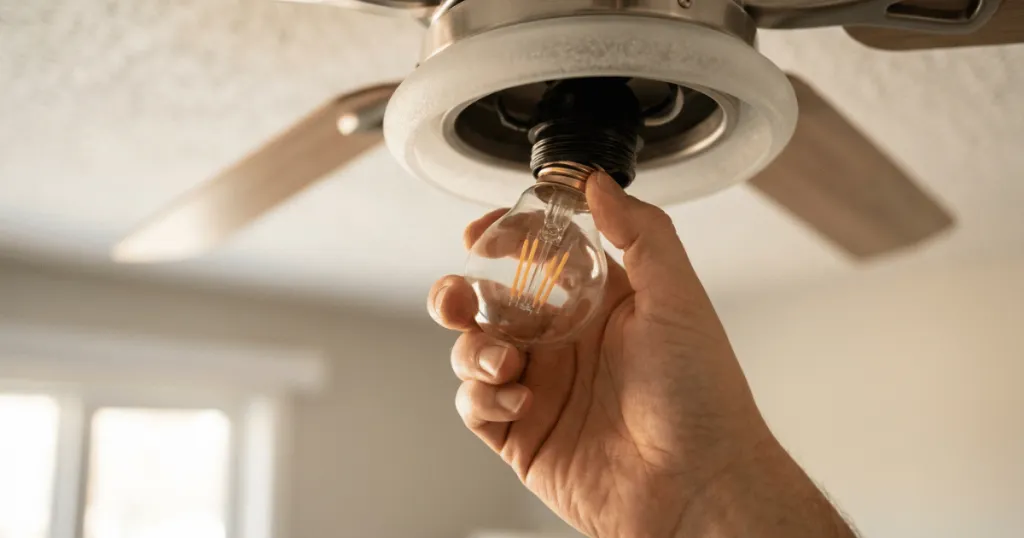
Common Causes for a Ceiling Fan Light Not Working
The most frequent culprit for a light that refuses to turn on is a simple bulb failure. Even if a bulb looks intact, the filament may have broken, or an integrated LED module may have reached the end of its functional life. Always start your troubleshooting by testing a known-working bulb in the socket to rule out the simplest possibility first.
If the bulb is not the issue, the socket itself might be the problem. Over time, the small metal tab at the base of the socket can become flattened, preventing it from making proper contact with the bulb. With the power turned off, you can gently pry this tab upward with a small, non-conductive tool to ensure a secure connection. Additionally, check for signs of corrosion or heat damage inside the socket, which can occur if the wrong wattage bulb was used previously.
Wiring and Remote Receiver Issues
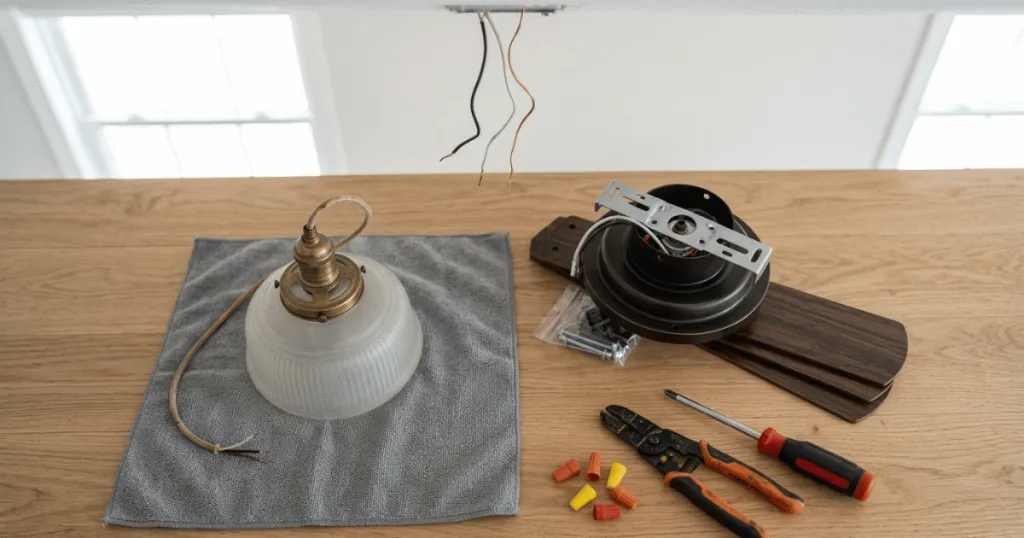
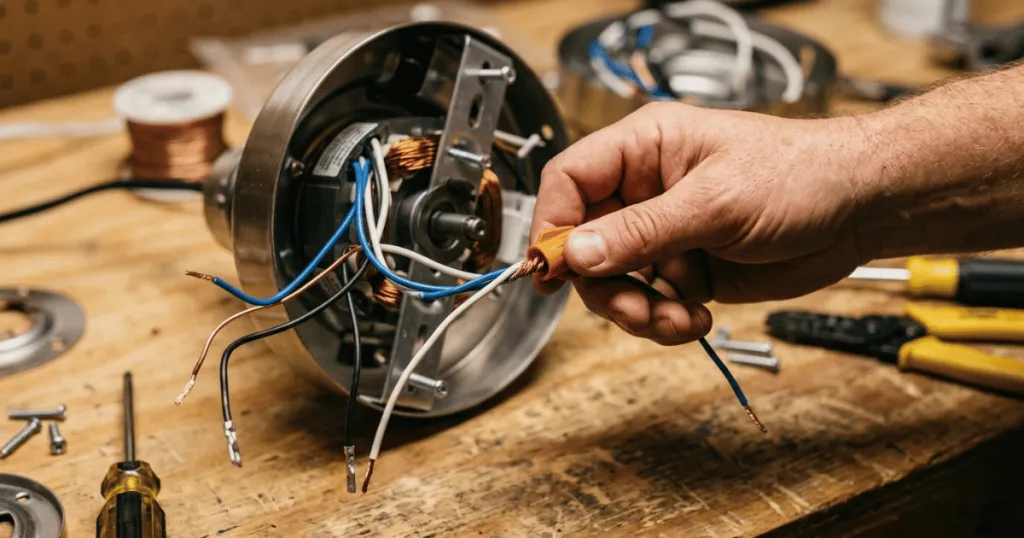
Many modern ceiling fans utilize a remote control receiver tucked into the canopy at the ceiling. If the light kit is wired through this receiver, a loose connection or a faulty relay within the unit can cause the light to stop functioning even if the fan motor still operates correctly. Inspect the wire nuts inside the canopy to ensure all connections are tight and that no wires have vibrated loose over time.
If your fan uses a wall-mounted control, the issue might lie within the switch itself. A faulty dimmer switch or a loose wire behind the wall plate can interrupt power to the light kit. If you have recently replaced a switch or performed electrical work in the room, verify that the light circuit is properly connected and that the switch is compatible with the fan’s specific light kit requirements.
Deep Dive: Advanced Troubleshooting for Complex Failures
When basic checks like bulb replacement and socket inspection do not resolve the issue, you must look deeper into the electrical architecture of the fan. One often overlooked component is the pull chain switch. Many fans feature a manual pull chain to toggle the light on and off. Over years of use, the internal mechanism of this switch can wear out or become stuck in the off position. If you hear a distinct click when pulling the chain, the switch might still be functional, but if the chain feels loose or offers no resistance, the switch itself likely requires replacement. This is a common failure point that is frequently mistaken for a wiring fault.
Another advanced consideration involves the capacitor. Ceiling fans often use capacitors to regulate the voltage sent to the motor and the light kit. If the capacitor fails, the light may flicker, dim significantly, or fail to illuminate entirely. Identifying a bad capacitor often requires visual inspection for signs of bulging or a burnt smell, though testing it with a multimeter is the only definitive way to confirm failure. Because capacitors store electrical charge, you must exercise extreme caution and ensure the unit is fully discharged before attempting any inspection or replacement.
Furthermore, consider the role of the neutral wire. In many fan installations, the light kit relies on a shared neutral wire that connects back to the main power source. If this wire becomes loose at the wire nut inside the canopy or at the junction box in the ceiling, the light will fail to complete the circuit. This is particularly common in older homes where wire nuts may have degraded or where the original installation did not account for the weight and vibration of the fan over time. Always verify the integrity of the neutral connection when troubleshooting persistent power issues.
When examining the wiring, look specifically for signs of heat discoloration on the plastic wire connectors. If a connector appears melted or charred, it indicates that the electrical connection was loose, causing arcing and excessive heat. In such cases, you must trim the damaged wire, strip back a fresh section of insulation, and install a new wire nut to restore a safe, low-resistance connection. This is a critical step for fire prevention and long-term reliability.
Real-World Context for Fan Maintenance
In practice, the environment of the room plays a significant role in how your fan components hold up. Fans installed in humid areas, such as bathrooms or covered porches, are more susceptible to oxidation at the socket contacts. If you notice a flickering light before it eventually stops working entirely, this is a strong indicator of a loose connection or a failing capacitor within the light kit assembly.
Another common scenario involves the use of incompatible dimmable bulbs. If you have installed a non-dimmable LED bulb into a fan that has a built-in dimmer function, the light may behave erratically or fail to turn on at all. Always check the manufacturer specifications for your fan to ensure the bulbs you are using are rated for the specific type of light kit installed. Using the wrong type of bulb can lead to premature failure of the internal electronics.
When dealing with integrated LED fans, the repair process changes significantly. Since these units do not use standard screw-in bulbs, a failure usually points to the LED driver or the light board itself. In these cases, you will need to contact the manufacturer for a replacement part, as these components are rarely universal. Keeping your original purchase documentation or the model number handy will make this process much smoother when you reach out for support.
Consider the impact of ceiling height on your maintenance approach. If your fan is mounted on a long downrod in a vaulted ceiling, the vibration amplitude at the light kit is often higher than in a flush-mount installation. This increased movement can accelerate the loosening of internal screws and wire connections. If you find yourself frequently troubleshooting the same light issue, consider using thread-locking fluid on the light kit mounting screws to prevent them from vibrating loose over time.
Why Troubleshooting Matters for Homeowners
Addressing a ceiling fan light not working is about more than just restoring illumination; it is about maintaining the integrity of your home electrical system. Ignoring a flickering or intermittent light can lead to heat buildup at the connection point, which poses a potential fire hazard over time. By taking the time to inspect and secure loose wires, you ensure that your fan operates safely and efficiently for years to come.
Furthermore, understanding your fixture helps you avoid the expense of unnecessary replacements. Many homeowners assume that a light failure means the entire fan is broken, leading them to discard a perfectly functional motor unit. By learning to distinguish between a simple bulb issue and a complex wiring fault, you become a more capable homeowner and reduce the waste associated with replacing large appliances prematurely.
Effective troubleshooting also provides insight into the quality of your home’s electrical infrastructure. If you notice that multiple fixtures in your home are experiencing similar issues, it may point to a broader problem with your home’s voltage stability or grounding. While a single fan light failure is usually isolated, observing patterns across your home can help you decide when it is time to consult a licensed electrician for a professional inspection of your circuit panel and branch wiring.
Strategic Considerations for Long-Term Reliability
To prevent future issues, consider the quality of the bulbs you select. High-quality LED bulbs are designed to handle the specific vibration patterns of a ceiling fan. Cheap or poorly manufactured bulbs may have internal components that break down under the constant movement of the fan blades. Investing in bulbs rated for vibration resistance can significantly extend the life of your light kit.
Additionally, regular maintenance is key. Once a year, take a few minutes to ensure the canopy screws are tight and the light kit is secure. Vibration is the silent enemy of electrical connections. By minimizing the movement of the fixture, you protect the delicate wiring inside from fatigue and breakage. If you live in an area with frequent power surges, consider whether your home electrical panel is properly protected, as surges can damage the sensitive drivers found in modern integrated LED light kits.
When selecting replacement parts, always prioritize components that meet UL or ETL safety standards. These certifications ensure that the electrical parts have been tested for heat resistance and insulation integrity. Using uncertified, generic parts from unknown sources can introduce risks that far outweigh any initial cost savings. Always verify that the replacement part is specifically listed for your fan model to ensure proper fit and electrical compatibility.
Common Misconceptions About Fan Lighting
A widespread misconception is that all ceiling fan lights are universal. In reality, light kits are often proprietary, meaning you cannot simply swap parts between different brands or even different models from the same manufacturer. Assuming that a generic replacement part will fit can lead to frustration and potential damage to the fan’s wiring harness.
Another error is the belief that a light failure is always a sign of a bad motor. Because the light and the motor often operate on separate circuits within the fan, it is entirely possible for the fan to spin perfectly while the light remains dark. Do not assume the entire unit is failing; focus your diagnostic efforts specifically on the light kit and its associated power supply lines before considering a full replacement.
Finally, do not assume that a light kit failure is always an electrical fault. Sometimes, the physical obstruction of the light shade or a misaligned decorative cover can prevent the light from being visible or cause it to overheat. Always ensure that all decorative elements are properly seated and that no debris or dust buildup is blocking the light output or trapping heat around the bulb or LED module.
FAQ
Can I replace an integrated LED light kit if it stops working?
Yes, but you will typically need to source a replacement part directly from the manufacturer. Because these light kits are proprietary, you must have your fan’s model number ready to ensure you order the correct component.
Why does my ceiling fan light flicker before going out?
Flickering is often caused by a loose wire connection, a failing capacitor, or the use of a non-dimmable bulb in a fixture with a dimmer. Check your connections first, then verify that your bulbs are compatible with the fan’s control system.
Is it dangerous to leave a ceiling fan light not working?
While a simple burned-out bulb is not dangerous, an intermittent light caused by loose wiring can create heat and arcing. If the light flickers or hums, you should turn it off and inspect the wiring to prevent a potential fire hazard.