Key Takeaway: To install a bathroom ceiling fan, you must first ensure the ceiling box is fan-rated to support the weight and vibration. Turn off the power at the breaker, use a voltage tester to confirm the circuit is dead, and securely mount the bracket to a joist or retrofit brace. Connect the wires according to the manual, ensure the fan is damp-rated for bathroom humidity, and test the assembly for balance and noise.
Improving air circulation in a damp environment is a practical upgrade for any home. Learning how to install a bathroom ceiling fan allows you to manage humidity levels, prevent mold growth, and maintain a comfortable atmosphere. While the process involves electrical work and structural mounting, a methodical approach ensures the job is done correctly and safely. This guide focuses on the essential steps required to integrate a fan into your existing ceiling structure, emphasizing the importance of proper support and secure connections.
Before you begin, consider the specific requirements of your bathroom space. Moisture management is the primary goal, so ensuring your fan is rated for damp or wet locations is non-negotiable. By following these instructions, you will be able to complete the installation with confidence, provided you have a clear understanding of your home electrical system and the necessary tools to handle the task.
Before You Start: Preparation and Safety
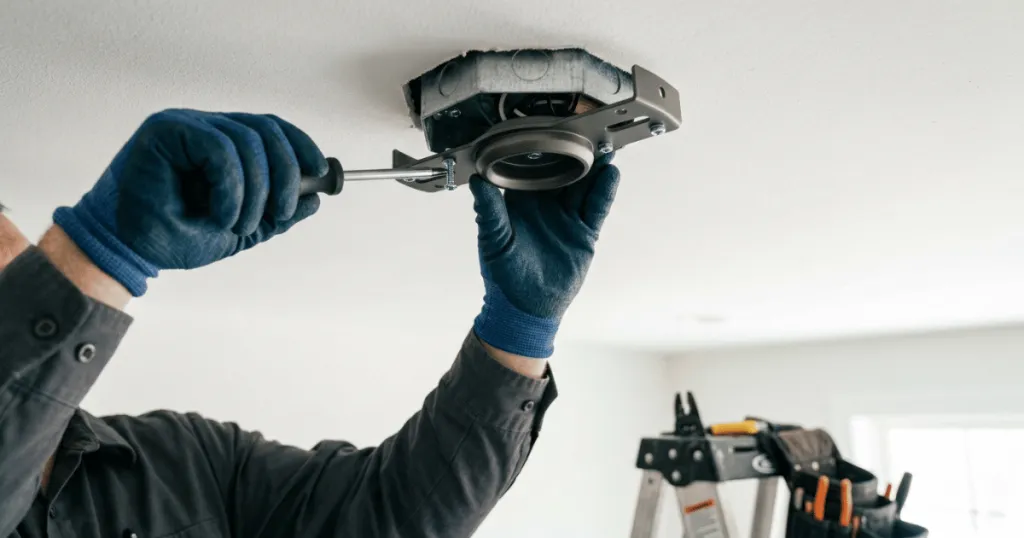
The most critical phase of this project occurs before you touch a single wire. You must first confirm that your ceiling can support the weight of a fan. A standard light fixture box is rarely sufficient for a ceiling fan because fans create dynamic movement and vibration that can loosen standard boxes over time. You need a fan-rated junction box, which is specifically designed to handle the weight and torque of a ceiling fan.
Check your existing wiring to ensure it is compatible with the new unit. If you are replacing an old light fixture, you may find that the existing wiring lacks a ground wire or is not properly braced. If you discover a plastic box or a box that is not explicitly marked as fan-rated, you must replace it. This often involves accessing the ceiling joists from above or using a retrofit fan brace that expands between joists through the existing hole.
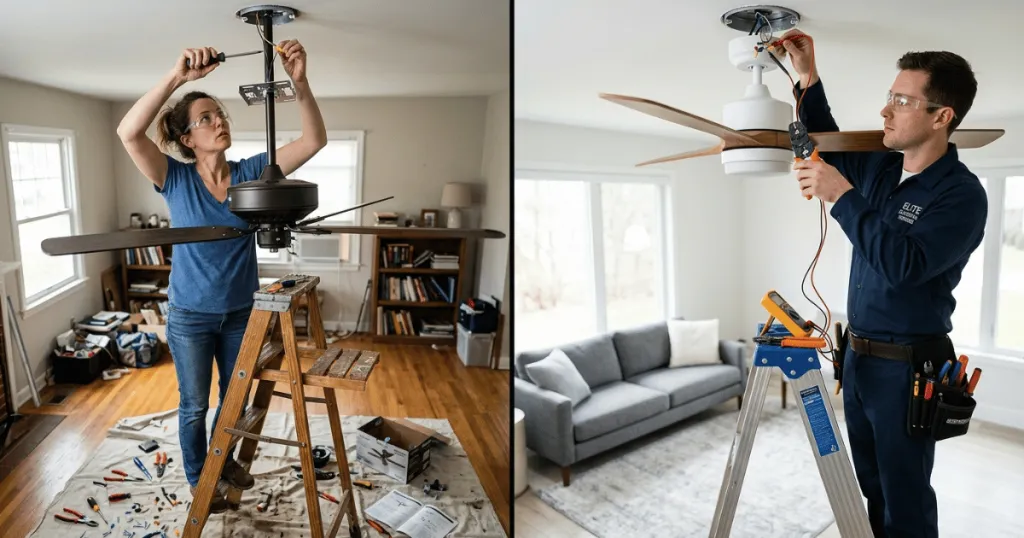
Turn off the power at the main breaker panel. Do not rely solely on the wall switch. Use a non-contact voltage tester to verify that no power is flowing to the wires in the ceiling. This simple step is the most effective way to prevent electrical shock. If you feel uncomfortable working with electrical wiring or if your ceiling structure requires significant modification, contact a licensed electrician to ensure the installation meets local building codes.
Furthermore, consider the electrical circuit load. Most bathroom circuits are shared with other outlets or lights. Adding a fan increases the load on that circuit. If you have a high-wattage heater or multiple lights on the same breaker, calculate the total amperage to avoid tripping the breaker during normal operation. Always consult the NEC guidelines regarding bathroom electrical safety, particularly the requirement for GFCI protection in damp environments.
Tools and Prerequisites
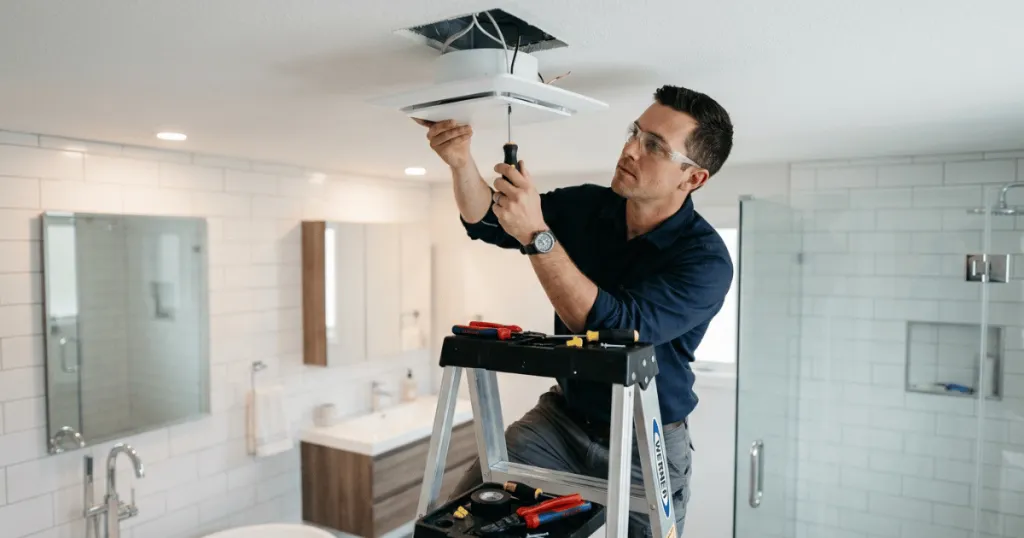
Having the right tools on hand prevents unnecessary trips to the hardware store and keeps the workflow efficient. You will need a sturdy stepladder, a set of screwdrivers, wire strippers, and a voltage tester. A drill with various bits is essential for securing the mounting bracket to the joists or the fan-rated box. Additionally, having wire nuts, electrical tape, and cable clamps will help you secure the connections.
Before starting, verify the ceiling height. If your ceiling is lower than eight feet, choose a flush-mount or hugger-style fan to maintain adequate clearance. For higher ceilings, a downrod is necessary to ensure the fan blades are at the optimal distance from the ceiling for effective airflow. Always read the manufacturer instructions provided with your specific fan model, as they contain unique mounting requirements and wiring diagrams that supersede general advice.
Beyond basic hand tools, consider the environment. Because you are working in a bathroom, ensure you have a drop cloth to protect the vanity or tub from dust and debris. If you are working on a ladder, ensure the floor is dry and stable. Never attempt to install a fan while standing on the edge of a bathtub or a slippery tile surface. Safety is paramount when working with electricity and heights.
Step-by-Step Instructions: How to install a bathroom ceiling fan
1. Secure the Mounting Bracket: Attach the fan-rated mounting bracket to the junction box. Ensure it is tightly fastened to the ceiling joist or the metal support brace. A loose bracket will cause the fan to wobble and create excessive noise during operation.
2. Prepare the Fan Motor: If your fan requires assembly, attach the downrod or the mounting plate to the motor housing according to the manufacturer manual. Feed the electrical wires through the downrod or canopy before securing the motor to the bracket.
3. Hang the Motor: Lift the motor assembly and hang it onto the mounting bracket. Most modern fans feature a hook or a ball-and-socket joint that allows the motor to hang hands-free while you make the electrical connections.
4. Make Electrical Connections: Connect the wires by matching colors. Typically, the green or bare copper wire is the ground, the white wire is the neutral, and the black or blue wire is the hot/power wire. Use wire nuts to secure these connections and wrap them with electrical tape for added safety. Tuck the wires neatly into the junction box.
5. Attach the Blades and Housing: Once the wiring is secure, attach the fan blades to the motor. Ensure all screws are tightened evenly to prevent imbalance. Finally, install the light kit if your model includes one, and attach the canopy to cover the mounting bracket and wires.
6. Test the Installation: Restore power at the breaker panel. Turn on the wall switch and test the fan at all speed settings. Listen for any unusual clicking or grinding sounds, which could indicate loose components or an unbalanced blade.
Deep Dive: Structural Integrity and Mounting
The structural support of your fan is the most common point of failure. Many homeowners assume that any box in the ceiling can hold a fan. This is a dangerous misconception. A standard junction box is designed to hold the weight of a light fixture, which is static. A ceiling fan is a dynamic load. It creates torque and vibration that will eventually pull a standard box out of the drywall. You must use a UL or ETL listed fan-rated box.
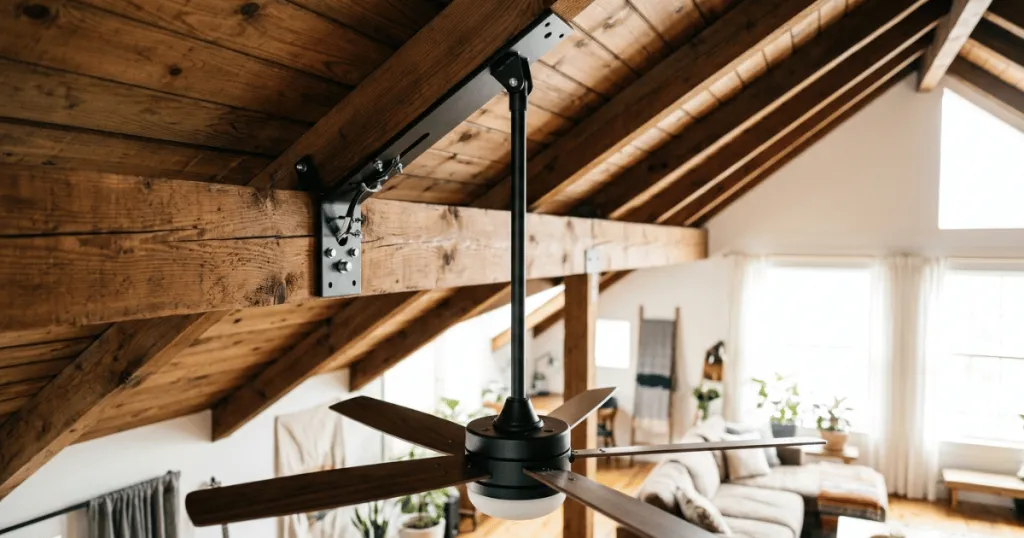
If you are installing a fan where no fixture previously existed, you will need to cut into the drywall. Use a stud finder to locate the joists. If the joists are not spaced correctly for your fan bracket, you will need a retrofit brace. This device is a metal bar that you insert through the hole in the ceiling. You expand the bar until it grips the joists on both sides, then you bolt the junction box to the center of the bar. This provides a rock-solid foundation that will not wobble or sag over time.
When mounting the bracket, ensure it is perfectly level. Even a slight tilt can cause the fan to oscillate. Use a small torpedo level to check the bracket before you tighten the mounting screws. If you are using a downrod, ensure the ball joint is seated correctly in the bracket. The ball joint is designed to allow the fan to self-level, but it must be seated in the groove of the bracket to prevent the fan from spinning or clicking during operation.
Electrical Best Practices for Bathrooms
Bathroom electrical work requires extra caution due to the presence of water. Always ensure your fan is rated for damp or wet locations. A damp-rated fan is designed to withstand the moisture in the air, while a wet-rated fan can actually handle direct water exposure. For most bathrooms, a damp-rated unit is sufficient, but if you are installing the fan directly over a shower, a wet-rated model is the safer choice.
When wiring the fan, pay close attention to the ground wire. In older homes, you might find only two wires in the ceiling box. If you do not have a ground wire, you must consult an electrician to determine if you can safely install the fan. Modern building codes require a grounded circuit for all ceiling fans. Never bypass the ground wire to make the installation easier. If the fan has a metal housing, the ground wire is essential for preventing electrical shock in the event of an internal short.
Take care when tucking wires into the box. Overcrowding the box can cause the wire nuts to loosen or the insulation to rub against sharp metal edges. If the box is too small for the wires, use a deeper box or a box extender. Ensure that all connections are tight by giving each wire a gentle tug after securing it with a wire nut. If a wire pulls out, the connection is not secure.
Common Mistakes to Avoid
A common mistake is failing to balance the fan blades properly. Even a slight weight difference between blades can cause the fan to wobble, which puts unnecessary stress on the mounting bracket and creates annoying noise. Always use the provided balancing kit if you notice any oscillation during the initial test run.
Another frequent error is ignoring the importance of wire management. If wires are pinched or overcrowded inside the junction box, they can fray or short-circuit over time. Take the time to fold the wires neatly into the box, ensuring that no insulation is stripped back too far. Never use standard electrical boxes for ceiling fans; the weight and vibration will eventually lead to a dangerous failure.
Do not ignore the manufacturer instructions regarding the distance between the blades and the ceiling. If the blades are too close to the ceiling, the fan will not be able to move air effectively. Conversely, if the blades are too low, they may pose a safety hazard. Follow the recommended downrod length to ensure the fan is at the correct height for your specific room dimensions.
Troubleshooting Your Installation
If your fan fails to start, first check the wall switch and the circuit breaker. If the power is on but the fan is silent, double-check your wire connections to ensure the wire nuts are tight and the wires are making solid contact. Sometimes, a wire may slip out of a nut during the canopy installation phase.
If the fan makes a humming noise, it is often due to an incompatible dimmer switch. Ceiling fans require specific fan-rated speed controls. Using a standard light dimmer will cause the motor to hum and can eventually damage the internal components. If you experience wobbling, check that all blade screws are tight and that the mounting bracket is perfectly level. If the issue persists, use the balancing kit to adjust the weight distribution of the blades.
If you hear a clicking sound, check for debris or loose screws in the motor housing. Sometimes, the canopy may be rubbing against the ceiling or the downrod cover. Adjust the position of the canopy to ensure it has a small gap from the ceiling surface. If the fan is still noisy, inspect the blade brackets to ensure they are not bent. A bent bracket will cause the blade to track unevenly, resulting in a rhythmic clicking or wobbling sound.
Maintaining Your Bathroom Fan
Once installed, your fan requires minimal maintenance to keep it running smoothly. Dust can accumulate on the blades over time, which can lead to imbalance and reduced airflow. Clean the blades with a damp cloth every few months. If the fan has a light kit, replace the bulbs as needed, ensuring you use the correct wattage and type as specified by the manufacturer.
Periodically check the screws on the blade brackets and the mounting canopy. Over time, the vibration of the fan can cause these screws to loosen. A quick check once or twice a year is usually sufficient to keep everything secure. If you notice any signs of rust or corrosion on the fan housing, address it immediately by cleaning the area and applying a rust-inhibitor. This is especially important in high-humidity bathrooms where moisture can quickly degrade metal components.
Finally, listen to your fan. A change in the sound of the motor can be an early indicator of a problem. If the fan starts to make a grinding or screeching noise, it may indicate a bearing issue. While some fans have sealed bearings that do not require lubrication, others may need attention. Refer to your manual for specific maintenance recommendations. By staying proactive, you can extend the life of your fan and ensure it continues to provide effective ventilation for years to come.
FAQ
Can I install a regular ceiling fan in a bathroom?
You should only install a ceiling fan that is specifically rated for damp or wet locations. Standard fans are not designed to handle the high humidity levels found in bathrooms, which can lead to corrosion, electrical shorts, and premature motor failure.
Do I need a separate switch for the light and the fan?
It depends on your wiring. If you have two separate wall switches, you can wire the fan and light independently. If you only have one switch, you may need a fan with a remote control or a pull-chain system to operate the light and fan separately.
How do I know if my ceiling box is fan-rated?
A fan-rated box will be clearly marked with a stamp or label stating it is suitable for ceiling fan support. If you cannot find this marking, or if the box is made of plastic, you must replace it with a metal fan-rated box or a retrofit brace.