Quick Answer: To reverse your Hunter ceiling fan, first turn it off and wait for the blades to stop completely. If your fan has a manual switch on the motor housing, toggle it to the opposite position. If your fan uses a remote, press the reverse button or the seasonal icon. Once adjusted, turn the fan on at a low speed to verify the airflow direction.
Adjusting your ceiling fan to match the changing seasons is one of the most effective ways to improve indoor comfort. Knowing how to reverse Hunter ceiling fan rotation allows you to take full advantage of your fixture, whether you are trying to push warm air down during the winter or create a cooling breeze in the summer. This simple adjustment changes the pitch of the blades to direct airflow either upward or downward, helping your HVAC system work more efficiently throughout the year.
Before you begin, ensure the fan is completely powered down and the blades have stopped spinning entirely. This is the safest starting point for any maintenance task involving ceiling fans. Because Hunter fans utilize different control systems depending on their age and model, identifying your specific switch or remote function is the first step toward a successful adjustment.

Before You Start: Preparing to Adjust Your Fan
Before you climb a ladder or reach for a remote, take a moment to understand the mechanics of your specific Hunter model. Most Hunter ceiling fans are designed with a reversing switch located on the side of the motor housing, though newer models often integrate this feature directly into the wall control or handheld remote. Knowing which system you have will save you time and prevent unnecessary frustration.
Safety is paramount when working with ceiling fans. Always ensure the fan is turned off and the blades have come to a complete stop before attempting to change the direction. Never attempt to flip a manual switch while the motor is still spinning, as this can damage the internal components or cause the motor to stall. If you are using a ladder, ensure it is placed on a flat, stable surface and that someone is nearby to spot you if the fan is mounted in a high-traffic area.
Consider the current season before you make the switch. In the summer, you want the blades to spin counter-clockwise to push air straight down, creating a wind-chill effect that makes a room feel cooler. During the winter, you want the blades to spin clockwise at a low speed to pull cool air up toward the ceiling, which displaces the warm air trapped at the top of the room and pushes it back down along the walls. If you are unsure of the current direction, turn the fan on low and stand directly underneath it to observe the airflow.
It is also helpful to consider the physical layout of your room. In larger spaces with vaulted ceilings, the impact of reversing the fan is more pronounced. The air stratification that occurs in tall rooms means that heat naturally gathers near the peak of the ceiling. By reversing the fan to a clockwise rotation, you effectively mix this air, which can prevent your furnace from cycling as frequently. For smaller rooms with standard eight-foot ceilings, the effect is more subtle, but still contributes to a more uniform temperature profile across the living space.
Tools and Prerequisites
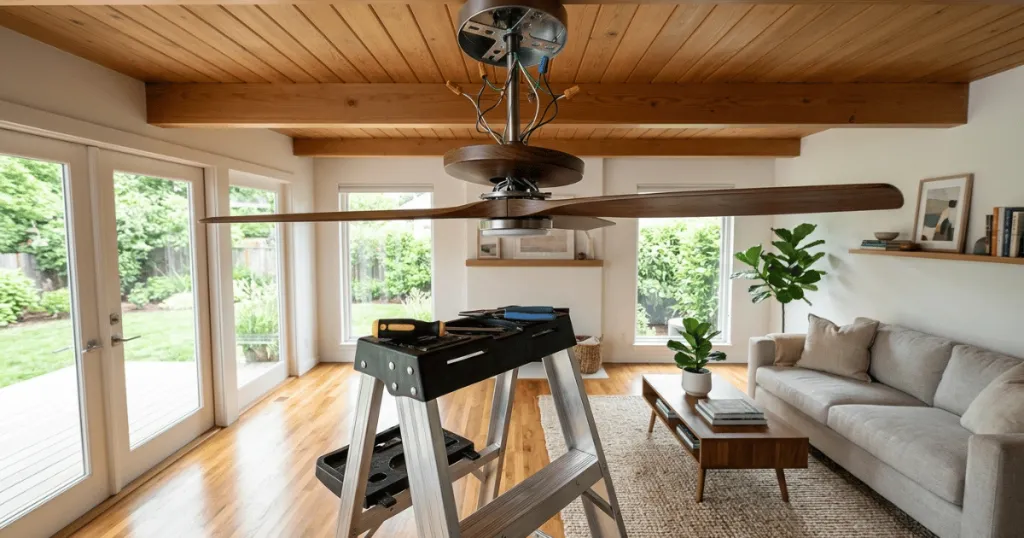
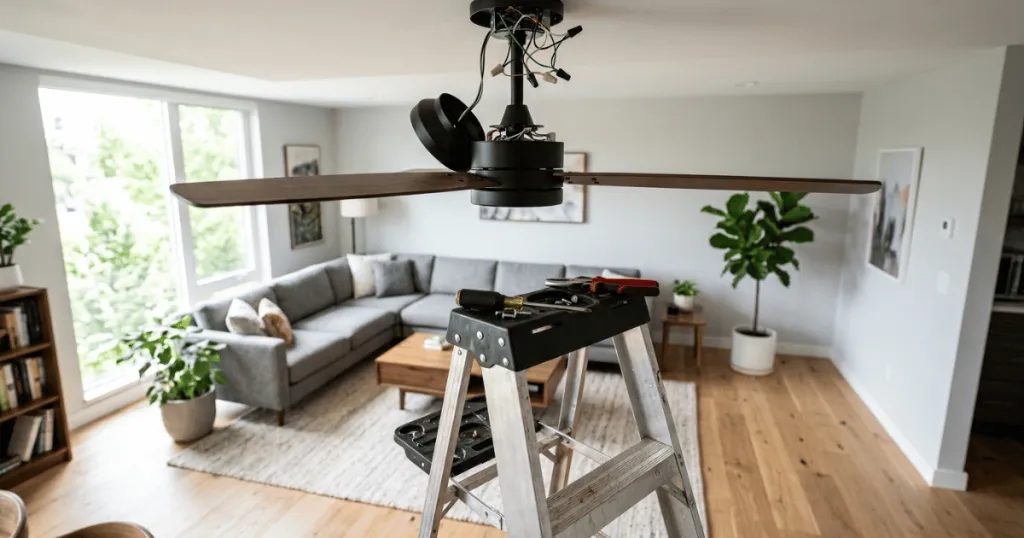
For most manual Hunter fans, you will not need any specialized tools. A sturdy stepladder is the most common requirement, especially for fans mounted on higher ceilings. If your fan is controlled by a wall switch or a remote, you will need the transmitter or the wall-mounted control panel. If your fan is an older model with a manual switch, keep a small flashlight handy to help you locate the toggle on the motor housing, as it is often tucked away behind the blade irons.
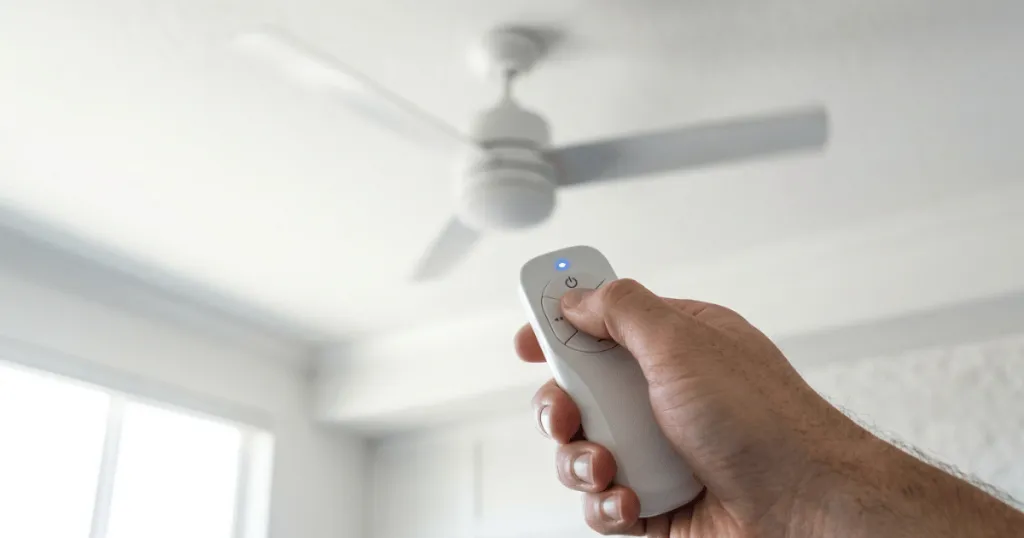
If you have a newer Hunter model with a remote, check your owner’s manual or the back of the remote control. Many modern Hunter fans feature a dedicated ‘reverse’ or ‘seasonal’ button. If you have lost your manual, you can often find the model number on the top of the motor housing. This number is your best resource for confirming whether your specific unit supports remote-controlled reversal or requires manual intervention. In some cases, the remote receiver inside the canopy may require a synchronization process if the fan has been disconnected from power for an extended period, so keep your original installation guide nearby if possible.
Step-by-Step Instructions: How to Reverse Hunter Ceiling Fan
Follow these steps to safely change the direction of your fan. These instructions cover both manual switch adjustments and remote-controlled operation.
1. Power Down the Fan
Turn off the fan using the wall switch or the remote control. Wait for the blades to come to a complete, dead stop. If the fan has a light kit, you may want to turn that off as well to keep the motor housing cooler while you work.
2. Locate the Reversing Switch
If your fan uses a manual switch, look for a small toggle or slide switch on the side of the motor housing. It is usually located just above the blade attachments. If you cannot find it, look for a small hole or a recessed switch that might require a pen or a small screwdriver to nudge. If your fan is remote-controlled, skip this step and move to the remote operation instructions.
3. Toggle the Direction
For manual switches, move the toggle to the opposite position. If it was set to the left, move it to the right. If it was in the ‘up’ position, move it ‘down’. Ensure the switch clicks firmly into place. A switch left in the middle position will prevent the motor from starting.
4. Use the Remote Control
If your Hunter fan is remote-operated, look for a button labeled ‘Reverse’ or an icon showing two arrows in a circle. Press this button while the fan is off or running at a low speed. Some models require you to hold the button for three to five seconds to register the command. The fan may pause momentarily before changing direction.
5. Verify the Change
Turn the fan back on at a low speed. Stand under the blades and feel the airflow. If you are preparing for summer, you should feel a direct breeze. If you are preparing for winter, you should feel very little direct air movement, which indicates the fan is successfully pulling air upward.
Understanding Airflow Dynamics and Blade Pitch
The effectiveness of your Hunter ceiling fan relies heavily on the interaction between the motor speed and the blade pitch. Blade pitch refers to the angle at which the fan blade is set relative to the horizontal plane. A steeper pitch generally moves more air, but it also requires more torque from the motor. When you reverse the fan, you are essentially changing the orientation of this pitch relative to the floor. In the summer mode, the leading edge of the blade is angled to scoop air downward. In the winter mode, the trailing edge is angled to pull air upward.
Understanding this relationship helps explain why the fan speed matters so much. If you run the fan at high speed in the winter, the air is forced upward with such velocity that it may create a drafty feeling rather than a gentle circulation. This is why the low-speed setting is critical for winter operation. The goal is to move the air slowly enough that it reaches the ceiling and travels down the walls without creating a noticeable breeze that would negate the warming effect you are trying to achieve.
Common Mistakes
One of the most frequent mistakes is attempting to reverse the fan while it is still in motion. This puts significant strain on the motor and can lead to premature failure of the capacitor. Always wait for the blades to stop entirely.
Another common error is forgetting to adjust the fan speed after reversing the direction for winter. In the winter, the fan should run on the lowest possible setting. If it runs too fast, it will create a draft that makes the room feel colder rather than warmer. Many homeowners also forget to check the switch position after a power outage, as some smart-controlled fans may reset to a default direction.
A less common but equally frustrating mistake involves the physical installation of the blades. If you recently cleaned your fan and removed the blades, ensure they are reattached in the correct orientation. If a blade is installed upside down, the pitch will be reversed, and the fan will push air in the opposite direction of what the switch indicates. If you notice that your fan is pushing air upward when the switch is set for summer, check the blade orientation before assuming the motor or switch is faulty.
Troubleshooting
If the fan does not change direction after you have toggled the switch, first check that the switch is fully engaged. Sometimes the toggle gets stuck between positions. If you are using a remote, ensure the batteries are fresh, as low power can prevent the signal from reaching the receiver inside the canopy. If the fan hums but does not spin after you have reversed it, turn it off immediately and check for any obstructions in the blade path.
If the fan is still not responding, the internal reversing switch may be faulty. In this case, consult your manufacturer documentation or contact support. Avoid attempting to disassemble the motor housing unless you are comfortable with electrical repairs, as this can void your warranty and pose a safety risk.
For fans that utilize a wall control, check the wiring connections behind the wall plate. Over time, vibrations from the fan can cause wire nuts to loosen, which might result in intermittent signals to the motor. If you suspect a wiring issue, ensure the power is cut at the breaker before inspecting the wall box. If the fan remains unresponsive to the remote but works via a wall switch, the issue is likely within the remote transmitter or the receiver unit located in the fan canopy.
Long-Term Maintenance for Seasonal Efficiency
Beyond simply reversing the direction, keeping your Hunter fan in peak condition ensures that the motor operates efficiently throughout its lifespan. Dust accumulation on the leading edge of the blades can disrupt the aerodynamic performance, making the fan work harder to move the same volume of air. During your seasonal reversal, take a few minutes to wipe down the blades with a damp cloth. This simple maintenance step reduces the drag on the motor and ensures that the airflow remains consistent with the manufacturer design.
Additionally, inspect the blade irons for any signs of looseness. If the screws connecting the blades to the motor housing have worked themselves loose over time, the fan may wobble during operation. A wobbling fan is not only noisy but also less efficient, as the blade pitch is no longer consistent as the fan rotates. Tightening these fasteners while you are already on the ladder for the seasonal switch is a proactive way to maintain the structural integrity of your fixture. By combining these maintenance tasks with your seasonal reversal, you ensure that your Hunter fan remains a reliable component of your home comfort strategy for years to come.
FAQ
Does the direction of my ceiling fan really affect energy bills?
Yes, by circulating air more effectively, you can reduce the load on your HVAC system. In the summer, the wind-chill effect allows you to set your thermostat higher, while in the winter, pushing warm air down helps maintain a consistent temperature without overworking your furnace.
How often should I reverse my Hunter ceiling fan?
You should reverse your fan twice a year: once in the spring when you want to create a cooling breeze, and once in the autumn when you want to redistribute trapped warm air from the ceiling.
Can I damage my fan by leaving it in the wrong direction?
Running the fan in the wrong direction will not damage the motor, but it will reduce your comfort level and make your heating or cooling systems less efficient. The only risk of damage comes from attempting to flip the switch while the fan is still spinning.