Quick Answer: To safely remove a flush mount ceiling fan, start by turning off the power at the circuit breaker. Remove the blades to reduce weight, then carefully unscrew the canopy to expose the wiring. Disconnect the wires, cap them with wire nuts, and remove the mounting bracket from the junction box, ensuring you have a helper to support the motor housing during the process.
Removing a flush mount ceiling fan is a project that requires patience and steady hands, primarily because the unit sits directly against the ceiling junction box. Unlike downrod-mounted fans, which offer a bit of wiggle room, flush mount models are tucked tight, making access to the mounting screws and wiring connections more challenging. Your primary goal is to detach the unit without damaging the drywall or the electrical box behind it. Learning how to remove a flush mount ceiling fan correctly ensures you can complete the task safely.
Before you begin, assess the stability of your ladder and ensure you have a clear workspace. Because you will be working directly overhead, gravity is your biggest adversary. By preparing your tools and following a systematic, step-by-step approach, you can successfully remove the fixture while maintaining the integrity of your ceiling surface.
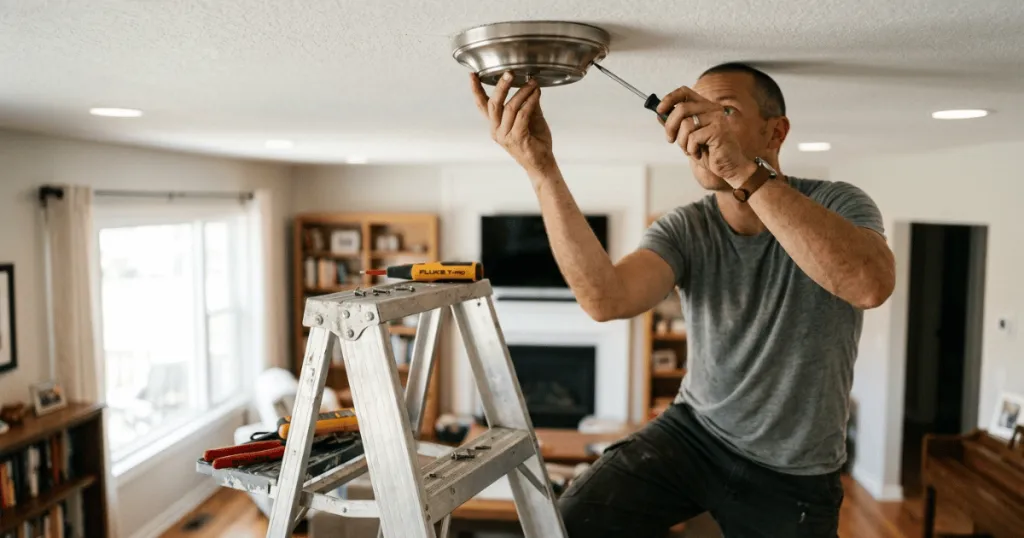
Before You Start: Preparation and Safety
The most critical step in removing a flush mount ceiling fan is ensuring the power is completely disconnected. Do not rely on the wall switch to turn off the fan; you must locate your home’s electrical service panel and flip the circuit breaker corresponding to the room where the fan is located. Once the breaker is off, verify the power is dead by testing the wall switch and, if possible, using a non-contact voltage tester on the fixture itself.
Gather your tools before climbing the ladder. You will need a sturdy stepladder, a set of screwdrivers (both Phillips and flathead), a pair of wire strippers or needle-nose pliers, and wire nuts for capping off the supply wires once the fan is removed. Having a helper is highly recommended, as someone needs to support the weight of the motor housing while you unscrew the final mounting bolts. If you are working alone, consider using a box or a temporary prop to support the motor weight so it does not pull on the electrical wires.
Inspect the ceiling canopy. Flush mount fans often have a decorative trim ring or a series of screws hidden behind a cover plate. Take a moment to identify how the canopy attaches to the mounting bracket. Some models use side screws, while others have a twist-lock mechanism. Knowing your specific mounting style prevents you from stripping screws or damaging the ceiling finish during the removal process.
Prerequisites and Tool Checklist
Success in this task depends on having the right equipment. A common mistake is using a power drill to remove the mounting screws; this often leads to stripped screw heads or damaged drywall. Stick to manual screwdrivers to maintain better control and feel for the resistance of the fasteners. Ensure your ladder is tall enough that you are not overreaching, which can lead to instability and fatigue.
Essential tools include:
- Non-contact voltage tester (for safety verification)
- Phillips and flathead screwdrivers
- Needle-nose pliers (for wire manipulation)
- Wire nuts (to cap exposed wires)
- Electrical tape (to secure wire nuts)
- A step ladder with a tool tray
- A soft cloth or drop cloth to protect the floor
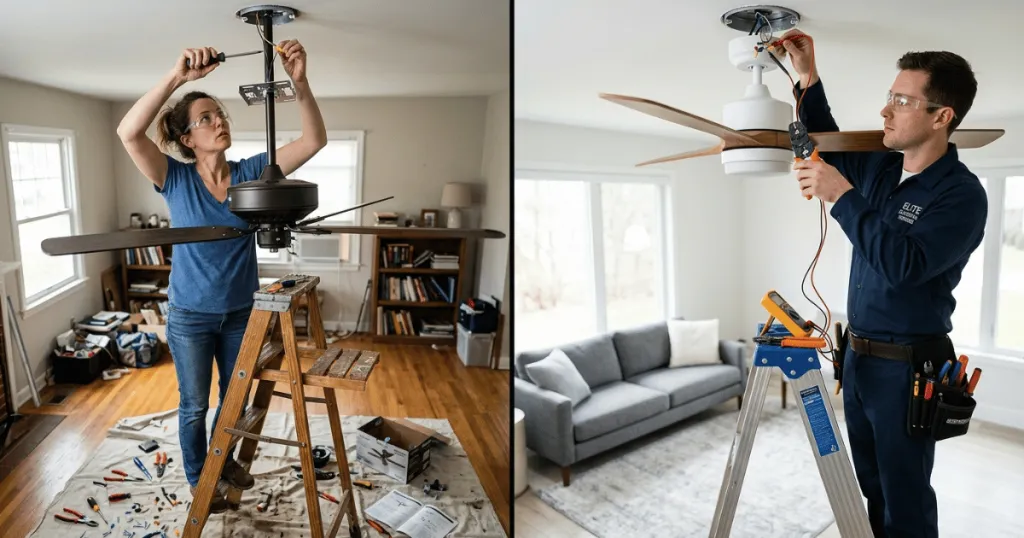
If you discover that the mounting bracket is rusted or the electrical box is loose, you may need additional hardware or a new junction box. Always check the condition of the existing wiring. If the insulation appears brittle or cracked, do not attempt to force the wires; this is a sign that the wiring may need professional attention. If you feel uncomfortable at any point during the process, especially when dealing with older wiring, stop and consult a licensed electrician.
Understanding the Flush Mount Mechanism
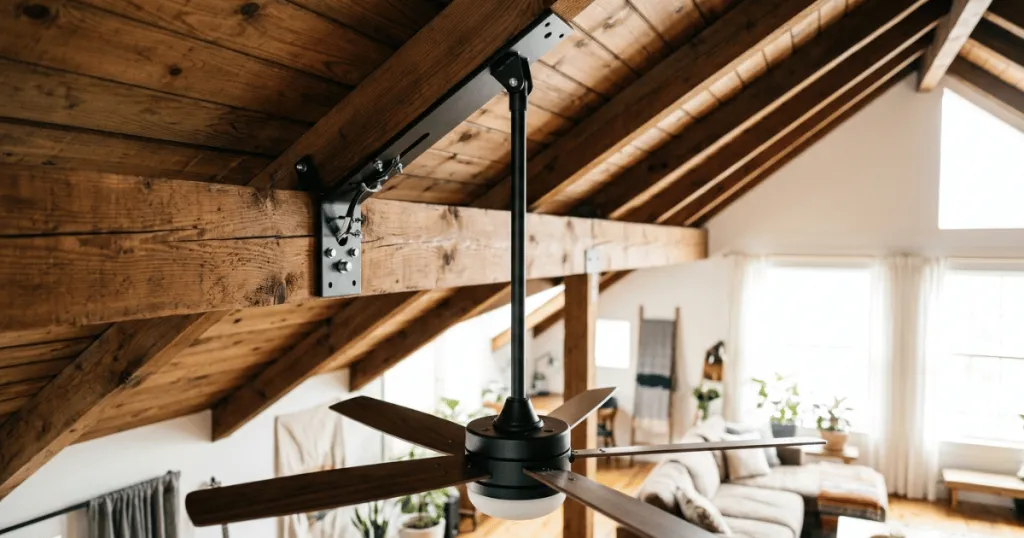
Flush mount fans, often referred to as “hugger” fans, are designed for rooms with lower ceiling heights. Because they lack a downrod, the motor housing sits flush against the ceiling canopy. This design creates a very clean aesthetic but complicates the removal process because you have almost zero clearance to reach the internal wiring while the fan is still partially attached. Understanding that the canopy is usually the primary structural anchor is key. In many cases, the canopy is screwed directly into a mounting plate that is bolted to the junction box. Recognizing this hierarchy-canopy, then motor, then bracket-helps you plan your disassembly sequence to avoid unnecessary strain on the ceiling drywall.
Step-by-Step Removal Process
Follow these steps in order to ensure a smooth removal process. Do not skip the safety verification, even if you are confident the breaker is off.
- Verify Power and Clear the Area: Confirm the power is off at the breaker. Clear the room of furniture and place a drop cloth underneath the fan to catch any dust or debris.
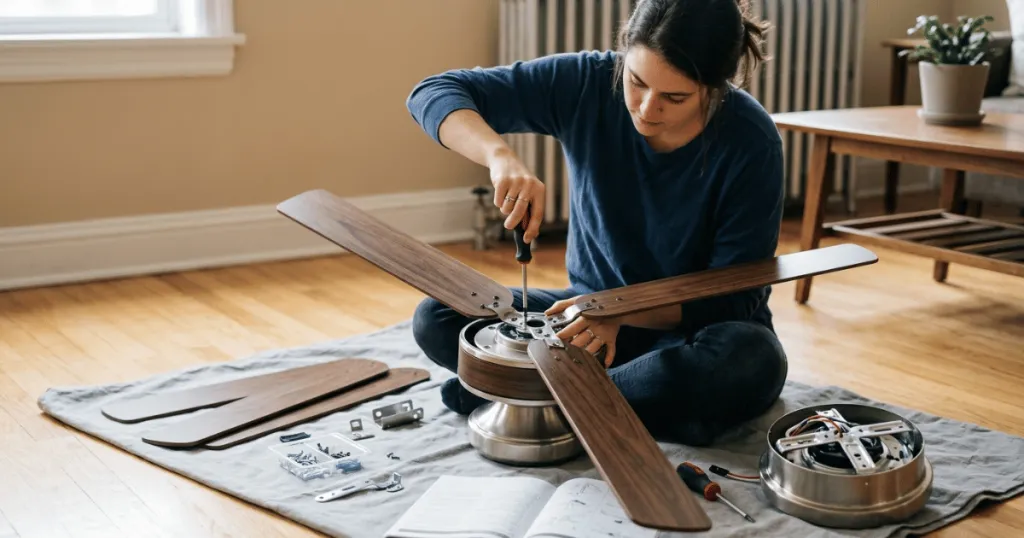
- Remove the Fan Blades: It is significantly easier to handle the fan motor once the blades are removed. Use your screwdriver to detach each blade bracket from the motor housing. Keep the screws organized in a small container.
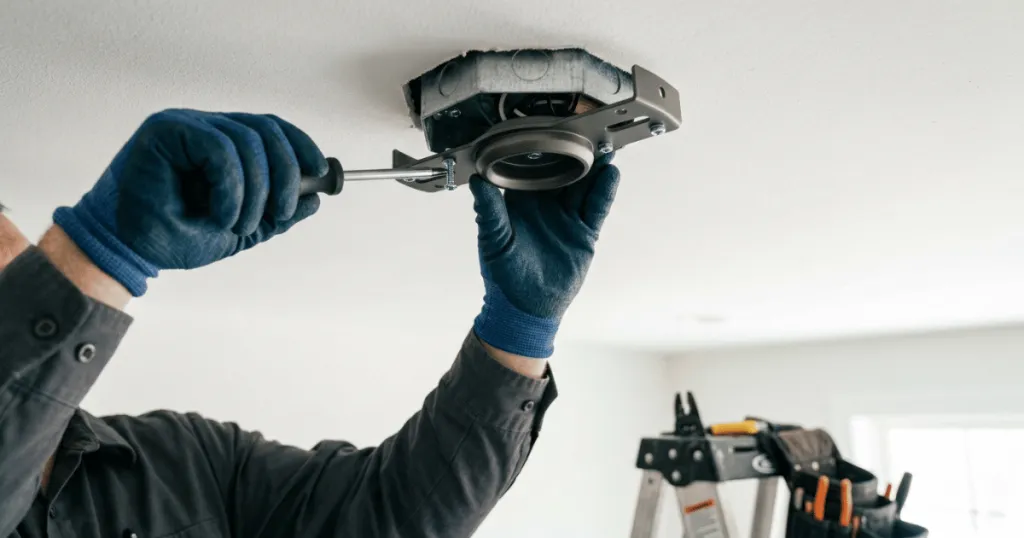
- Expose the Canopy Screws: Locate the screws holding the canopy cover against the ceiling. If there is a decorative ring, gently pry it off or unscrew it to reveal the mounting screws underneath.
- Support the Motor Housing: This is where a helper is invaluable. As you begin to loosen the final screws, the motor will want to drop. Have your assistant hold the motor firmly against the ceiling until you are ready to lower it.
- Disconnect the Wiring: Once the canopy is loose, lower the fan housing just enough to access the wire connections. Unscrew the wire nuts and separate the fan wires from the house supply wires. Immediately cap the house supply wires with wire nuts to prevent accidental contact.
- Remove the Mounting Bracket: With the fan motor safely on the floor, remove the mounting bracket from the junction box. Inspect the box to ensure it is still securely attached to the ceiling joist.
Managing Weight and Balance During Removal
One of the most overlooked aspects of ceiling fan removal is the distribution of weight. Even without the blades, the motor housing of a flush mount fan can be surprisingly heavy. When you reach the final stage of unscrewing the canopy, the entire weight of the unit shifts instantly to the last screw. If you are working alone, you must ensure that the fan is supported by a secondary means, such as a sturdy box placed on a ladder or a helper holding the weight.
Failing to account for this shift can cause the fan to tilt suddenly, potentially stripping the screw threads in the junction box or, worse, causing the fan to fall and damage the ceiling drywall. Always keep your hands positioned to stabilize the motor housing before you remove the final fastener.
Common Mistakes to Avoid
One of the most frequent mistakes homeowners make is trying to remove the entire fan assembly in one piece. The weight of the motor is substantial, and attempting to hold it while unscrewing the mounting bracket is a recipe for injury or ceiling damage. Always remove the blades first to reduce the weight and improve your visibility.
Another common error is failing to secure the electrical wires properly after disconnection. Leaving exposed copper wires in the junction box is a significant fire hazard. Always use wire nuts to cap each wire individually and wrap them with electrical tape for extra security. Never leave wires dangling or touching the metal edges of the junction box.
Avoid using excessive force when removing stubborn screws. If a screw is painted over or rusted, use a penetrating oil and let it sit for a few minutes before trying again. Forcing a stuck screw often results in a stripped head, which makes the removal process exponentially more difficult. If you encounter a screw that will not budge, use a manual impact driver or a specialized screw extractor rather than continuing to grind away with a standard screwdriver.
Troubleshooting During Removal
If you find that the mounting bracket is stuck, it may be due to the ceiling texture or paint holding it in place. Use a utility knife to carefully score the perimeter of the canopy where it meets the ceiling. This prevents the paint or texture from peeling away in large chunks when you pull the bracket down.
If you discover that the electrical box is not a fan-rated box, you have encountered a safety issue. Standard light fixture boxes are not designed to support the weight and vibration of a ceiling fan. If you find this during removal, do not reinstall a fan in that same location without upgrading the box to a fan-rated model. This is a crucial step for long-term safety and structural integrity.
Should you find that the wiring inside the box is too short to work with comfortably, do not pull on the wires. If they are tight, you may need to loosen the cable clamp inside the box to gain a little extra slack. If the wires are still too short, you may need to add a junction box extension or consult an electrician to ensure you have enough wire length to safely connect a new fixture in the future.
Preserving Ceiling Integrity
Removing a flush mount fan often leaves behind a “ghost” of the previous fixture. Because these fans sit tight against the ceiling, the area covered by the canopy is often unpainted or contains trapped dust and debris. When you remove the unit, you may notice a ring of dust or a slight discoloration in the paint.
To minimize damage, use a putty knife to gently separate the canopy from the ceiling before pulling it down. If the paint does peel, do not panic; this is a standard part of fixture replacement. You can easily patch small areas with spackle, sand them smooth, and touch up the paint. If you are planning to install a new fan, check the diameter of the new canopy; if it is larger than the old one, it may cover any minor blemishes left behind by the previous installation.
Final Safety Checks and Cleanup
Once the fan and bracket are removed, take a moment to inspect the junction box one last time. Ensure that the box is firmly anchored to the ceiling joist. If it wiggles or feels loose, tighten the mounting screws or add additional support. Check the electrical wires for any signs of heat damage, such as melted insulation or charred wire nuts. If the wires look healthy, tuck them neatly back into the box. If you are not installing a new fixture immediately, cover the junction box with a blank wall plate to keep dust out and maintain electrical safety.
Finally, clean your work area, dispose of the old fan parts responsibly, and ensure that your circuit breaker remains off until you are ready to proceed with the next phase of your project.
FAQ
Do I really need to remove the blades before taking down the fan?
Yes. Removing the blades significantly reduces the weight of the fan motor and makes the unit much easier to handle. It also prevents the blades from hitting the ceiling or your ladder during the removal process.
What should I do if the ceiling paint peels when I remove the canopy?
This is common with flush mount fans that have been in place for years. Use a utility knife to score the paint line around the canopy before fully removing it to minimize further damage. You will likely need to touch up the paint once the new fixture is installed.
Can I leave the mounting bracket if I am installing a new fan?
It is generally better to remove the old bracket. Different fan manufacturers use proprietary bracket designs, and your new fan will likely require the specific bracket included in its own box to ensure a secure fit and proper electrical safety.