Determining ceiling fan light kit compatibility is often the most confusing part of upgrading or repairing a home cooling fixture. Many homeowners assume that because a light kit looks like it fits the housing, it will function correctly, but this is rarely the case. Ceiling fan light kit compatibility depends on a complex interplay of electrical connections, mounting hardware, and the specific design language used by the manufacturer. If you are looking to add a light to a fan that currently lacks one, or if you need to replace a damaged fixture, you must look beyond the physical appearance of the parts.
Understanding these requirements upfront saves you from the frustration of incompatible wiring or mounting points that simply do not align. Because fans are not universal, even within the same brand, you cannot rely on guesswork. This guide explores the technical factors that dictate whether a specific light kit will work with your existing fan, helping you navigate the process safely and effectively.
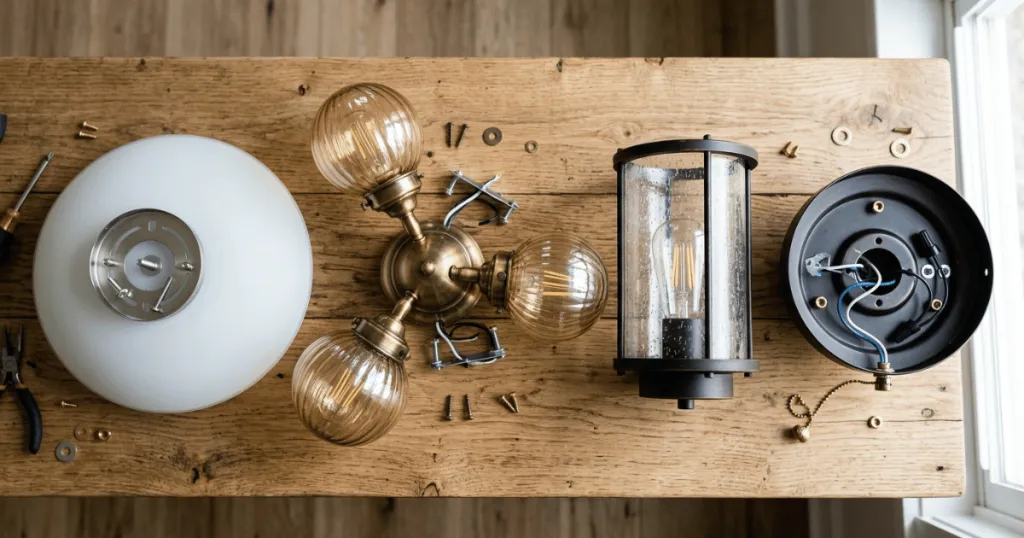
Key Factors for Ceiling Fan Light Kit Compatibility
The first and most important factor in determining compatibility is the manufacturer’s proprietary design. Most ceiling fan companies use specific, non-standardized housing mounts for their light kits. A light kit designed for a specific series of fans from one brand will almost never fit a fan from another brand, or even a different series from the same brand. These housings are engineered with unique screw patterns, specific plug-and-play wiring harnesses, and custom-shaped mounting plates that act as a lock-and-key system.
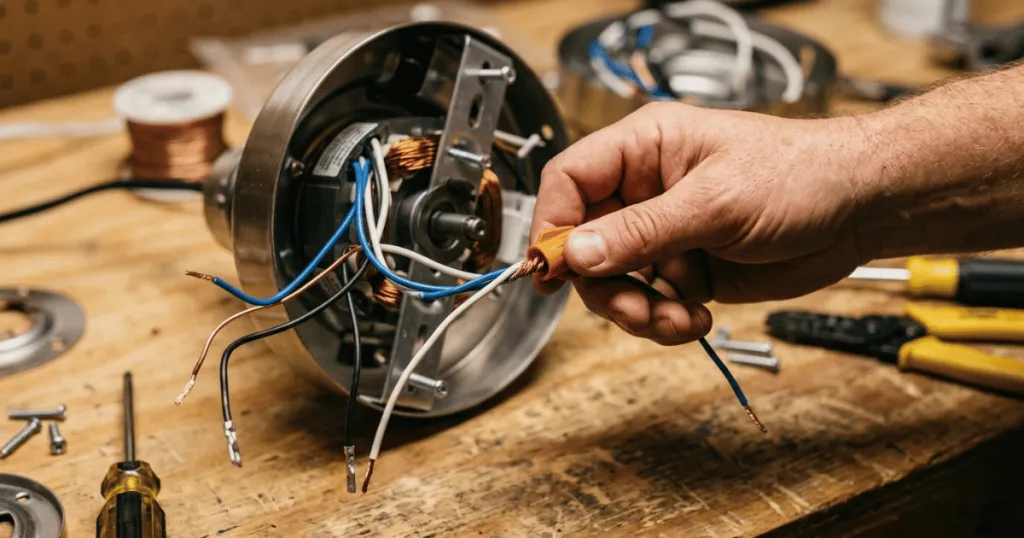
Electrical connectivity is the next hurdle. Many modern fans use proprietary quick-connect plugs that eliminate the need for wire nuts. If your fan uses a specific multi-pin connector, your light kit must feature the matching female or male end. If you attempt to cut and splice these wires, you risk voiding your warranty and potentially creating a fire hazard if the connections are not properly insulated or if the voltage requirements do not align. Always verify that the light kit is rated for the same voltage as your fan motor, which is almost always 120V in North American homes.
Weight and balance also play a significant role in long-term performance. Adding a heavy glass-shade light kit to a fan that was not designed to support that extra mass can cause the motor to wobble or the mounting bracket to fatigue over time. If a fan is not explicitly marketed as light-kit adaptable, the internal structure of the switch housing may not be reinforced to handle the additional weight. This is why checking the manufacturer’s technical specifications for your specific model number is mandatory before purchasing any add-on component.
Furthermore, consider the thermal management of the motor housing. Some light kits include integrated LED arrays that generate heat. If the fan housing is not designed to dissipate this heat, the internal electronics or the motor itself may suffer from premature degradation. Proper airflow around the light kit assembly is essential for both the longevity of the light source and the integrity of the fan motor. When you select a compatible kit, you are choosing a component that has been tested to operate within the thermal envelope of that specific fan model.
Real-World Context and Installation Scenarios
In practice, the most common scenario involves a homeowner trying to add a light to a fan that was installed without one. If your fan is labeled as light-kit adaptable, you will usually find a removable cap on the bottom of the switch housing. Behind this cap, there is typically a wire lead specifically intended for a light kit. This is the ideal situation, as it indicates the manufacturer has already accounted for the electrical load and the mounting hardware.
However, if you do not see a removable cap or a clear mounting point, the fan is likely not designed for a light kit. A common mistake is attempting to drill into the switch housing to create a mounting point. This is dangerous because it can damage the internal wiring or the motor housing itself. If your fan does not have a designated light kit port, the most practical solution is to replace the entire fan unit with one that includes the desired lighting features. Attempting to force a modification is rarely worth the time or the safety risk.
Another scenario involves replacing an existing, broken light kit. Even if you have the original brand, you must ensure the model years are compatible. Manufacturers frequently update their internal designs while keeping the exterior of the fan looking identical. A light kit from a 2015 model may have a different wiring harness than a 2023 model of the same fan. Always use the model number found on the top of the motor housing, not just the name of the fan, when searching for replacement parts. This specific identifier is the only way to ensure you are getting a part that matches the internal engineering of your unit.
When dealing with older fans, you may encounter discontinued parts. In these instances, the manufacturer might offer a conversion kit or a specific adapter, but this is not guaranteed. If a part is no longer available, do not attempt to fabricate a custom bracket. The mechanical stress placed on the switch housing during high-speed operation is significant, and makeshift attachments often fail, leading to dangerous conditions where the light fixture could detach from the fan while it is spinning.
Why Compatibility Matters for Safety and Longevity
The importance of ceiling fan light kit compatibility extends far beyond simple aesthetics. When you install an incompatible part, you are essentially introducing an unknown electrical load to the fan’s control system. If the light kit draws more current than the fan’s internal wiring or receiver is designed to handle, you could experience flickering, premature bulb failure, or even overheating of the switch housing. In severe cases, this can lead to damaged internal components that are expensive to replace.
Safety is the primary reason to prioritize compatibility. Ceiling fans are dynamic appliances that experience constant vibration. If a light kit is not secured using the manufacturer-specified hardware, the vibration can cause screws to loosen over time. A loose light fixture is not just a nuisance; it is a potential hazard if the glass or the entire assembly falls. By sticking to parts that are officially tested for your model, you ensure that the vibrations are managed and the connections remain secure under normal operating conditions.
Finally, consider the role of the remote control or wall switch. Many fans with lights use integrated receivers that handle both the motor speed and the dimming of the light. If you install a light kit that is not compatible with that receiver, you may lose the ability to dim the lights or, worse, the receiver may fail to recognize the new load entirely. This often leads to the light staying on permanently or refusing to turn on at all. Using compatible components keeps the entire control system functioning as the manufacturer intended.
Beyond the immediate electrical concerns, there is the matter of structural integrity. The switch housing serves as a critical junction point for the fan. If you add a light kit that requires a different mounting plate, you might be tempted to leave out screws or use hardware that does not match the threading. This creates a weak point in the fan assembly. Over time, the constant torque from the motor can cause these misaligned connections to strip or shear, resulting in a catastrophic failure of the light kit attachment. Always verify that the mounting hardware provided with the kit matches the existing screw holes on your fan housing exactly.
Common Misconceptions About Light Kits
One major misconception is that all light kits are universal because they use standard light bulbs. While the bulb socket might be a standard E26 base, the housing that holds the socket is anything but universal. Many people purchase a generic light kit, thinking they can simply wire it into the fan’s power supply. They soon discover that the mounting hardware does not align with the fan’s switch housing, leaving them with a kit that cannot be attached safely.
Another common error is assuming that if a light kit fits the physical screw holes, it is safe to use. Just because the holes line up does not mean the electrical load is compatible or that the weight distribution is correct. A fan motor is a precision-balanced machine. Adding an off-center or overly heavy light kit can throw off this balance, leading to excessive noise, wobbling, and accelerated wear on the motor bearings. Always prioritize the manufacturer’s guidance over the visual appearance of the parts.
Lastly, some believe that LED upgrades are universal. While LED bulbs are generally more efficient, the light kit housing itself must still be compatible with the fan. If you are switching to an LED-integrated light kit, ensure the driver is compatible with your fan’s existing control system. Some older fan remotes are not compatible with the electronic drivers found in modern LED light kits, which can cause the lights to hum or strobe. Always check the compatibility list provided by the manufacturer before making the switch.
It is also worth noting that some homeowners believe they can bypass compatibility issues by using an external power source for the light kit. This is highly discouraged. Running separate wiring to a ceiling fan light kit creates a complex electrical setup that is difficult to troubleshoot and potentially violates local building codes. Your ceiling fan should be treated as a single, integrated electrical appliance. If the light kit does not integrate with the fan’s internal wiring, it is not the correct part for that installation.
Troubleshooting and Maintenance Guidance
If you have already installed a light kit and are experiencing issues, the first step is to isolate the problem. Start by checking the quick-connect plugs. Sometimes these connectors appear to be snapped together but are not fully seated, leading to intermittent power. Ensure that the pins are not bent and that the plastic housing is locked firmly in place. If the connection seems loose, do not force it. Instead, inspect the pins for debris or corrosion that might be preventing a solid contact.
If the light is flickering, check the compatibility of your bulbs with the fan’s dimmer system. Many fans use proprietary dimming modules that are designed for incandescent or halogen bulbs. If you have installed LED bulbs, they must be rated as dimmable, and they must be compatible with the specific type of dimmer used in your fan. If the flickering persists even with compatible bulbs, the issue may lie with the fan receiver itself. In such cases, the receiver may need to be replaced or reset according to the manufacturer’s instructions.
Finally, keep an eye on the mechanical stability of the light kit. If you notice the fan beginning to wobble after a light kit installation, check the balance of the fan blades first. If the blades are balanced but the fan still wobbles, the light kit might be slightly off-center. Even a few grams of imbalance can cause significant vibration at high speeds. If you cannot resolve the wobble, remove the light kit to see if the fan returns to its original, stable state. This will confirm whether the light kit is the source of the mechanical issue.
Conclusion
Achieving proper ceiling fan light kit compatibility requires a disciplined approach to research and part selection. By focusing on your fan’s specific model number and adhering to manufacturer-approved components, you ensure that your upgrade is safe, functional, and durable. Avoid the temptation to force-fit parts or rely on visual similarities, as these shortcuts often lead to electrical issues or mechanical instability. When in doubt, consult the original manual or the manufacturer’s technical support to confirm that your chosen light kit is the right match for your ceiling fan.
FAQ
Can I use a universal light kit on any ceiling fan?
No. Most ceiling fan light kits are brand-specific and model-specific. Even if a kit looks like it might fit, the mounting holes and wiring harnesses are rarely universal. You should always verify compatibility using your fan’s specific model number.
How do I find my ceiling fan’s model number?
The model number is typically printed on a sticker located on the top of the motor housing, which is the part of the fan that attaches to the ceiling. You may need to use a ladder to see it clearly, and it is often helpful to take a photo of the label for reference.
What happens if I install an incompatible light kit?
Installing an incompatible kit can lead to several issues, including poor electrical connections, flickering lights, damaged internal wiring, or mechanical instability. In some cases, the added weight can cause the fan to wobble or the motor to overheat.
Is it safe to splice wires if the light kit plug does not match?
We generally advise against splicing wires. Doing so can void your warranty, create fire hazards if connections are not properly insulated, and interfere with the fan’s electrical load capacity. It is safer to use only components that feature the correct, manufacturer-approved connectors.