Short Answer: To fix a broken pull chain, you must turn off the power at the breaker, open the switch housing, and replace the faulty pull-chain switch with a compatible model. Always document the wiring before disconnecting the old switch to ensure the new one is installed correctly.
When your ceiling fan stops responding to the pull chain, it is often a sign of a broken internal switch or a snapped cord rather than a motor failure. Learning how to fix ceiling fan chain mechanisms is a manageable task for most homeowners, provided you have the right replacement parts and a clear understanding of the internal wiring. By following the correct steps, you can restore your fan to full functionality without needing to replace the entire unit. You should expect a fully operational fan that cycles through its speed settings smoothly once you have successfully replaced the faulty switch.
This process primarily involves accessing the switch housing to replace the faulty pull-chain switch. Whether the chain snapped off flush with the housing or the switch itself no longer clicks when pulled, the repair path remains consistent. We will walk you through the safety precautions, the disassembly process, and the final testing required to ensure your fan operates reliably for years to come.
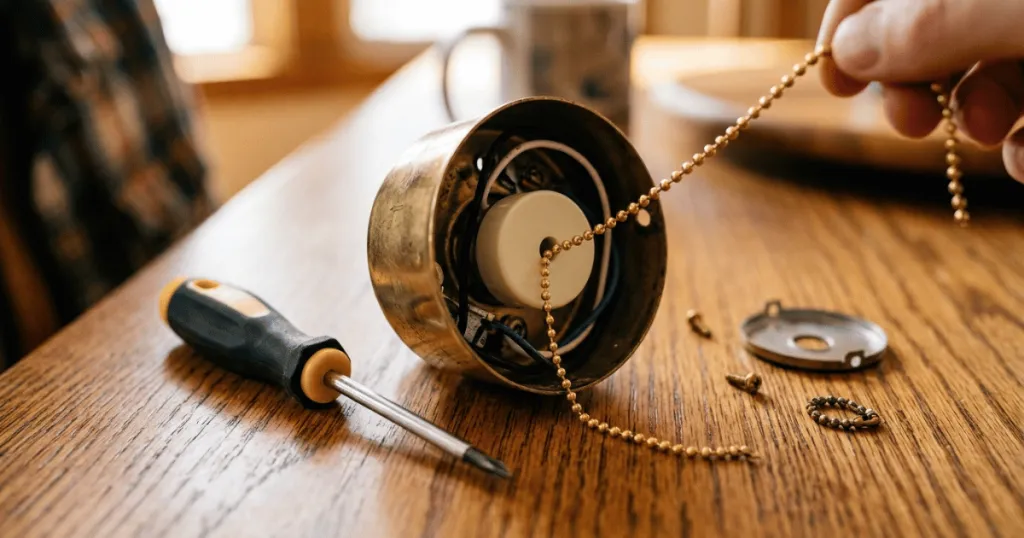
Before You Start: Assessing the Damage
Before you reach for your screwdriver, take a moment to evaluate the specific nature of the problem. Not every chain issue requires a full switch replacement. If the chain is simply too short, you can easily extend it using a standard pull chain extension kit found at most hardware stores. If the chain has snapped, check if there is enough length remaining to attach a new connector or extension. If the chain has pulled entirely out of the switch, the internal mechanism is likely broken, and a full switch replacement is necessary.
Safety is the most important factor when working on any electrical fixture. Always turn off the power to the ceiling fan at the wall switch and, for maximum safety, at your home’s circuit breaker panel. Never assume the wall switch is enough to prevent accidental power flow. Use a non-contact voltage tester to confirm that no electricity is running to the fan housing before you begin opening the unit. This step is not optional and should never be skipped.
Gather your tools before you start. You will need a Phillips-head screwdriver, a pair of needle-nose pliers, a wire cutter or stripper, and a replacement pull-chain switch that matches the specifications of your existing one. It is helpful to have a small container to hold the screws you remove, as these are often small and easily lost on carpeted floors. If you are working on a ladder, ensure it is stable and positioned on a level surface to prevent injury while you work overhead.
Prerequisites and Tool Preparation
To successfully complete this repair, you must source the correct replacement switch. Ceiling fan switches are not universal. They vary by the number of wires, the number of speeds, and the physical mounting configuration. Before buying a replacement, open the switch housing to inspect the existing switch. Look for a model number or a wiring diagram printed on the side of the switch. Taking a clear photograph of the current wiring setup is a crucial step that will save you significant frustration during the reassembly process.
When selecting a new switch, pay attention to the wire gauge and the number of leads. Some fans use a two-wire switch for simple on/off operation, while others use a three-wire or four-wire switch to control multiple speeds. Installing the wrong switch can result in a fan that only runs at one speed or, worse, a short circuit that damages the motor. Always prioritize parts that match the manufacturer’s original specifications if possible.
Consider the mounting style of your switch as well. Some switches feature a threaded brass nose that protrudes through the housing, while others are internal components held by specific brackets. If you are unsure about the compatibility, bring the old switch to a local hardware store to compare the physical dimensions and the number of wire leads. This proactive check prevents multiple trips and ensures you have the correct component on hand before you start the disassembly.
Step-by-Step Instructions: How to Fix Ceiling Fan Chain
Follow these steps in order to ensure a safe and successful repair. If at any point you feel uncomfortable with the wiring or the assembly, stop and consult a licensed electrician.
- Power Down: Turn off the circuit breaker controlling the fan. Verify the power is off using a voltage tester on the fan housing screws.
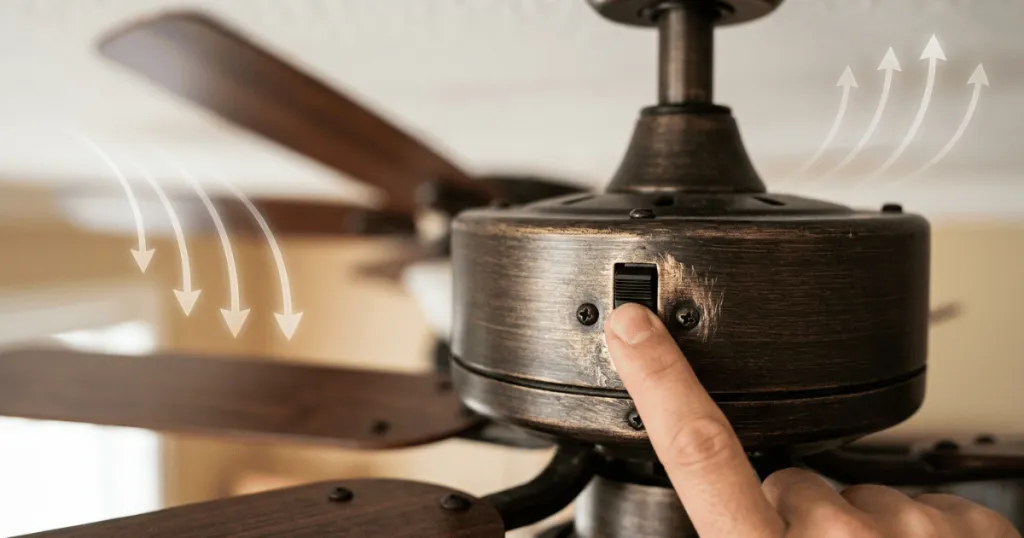
- Remove the Housing: Unscrew the decorative switch housing cover. This is usually held in place by three or four small screws around the perimeter of the fan motor assembly. Carefully lower the cover, keeping the internal wires connected for now.
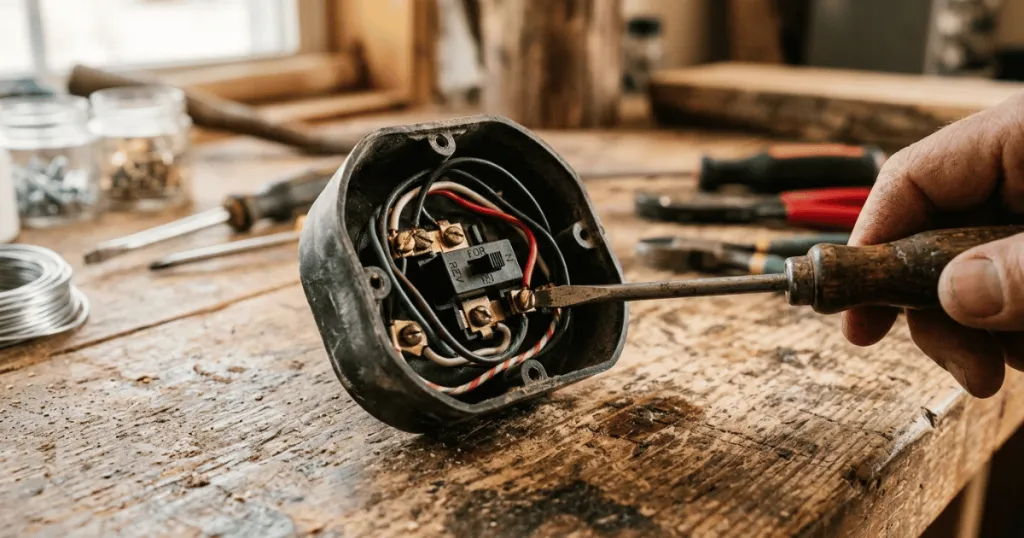
- Document the Wiring: Before disconnecting anything, take a photo of how the wires are connected to the current switch. Note which color wire goes into which terminal or which wire nut.
- Remove the Faulty Switch: Unscrew the nut holding the pull chain switch to the housing. Use your pliers to loosen the nut if it is tight. Once free, disconnect the wires from the switch. If they are connected via wire nuts, unscrew them. If they are push-in terminals, use a small screwdriver to release the wire.
- Install the New Switch: Connect the wires to your new switch exactly as they were on the old one, referring to your photo. Ensure all connections are tight and secure. If using wire nuts, give each wire a gentle tug to ensure it is firmly seated.
- Reassemble the Housing: Carefully tuck the wires back into the housing, ensuring they are not pinched by the cover. Reattach the housing cover with the screws you removed earlier.
- Test the Operation: Turn the power back on at the breaker. Test the fan at each speed setting to ensure the new switch is functioning correctly and that the chain moves smoothly without catching on the housing.
Deep Dive: Understanding Switch Mechanics and Wiring
The internal switch is the heart of your fan control system. Most ceiling fan pull switches are rotary mechanisms that engage different electrical contacts as you pull the chain. When you pull the chain, a small internal gear rotates, moving a contact plate to complete the circuit for a specific speed setting. Over time, the plastic housing of these switches can become brittle, or the internal metal contacts can oxidize, leading to a failure where the fan stops responding or gets stuck on a single speed.
When you are wiring the new switch, you will often encounter wire nuts. These are essential for creating a secure, insulated connection between the fan motor wires and the switch leads. If you notice that the existing wire nuts are cracked or loose, replace them with new ones of the correct size. A loose wire nut can lead to arcing, which creates heat and can potentially melt the wire insulation or cause intermittent fan operation. Always ensure the copper conductors are twisted together properly before threading the wire nut onto the bundle.
If your fan uses push-in terminals, you might find that the wires are difficult to remove. These terminals often have a small release slot where you can insert a tiny flat-head screwdriver or a paperclip to depress the internal spring. Do not pull the wires forcefully, as this can damage the internal contact or break the wire itself. Patience is key when dealing with these delicate connections, especially if the fan has been in place for many years and the plastic has aged.
Common Mistakes to Avoid
A frequent error is failing to document the original wiring configuration. Even if you think you will remember which wire goes where, the stress of the repair can lead to confusion. Always take a clear, well-lit photograph before disconnecting any wires. Another common mistake is forcing the housing cover back on. If it does not fit easily, you likely have a wire pinched inside. Take the time to rearrange the wires until the cover sits flush against the motor housing without resistance.
Avoid using electrical tape as a substitute for proper wire nuts. While it might seem like a quick fix, wire nuts provide a mechanical connection that is far more reliable and safe. If you find that the wire ends are frayed or damaged, trim them back and strip a fresh portion of the wire to ensure a solid contact. Finally, do not overtighten the nut that secures the switch to the housing. It only needs to be finger-tight plus a quarter turn with pliers to prevent it from spinning when you pull the chain.
Another common oversight involves neglecting the chain guide. Many fans have a small plastic or metal guide that prevents the chain from rubbing against the sharp edge of the housing. If this guide is missing or misaligned, the chain will eventually cut through the housing or snap again. During reassembly, ensure the chain exits the housing through the designated hole without any lateral tension. If the chain pulls at an angle, the internal switch will experience uneven wear, leading to a repeat of the failure.
Troubleshooting Your Repair
If your fan does not turn on after the repair, the most likely culprit is a loose wire connection. Double-check the wire nuts or terminals to ensure every wire is making solid contact. If the fan runs but only at one speed, you may have used a single-speed switch instead of a multi-speed switch, or you may have wired the speed leads incorrectly. Re-verify your wiring against the diagram on the new switch packaging.
If the chain feels stiff or difficult to pull, the switch might be slightly misaligned with the hole in the housing. Loosen the mounting nut slightly and adjust the position of the switch so the chain hangs straight down through the center of the opening. This simple adjustment prevents the chain from rubbing against the metal edge of the housing, which is a common cause of premature chain breakage. If you continue to experience issues, the switch itself could be defective, which is rare but possible; in this case, exchange the part for a new one.
Consider the possibility of a capacitor failure if the switch is new and wired correctly but the fan still hums or fails to start. While the pull chain switch controls the speed, the capacitor manages the motor start and run phases. If you have replaced the switch and the fan still behaves erratically, the capacitor might be the next logical component to inspect. However, focus on the switch first, as it is the most common point of failure for manual pull-chain systems.
Maintenance Tips for Longevity
To prevent future issues, avoid pulling the chain with excessive force. Many people yank the chain downward, which puts unnecessary strain on the switch mechanism. Instead, pull the chain gently and at a slight angle that follows the path of the internal switch movement. If you have children in the home, consider installing a decorative pull chain extension that is easier to reach, which reduces the likelihood of the chain being pulled at sharp, damaging angles.
Periodically inspect the chain for signs of wear or corrosion. If you live in a humid climate, the metal chain can corrode, making it brittle and prone to snapping. A light application of a silicone-based lubricant can help if the chain feels rough, but be careful not to get any lubricant inside the switch housing itself, as this can attract dust and cause the internal contacts to fail prematurely. Keeping the fan clean and free of dust buildup also helps the housing components stay cool and functional.
Conclusion
Learning how to fix ceiling fan chain issues is a practical skill that extends the life of your home cooling fixtures. By carefully documenting your wiring, selecting the correct replacement part, and prioritizing safety at every step, you can complete this repair with confidence. A properly functioning pull chain ensures your fan remains a reliable source of comfort throughout the year, saving you the expense and effort of replacing an entire unit for a minor mechanical fault. With the right approach, this DIY task is a straightforward way to maintain your home comfort systems.
FAQ
Can I use any universal pull chain switch?
No, you must use a switch that matches your fan’s specific wiring and speed requirements. A switch designed for a single-speed fan will not work for a three-speed fan, and using the wrong one can cause motor damage.
What if my chain broke off inside the switch?
If the chain is broken flush with the switch, the internal mechanism is likely damaged. You will need to replace the entire switch assembly, as these units are generally sealed and cannot be repaired internally.
Is it safe to fix a ceiling fan chain without an electrician?
Yes, if you are comfortable working with basic electrical wiring and can verify the power is off at the breaker. If you are uncertain about the wiring or the fan is hard-wired in a complex way, consult a professional.