Quick Answer: To change the rotation, turn off the fan and wait for it to stop completely. Locate the reversing switch on the motor housing or use the ‘Reverse’ button on your remote. Toggle the switch to the opposite position, then turn the fan back on at a low speed to verify the new direction.
Adjusting your ceiling fan to spin in the correct direction is one of the most effective ways to improve indoor comfort and manage energy usage throughout the year. By ensuring your blades move in the proper orientation, you can create a gentle breeze during the sweltering summer months or push trapped warm air down from the ceiling during the winter. When you finish this process, your fan will effectively complement your HVAC system, helping you maintain a consistent temperature in any room without unnecessary strain on your heating or cooling equipment.
Understanding the simple mechanics behind these settings allows you to take full control of your home’s airflow. Whether you are dealing with a standard pull-chain model or a modern wall-controlled unit, the core principle remains the same: you are simply reversing the motor’s direction to change how air is displaced. This quick adjustment is a fundamental skill for any homeowner looking to optimize their living environment.
By mastering the seasonal transition of your ceiling fan, you will achieve a more balanced home climate. You can expect to feel a noticeable difference in room temperature regulation once the blades are correctly oriented for the current season. This guide will walk you through the necessary steps on how to change ceiling fan rotation to ensure your fan operates at peak efficiency.
Before You Start: Understanding Airflow Dynamics
Before you reach for the switch, it is helpful to understand why direction matters. Ceiling fans do not actually change the temperature of the air; instead, they change how you perceive it through wind chill or air circulation. In the summer, you want the fan to spin counter-clockwise. This creates a downward draft that pushes air directly onto the floor, creating a cooling sensation on your skin. This is ideal for occupied spaces where you want to feel a breeze.
Conversely, the winter setting requires a clockwise rotation. When a fan spins clockwise at a low speed, it creates an updraft. This gentle movement pulls cool air from the floor level toward the ceiling, where it displaces the warm air that naturally rises and gets trapped near the rafters. This warm air is then pushed out toward the walls and back down to the floor, effectively mixing the room’s air without creating a direct, chilly breeze on the occupants.
Safety is the most important factor before you begin. Never attempt to change the rotation while the fan is currently in motion. Always turn the fan off completely and wait for the blades to come to a full, dead stop. Reaching toward spinning blades is a significant safety hazard, and trying to force the switch while the motor is engaged can damage the internal reversing mechanism. If your fan is mounted on a high ceiling, ensure you have a stable, secure ladder rather than balancing on furniture.
Understanding thermal stratification is key to why this works. In winter, heat rises, often leaving your floor cold while the ceiling is significantly warmer. By reversing the ceiling fan motor, you force that heat back into the living space, which can reduce the workload on your furnace or heat pump. This is a passive form of energy conservation that requires nothing more than a simple toggle.
Tools and Prerequisites
For most residential ceiling fans, you will not need any specialized tools. The vast majority of manufacturers include a manual reversing switch located directly on the motor housing, which is the cylindrical unit just above the blade brackets. If you have a high-mounted fan, your primary “tool” will be a sturdy stepladder that allows you to reach the housing comfortably and safely.
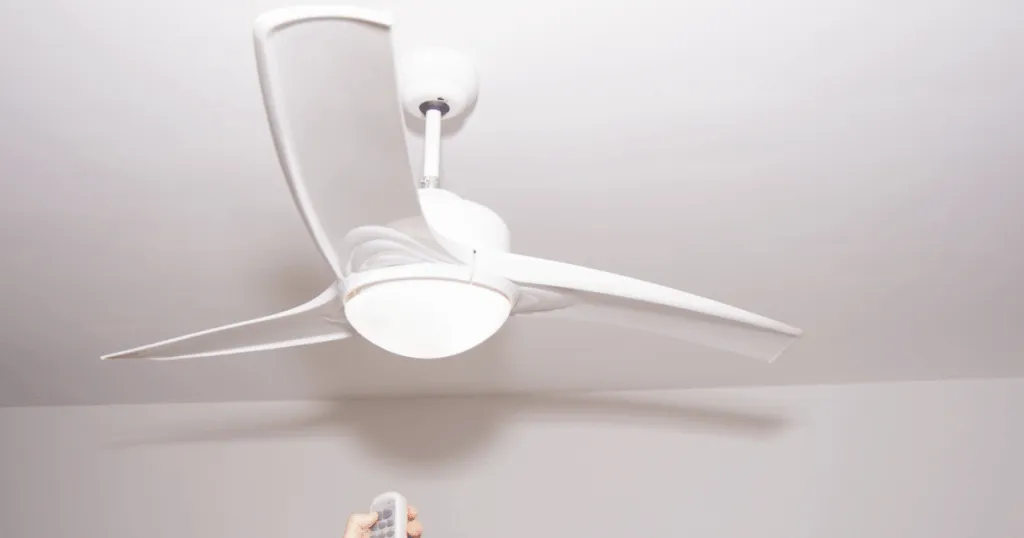
If you are working with a modern fan that uses a remote control or a wall-mounted digital switch, the process is even simpler. These models typically feature a dedicated button labeled “Reverse” or a circular arrow icon. You will not need to climb a ladder for these units, as the signal is handled electronically by the fan’s receiver. Check your specific manufacturer’s documentation if you are unsure whether your model is controlled via a physical switch or a remote command.
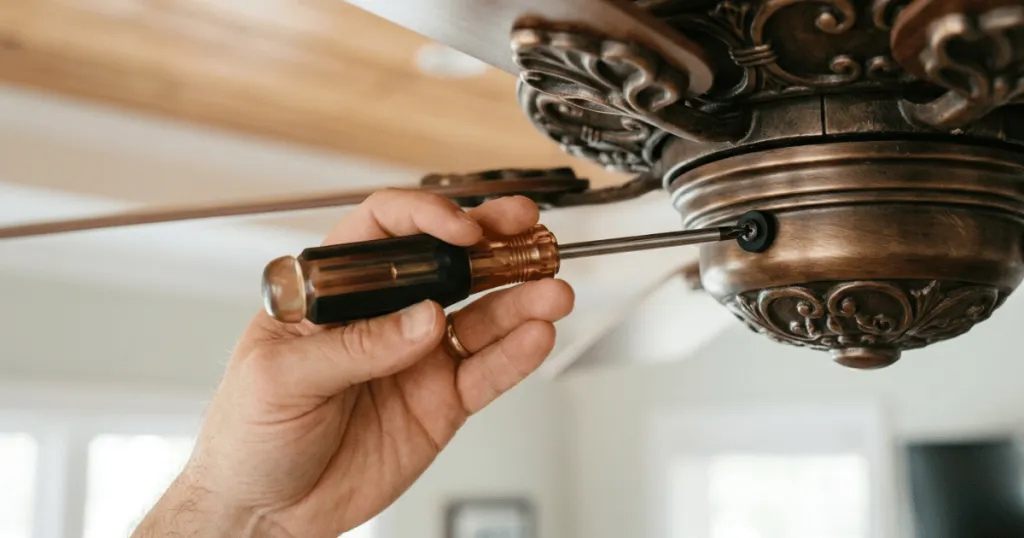
Before you start, verify that the fan is fully powered down. If you are using a ladder, ensure it is positioned on a flat, level surface. It is also a good practice to clean the blades while you are up there, as dust accumulation can affect the fan’s balance and airflow efficiency. A quick wipe with a damp cloth is usually sufficient to ensure the blades remain aerodynamic and quiet. If you notice the blades are loose, this is also the perfect time to tighten the screws connecting them to the motor housing, as vibration can lead to noise over time.
Step-by-Step Instructions
Follow these steps to safely and effectively change the direction of your ceiling fan motor.
- Power Down the Fan: Use your wall switch or remote control to turn the fan off completely. Wait for the blades to stop spinning entirely. Do not attempt to bypass this step, as the momentum of the blades can make the switch difficult to toggle and may cause mechanical strain.
- Locate the Reversing Switch: If your fan uses a manual switch, look for a small toggle or slide switch on the side of the motor housing. It is usually located just above the blade irons. If you have a remote-controlled fan, locate the “Reverse” button on your handheld remote or wall panel.
- Toggle the Direction: For manual switches, slide the toggle to the opposite position. If it was set to the left, move it to the right. If you are using a remote, press the reverse button once. You may hear a faint click or see the fan briefly pause before it begins to spin in the new direction.
- Verify the Rotation: Turn the fan back on at a low speed. Stand directly under the fan to observe the direction of the blades. Counter-clockwise rotation (for summer) should push air downward. Clockwise rotation (for winter) should pull air upward.
- Adjust Speed as Needed: Once you have confirmed the direction is correct, adjust the fan speed to your preference. Remember that for winter operation, a lower speed is generally more effective, as you want to circulate the air without creating a noticeable breeze.
Common Mistakes to Avoid
One of the most frequent mistakes homeowners make is assuming that the switch position is universal. There is no industry standard that dictates “up” is summer and “down” is winter. Always verify the rotation by standing under the fan and feeling the airflow rather than relying on the orientation of the switch itself. If you feel a breeze, you are in summer mode; if you do not, you are likely in winter mode.
Another common error is failing to turn the fan off before switching directions. Doing this while the motor is running puts unnecessary stress on the internal components and can lead to premature motor failure or a stripped switch. Always give the motor a few seconds to come to a complete halt before engaging the reverse mechanism.
Many people also forget to adjust the fan speed after changing the rotation. During the winter, running the fan on high speed will create a draft that makes the room feel colder, which is the exact opposite of the intended effect. Keep the speed low during the winter to ensure the air is gently mixed rather than pushed forcefully. Additionally, ensure that your fan is not obstructed by tall furniture or hanging decor that might interfere with the air circulation pattern.
Troubleshooting Your Ceiling Fan
If you flip the switch but the fan continues to spin in the same direction, the internal reversing switch may be stuck or faulty. In this case, ensure the switch is pushed fully into its new position. Sometimes, a switch can get stuck halfway between settings, preventing the motor from engaging the new rotation. Gently nudge it to ensure it is firmly seated in the correct slot.
If you are using a remote control and the fan does not respond to the reverse command, the issue may be a communication error between the remote and the receiver. Try replacing the batteries in your remote first. If that does not work, you may need to reset the receiver by turning the power to the fan off at the wall switch or circuit breaker for 30 seconds before turning it back on.
If the fan makes a grinding or clicking noise after you change the direction, it is possible that the switch was not fully engaged or that debris has fallen into the motor housing. Turn the fan off immediately and inspect the area around the switch. If the noise persists, it may indicate an internal mechanical issue that requires professional attention or a replacement part from the manufacturer. Always prioritize safety when inspecting electrical components; if you are uncomfortable with the internal wiring or the motor housing, consult a professional electrician.
Long-Term Maintenance for Consistent Airflow
Beyond seasonal switching, regular maintenance ensures your fan continues to function reliably. Dust buildup on the leading edge of the blades can disrupt airflow, making the fan less effective regardless of the rotation. During your seasonal switch, take a moment to inspect the blade brackets for any signs of fatigue or loose hardware. A well-maintained fan will run quieter and move air more efficiently, which is essential for both summer cooling and winter heat distribution.
If you live in a climate with extreme seasonal shifts, consider marking your calendar for these adjustments. Many homeowners find that tying this task to other home maintenance chores—such as changing HVAC filters or testing smoke detectors—helps ensure it is not forgotten. By keeping the fan in top condition, you extend the lifespan of the motor and maximize the return on your investment in home climate control.
Understanding Fan Blade Pitch and Airflow
The effectiveness of your ceiling fan rotation is heavily influenced by the blade pitch—the angle at which the blades are set. A steeper pitch moves more air but requires a more powerful motor. When you reverse the rotation, the blade pitch remains the same, but the orientation of the air movement changes. This is why the “updraft” in winter is less forceful than the “downdraft” in summer; the blades are designed to scoop air most efficiently in one direction. Understanding this helps you manage expectations regarding how much air you should feel during the winter months. You are looking for gentle circulation, not a direct wind.
FAQ
- How do I know if my ceiling fan is spinning in the right direction?
Stand directly under the fan and turn it on. If you feel a breeze, it is spinning counter-clockwise, which is the correct setting for summer cooling. If you do not feel a breeze, it is likely spinning clockwise, which is the correct setting for winter air circulation. - Does the fan speed matter when using the winter setting?
Yes, speed is critical in winter. You should run the fan on a low speed to gently circulate warm air near the ceiling without creating a wind chill effect that would make the room feel colder. - What should I do if my fan does not have a reverse switch?
If your fan lacks a visible switch on the motor housing, it is likely controlled electronically. Check your remote control for a ‘Reverse’ button or consult the manufacturer’s manual, as some smart fans allow you to change the direction via a mobile app. - Can I leave my fan on all the time?
While ceiling fans are designed for long-term use, it is best practice to turn them off when a room is unoccupied. Fans cool people, not rooms; if no one is in the room to benefit from the breeze or the air mixing, the energy used is essentially wasted. - Why does my fan wobble after I change the direction?
Wobbling is usually caused by unbalanced blades or loose hardware rather than the rotation itself. Check that all blade screws are tight and that no blades are bent. If the wobble persists, you may need a blade balancing kit.